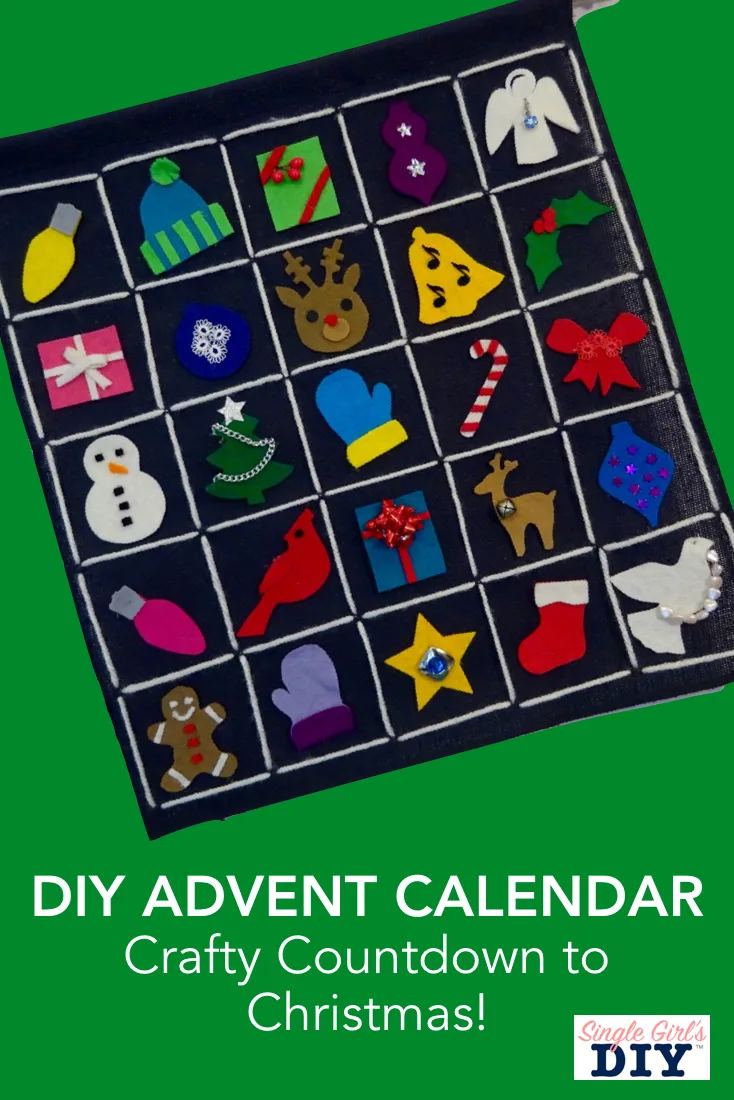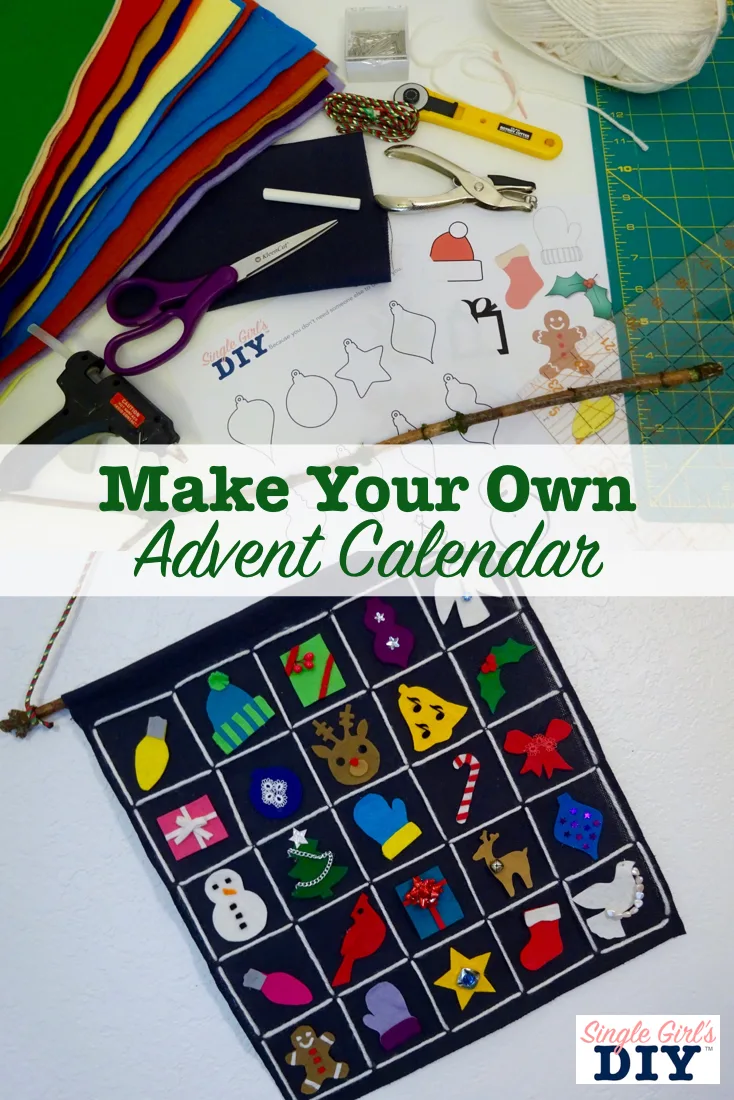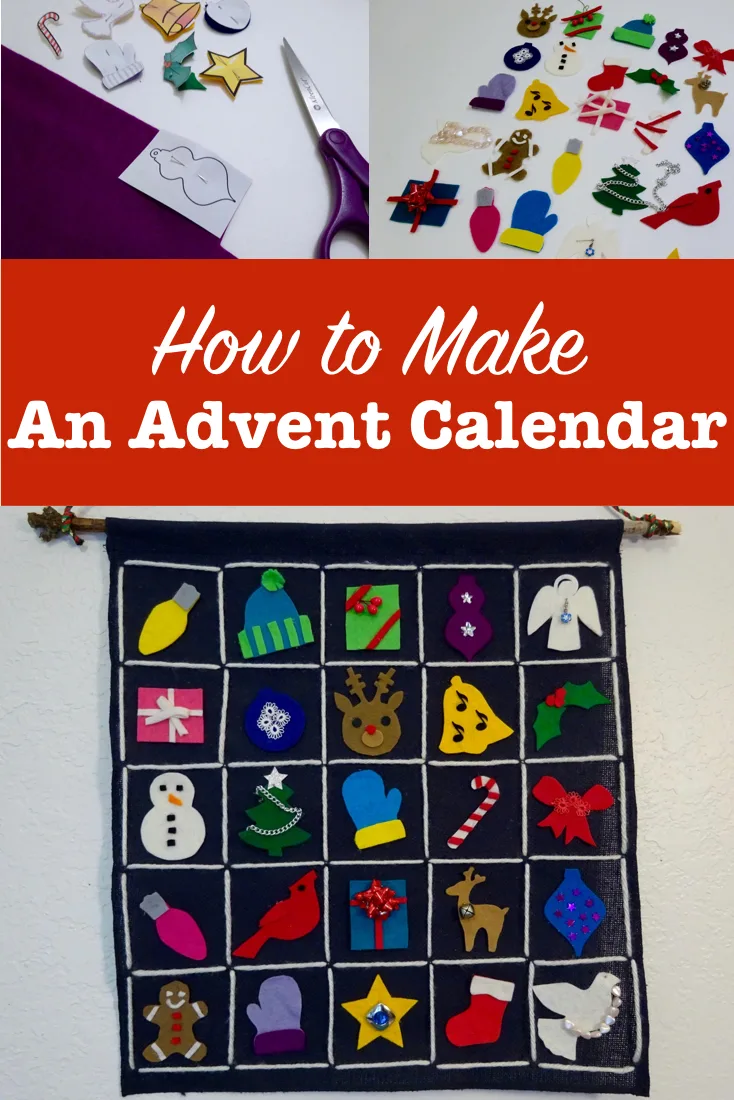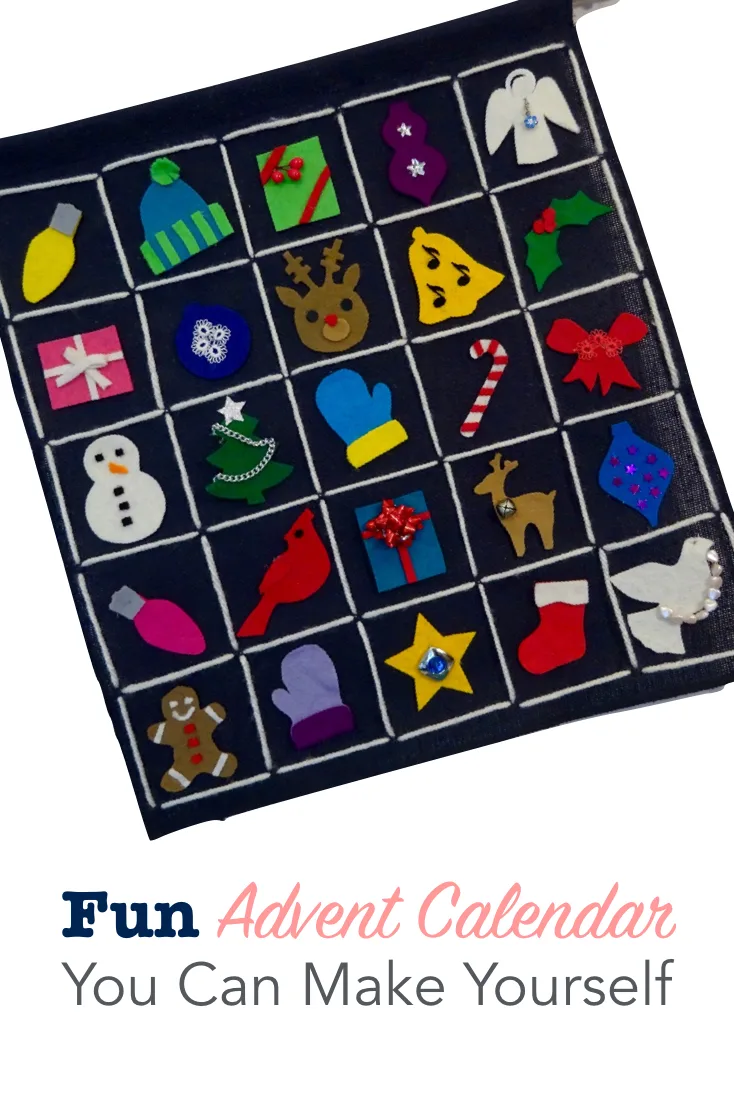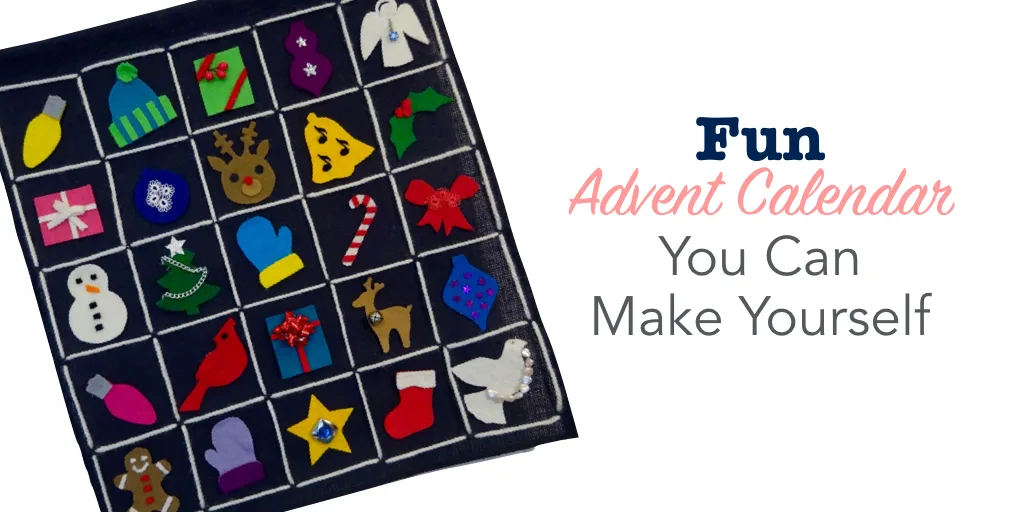
The countdown to Christmas is always exciting, no matter your age. Rather than buying an advent calendar at the store, you can make your own. Add your personal touches, and make this a fun family craft.
You might also like my easy Countdown to Christmas Chalkboard made with a free SVG file.
FUN ADVENT CALENDAR YOU CAN MAKE YOURSELF
MATERIALS FOR DIY ADVENT CALENDAR
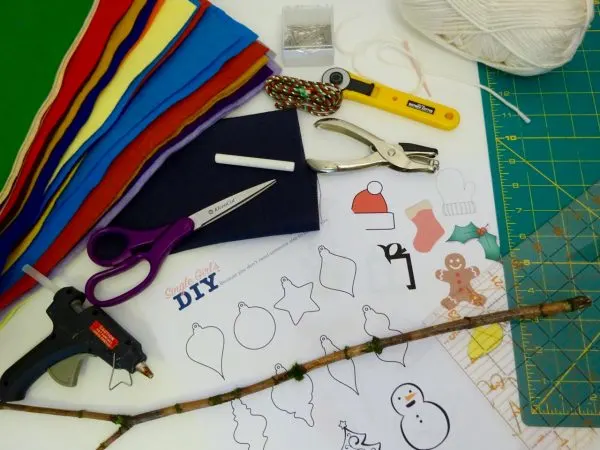
- Felt in assorted colors
- Scissors
- Straight pins
- Christmas shapes
- Assorted notions (buttons, beads, bells & more!)
- Glue gun
- Fabric for backing (I used black burlap)
- Rotary cutting kit
- Yarn & yarn needle
- Stick or dowel
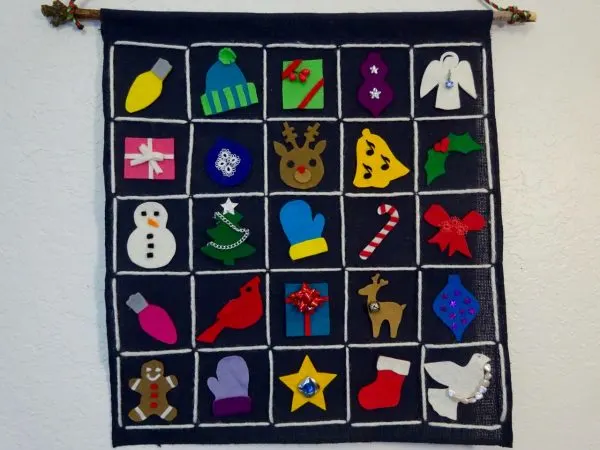
I got a little carried away when I was making my pieces for each day. It ended up taking quite a long time. You can choose to keep your pieces more simple, or it might be fun to make one piece every day counting down to Christmas. Then you can take time to make each one really special.
These are just samples of things you could do. Make it your own.
1. Choose your shapes
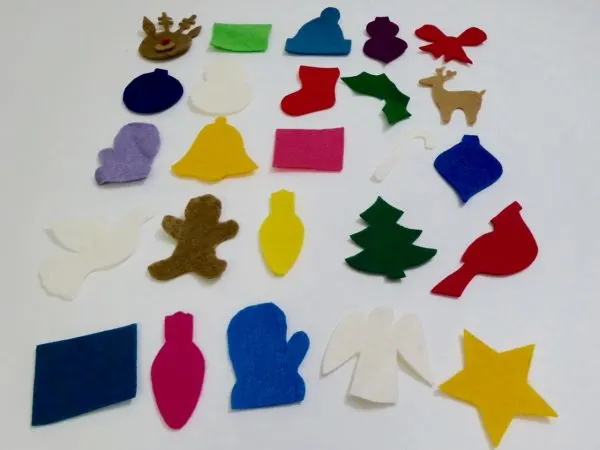
I can’t draw, so I went online and gathered a bunch a free clip-art images of Christmas shapes. Then I resized them, so they would all have about the same proportions.
If you want to save yourself some time, you can download my templates for free.
 2. Cut out the pieces
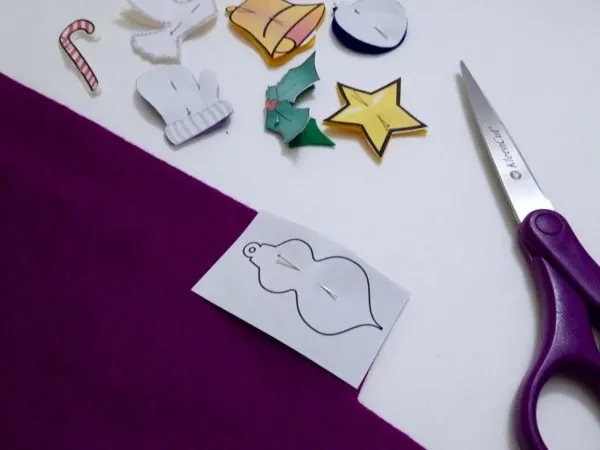
Rough cut the clip-art images out of the paper. Pin the paper to the felt that you want to use as the main color. Once it’s pinned, cut around the outline of the shape.
This makes it a lot easier to make accurate cuts. It also saves you from having to cut the shape twice, once from the paper, and once from the felt.
3. Decorate the pieces
- You can leave your felt shapes plain, or…
- Embellish each piece with various notions to make them special.
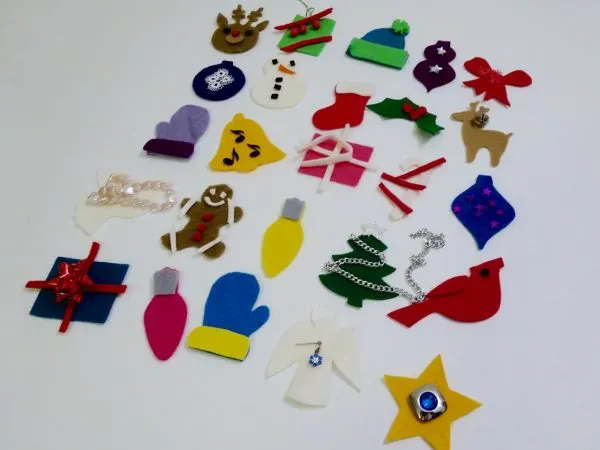
You can choose to leave your felt pieces plain, or you can embellish them. I started by adding a red nose to Rudolph. The next thing I knew, each felt piece had some special touch.
You can cut accent pieces out of felt. Also, look around your craft room for notions like beads or bells that you can use for trimmings. Use a hot glue gun for assembly.
4. Make the backing
- Cut fabric to 14″ x 16″ for the backing.
- Fold under ¼″ to finish each edge. Make a pocket at the top for a dowel or stick.
I used a piece of burlap fabric for my calendar backing, because felt sticks to fabric.
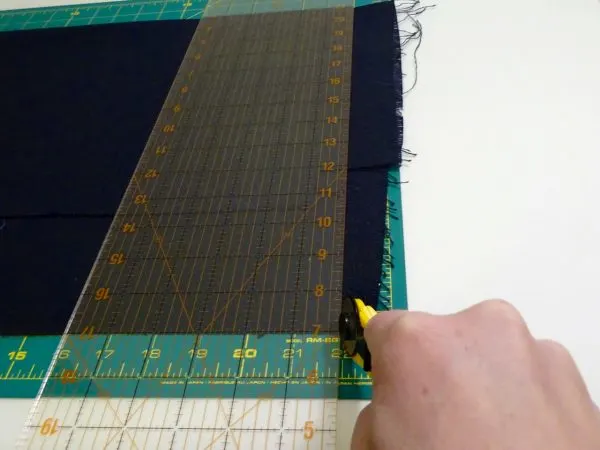
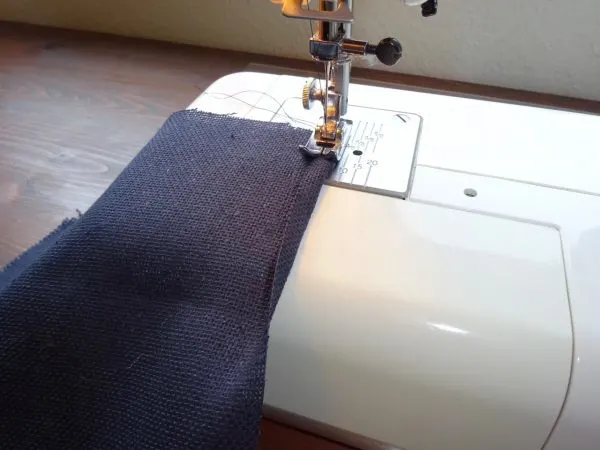
Cut the fabric to 14″ wide by 16″ long. Fold each side under ¼″, and stitch with a sewing machine to finish the edge. (You can leave a raw edge, for a more rustic look.)
At the top, I folded under ¼″, and then folded it again to make a pocket. Make the pocket big enough to fit the dowel or stick you want to use at the top.
You can also make this super cute faux chalkboard calendar from foam board. Use pins to stick your pieces in place.
5. Stitch the calendar
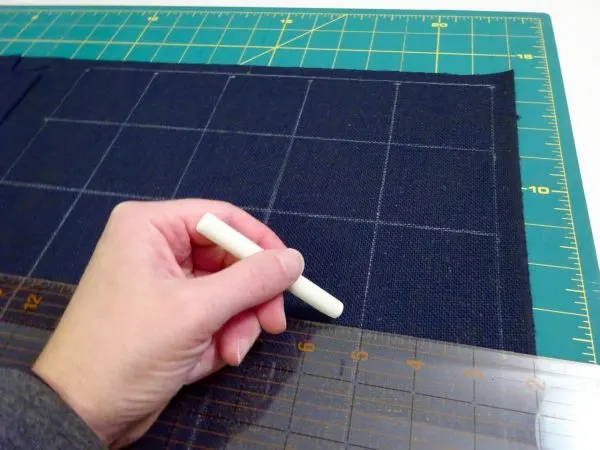
- Outline 2.5″ boxes on the back of the fabric.
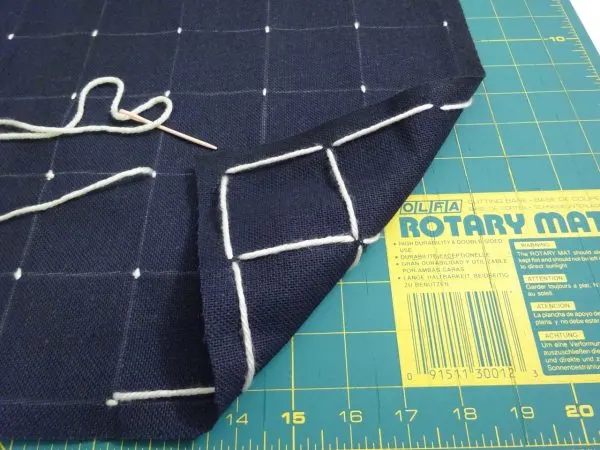
- Make long stitches on the front and short stitches on the back to create the grid.
Using my handy acrylic ruler and cutting mat, I traced out a 2.5″ grid. I used chalk to draw the lines on the back of the fabric.
Because I used burlap fabric, it was really easy to stitch on a yarn calendar grid. Long stitches on the front, and short stitches on the back created the lines.
6. Add a dowel for hanging
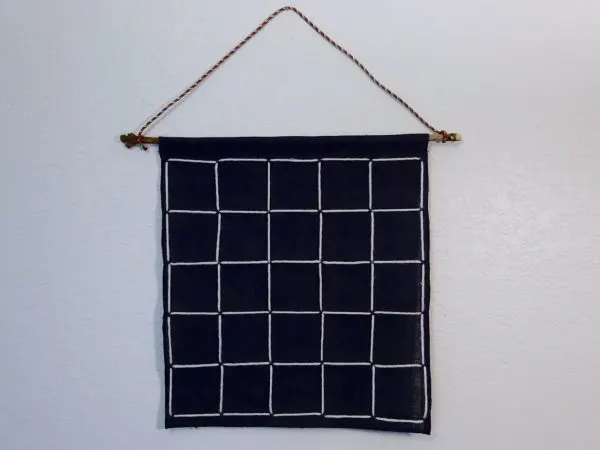
To help keep the fabric from sagging, use a dowel at the top of the calendar. I actually just picked a stick from the yard.
Tie a piece of yarn or cord to the stick to make a hanging loop.
7. Countdown to Christmas!
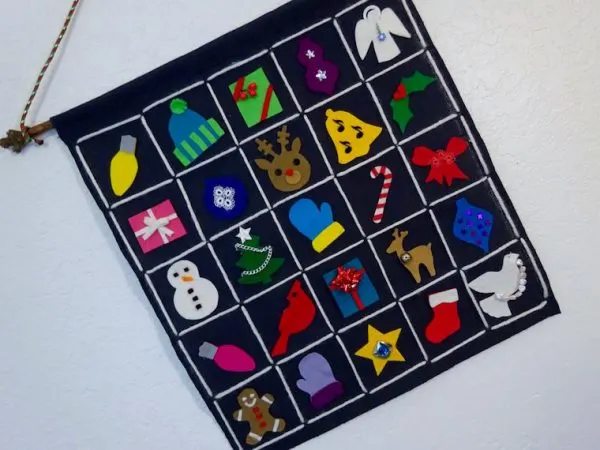
Add one piece to the calendar each day, as you count down to Christmas.
The light felt pieces will stick to the fabric by themselves. Some of my pieces with heavier embellishments are stuck in place with hidden straight pins.

