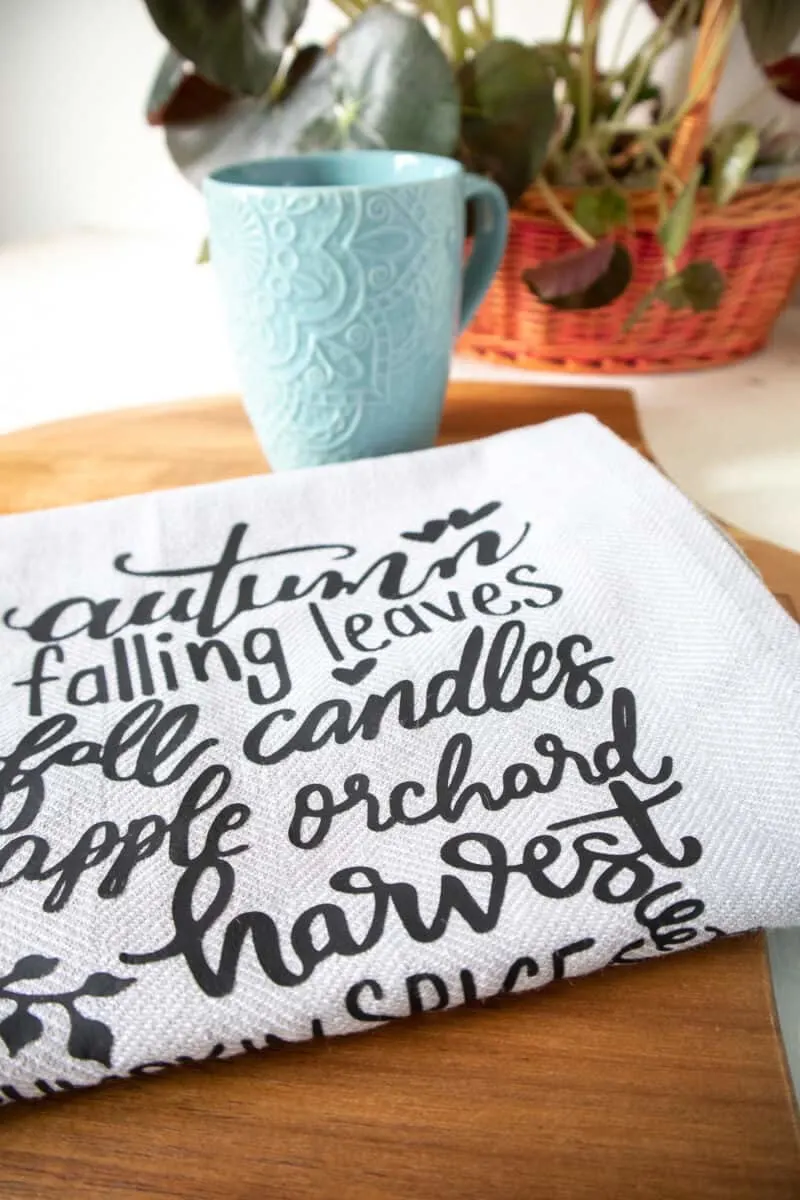
This DIY Cricut tea towel idea is perfect to iron on a flour sack or dish towel to hang in the kitchen. Full of cozy words perfect for Fall and Thanksgiving.
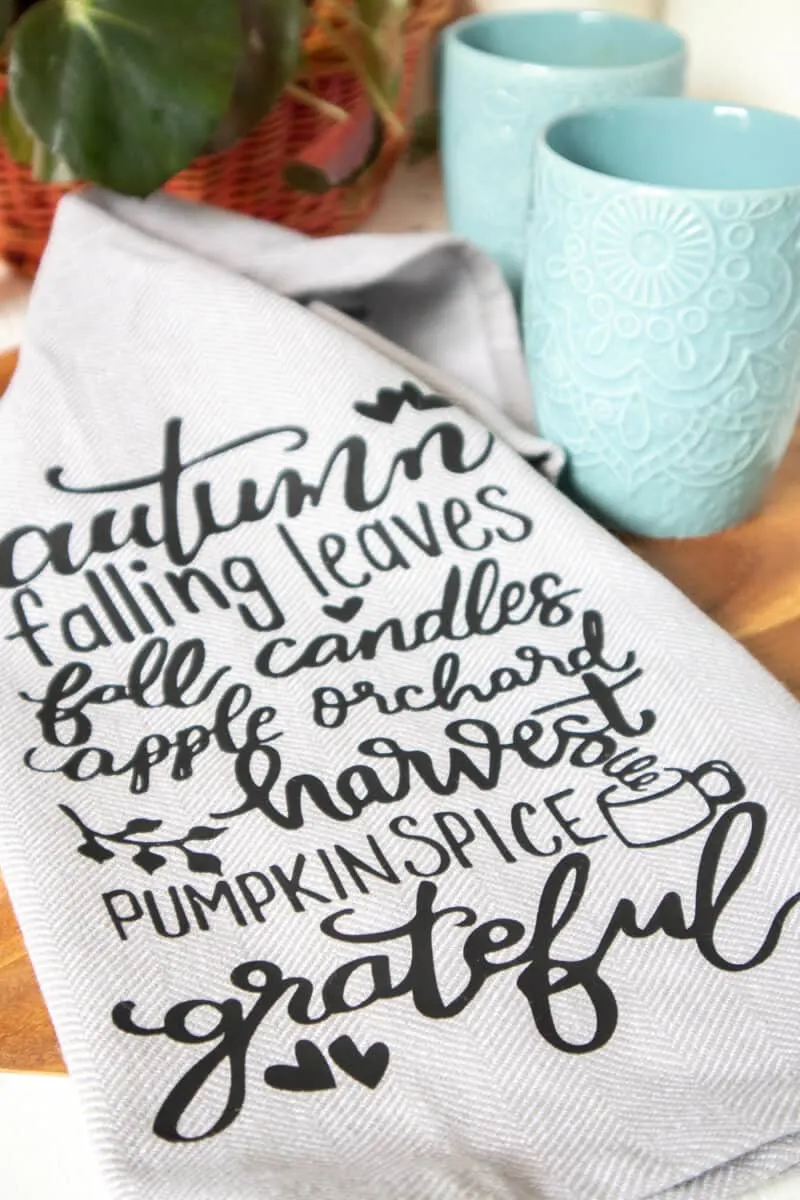
Who else loves decorating with tea towels? They are super inexpensive. Plus, they are so easy to hang on an oven handle or a towel rack or hook.
You’ll love these Cricut flour sack towels because you can iron on the vinyl to an inexpensive towel of your choosing. Whether you want white or colored or to use something you already have at home.
How to Use Tea Towels
Tea towels are different than dish towels. Tea towels are more decorative. They look like you can use them. And if you happen to wipe your hands on them, it’s okay. But they’re never really supposed to absorb tons of water from drying dishes, wipe your hands on them while cooking, wash 200 times, etc.
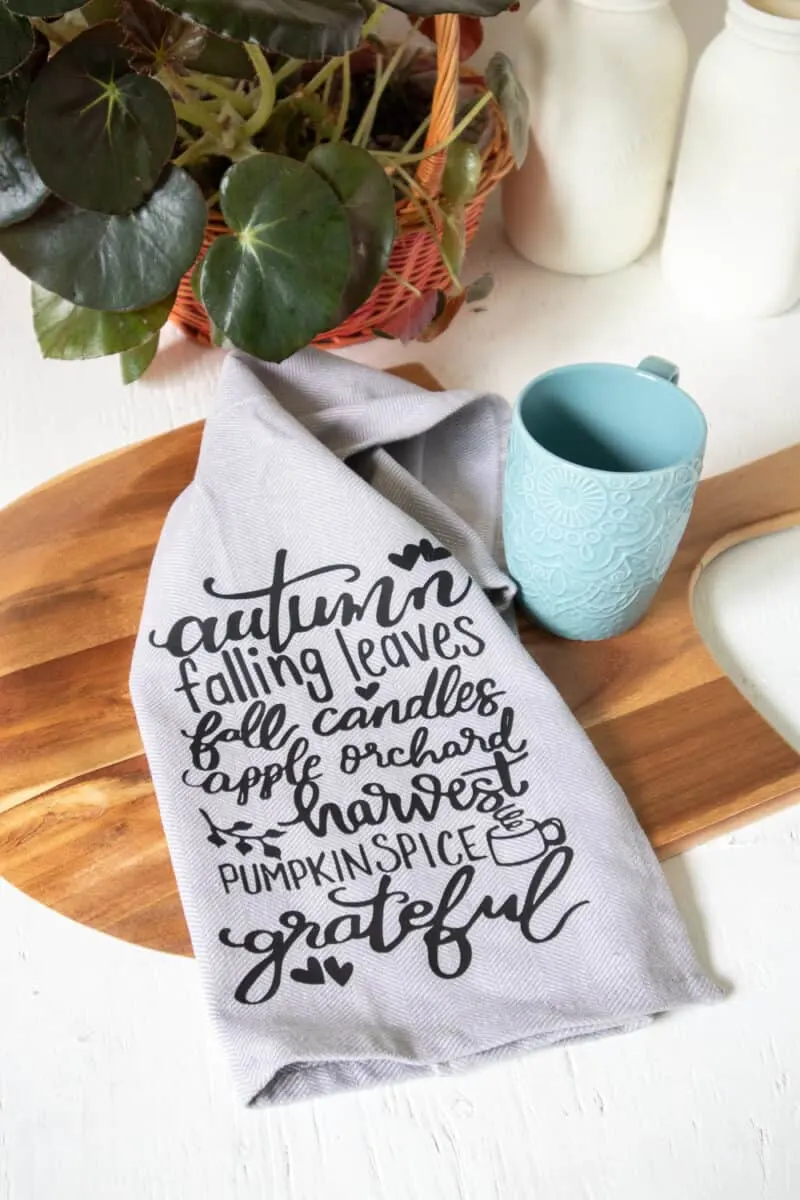
There are a variety of ways to use a tea towel, including:
- Kitchen decor
- Thoughtful gift for a baker
- Add in a Gift Basket
- Wrap up a loaf of homemade bread
- Display on a bathroom towel rack or hook
- Frame in an embroidery hoop or other frame
What Are the Best Towels for Heat Transfer Vinyl?
This DIY tea towel uses vinyl that is ironed on to a kitchen towel of your choosing.
But not all towels are the same. And you don’t want to go through all of this work just to have your print not stick properly.
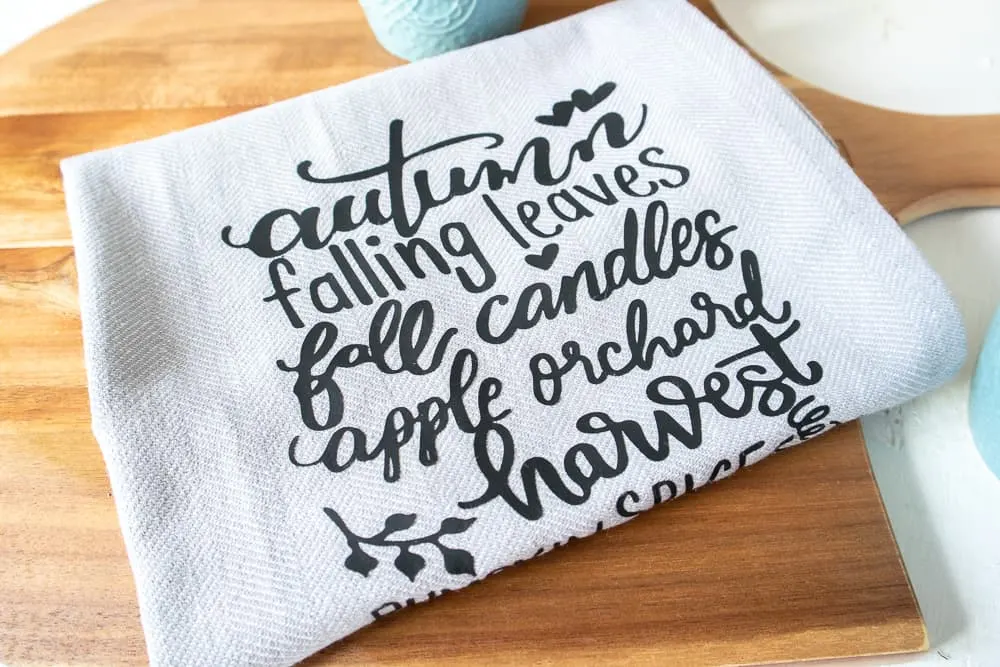
You want to choose a towel that doesn’t have a shiny or polished finish to it, like some polyester fabrics with no-wrinkle finishes. Because the vinyl won’t adhere to the fabric.
Choose an all-cotton towel that is smooth. These flour sack dish towels are 100% cotton and take an iron on transfer well.
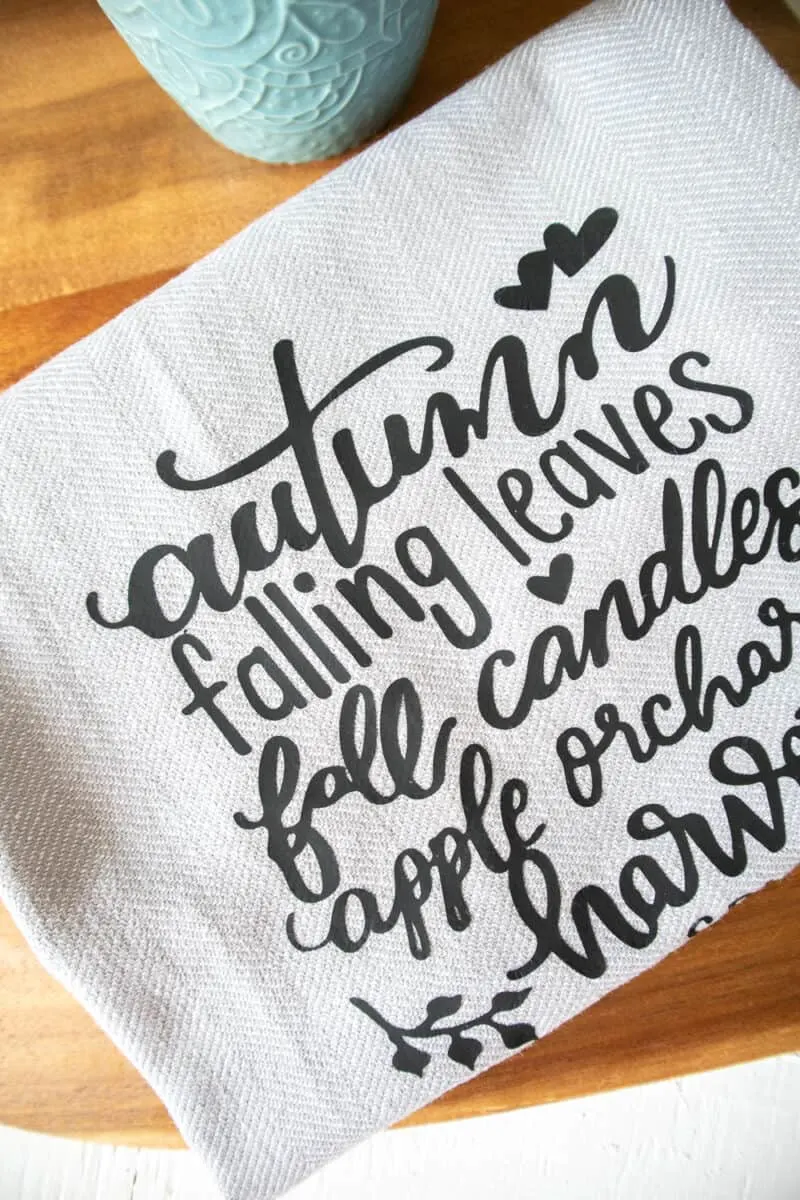
How to Make Cricut Tea Towel for Fall
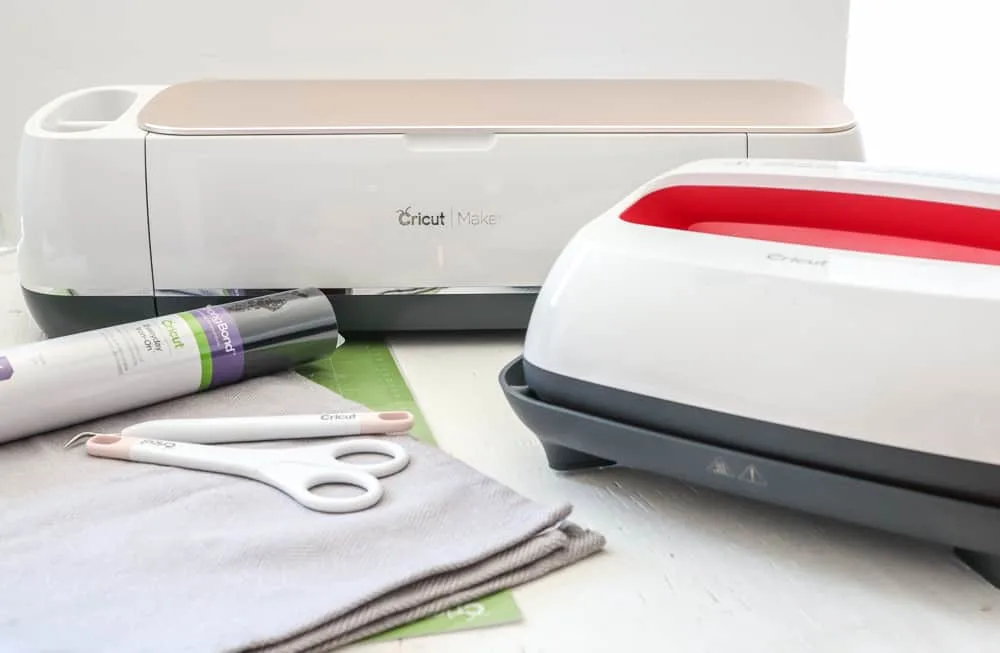
Materials
- Fall Tea Towel SVG
- Tea Towel (also called flour sack), 100% cotton
- Cricut Maker
- Everyday Iron On Vinyl, Black
- Cricut Standard Grip Mat
- Cricut Weeding Tool
- Scissors
- Easy Press 2 (Did you know you can get it at Best Buy?!)
- Easy Press Mat or Towel
Instructions
Prep Work
Prewash and dry the tea towel. Don’t use fabric softener (sheets or liquid) on the towel to prevent residue from being on the fibers. Iron out all wrinkles and creases.
Getting the Iron On Transfer Ready
Open Cricut Design Space.
Click on the “+” sign to start a new project, opening up a blank canvas.
Click on the Upload button from the toolbar to insert the All About Autumn SVG file on to the canvas.
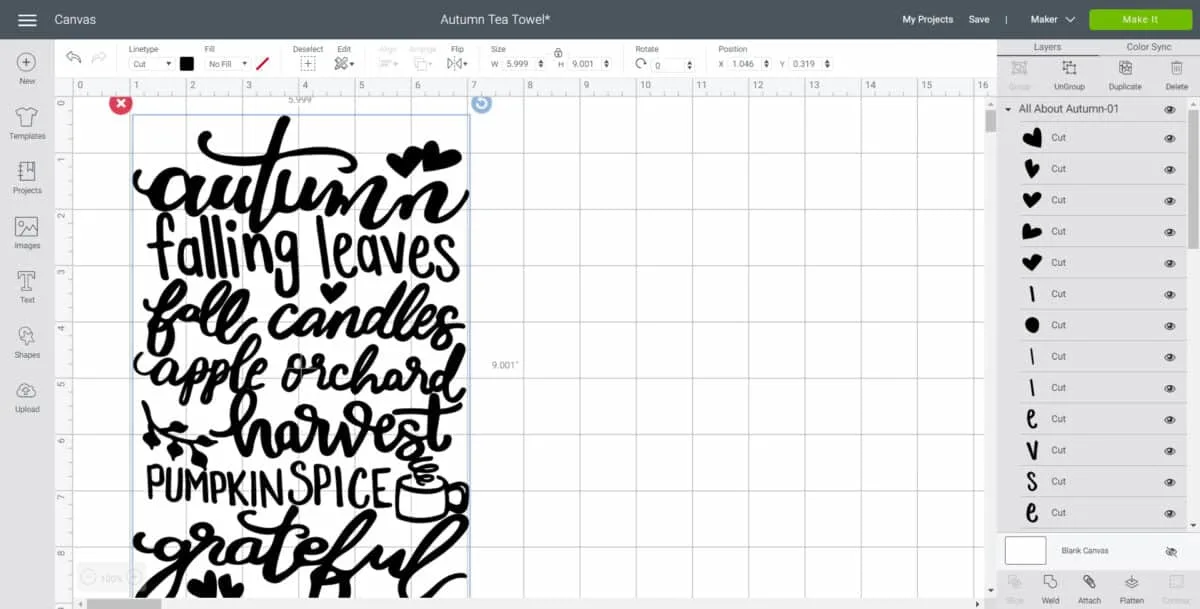
Maintain the size at roughly 6” wide by 9” high or adjust by highlighting the image and clicking on the size box in the top toolbar.
Cutting the Iron-On Vinyl Transfer in Cricut
Select “Make It” in the upper right corner to proceed with cutting.
Click the “Mirror” toggle button to on. This is necessary for ALL iron on vinyl cuts.
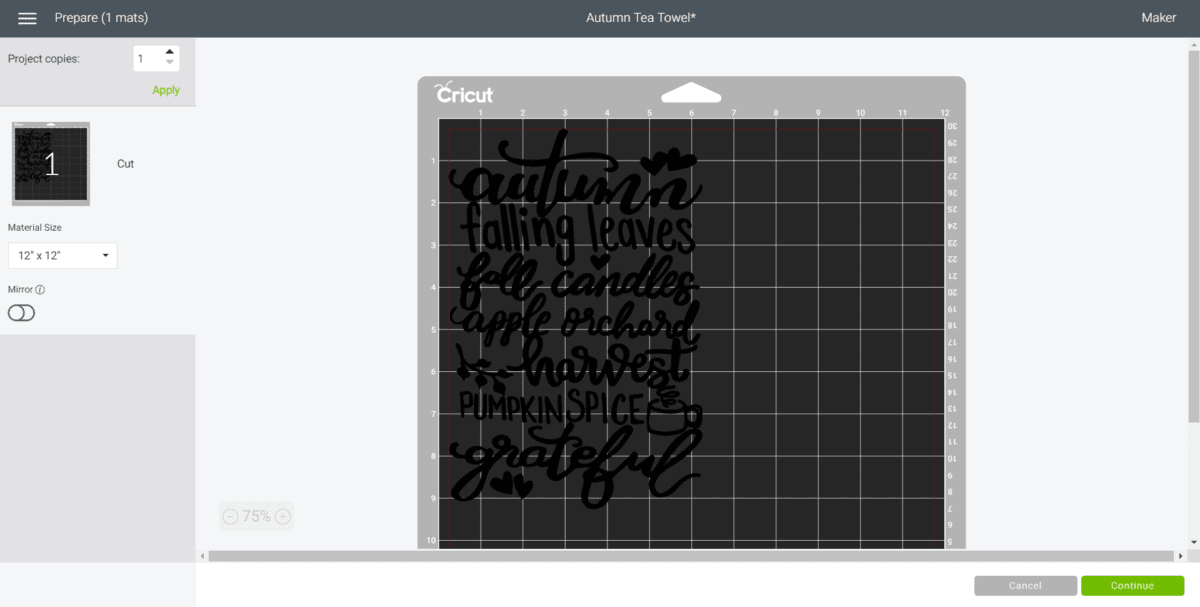
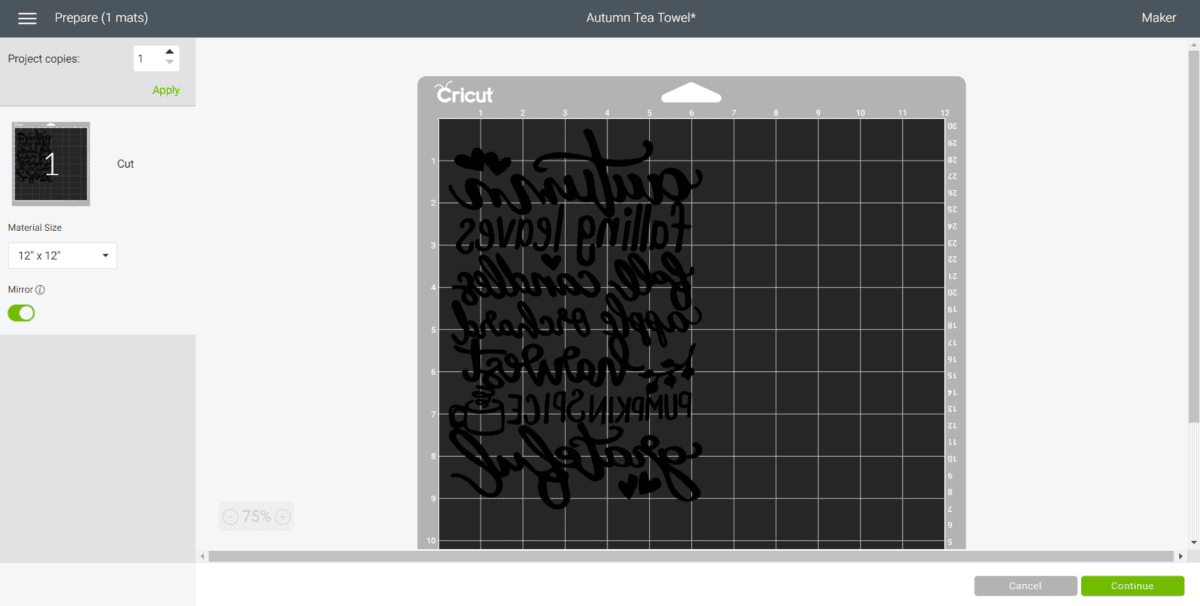
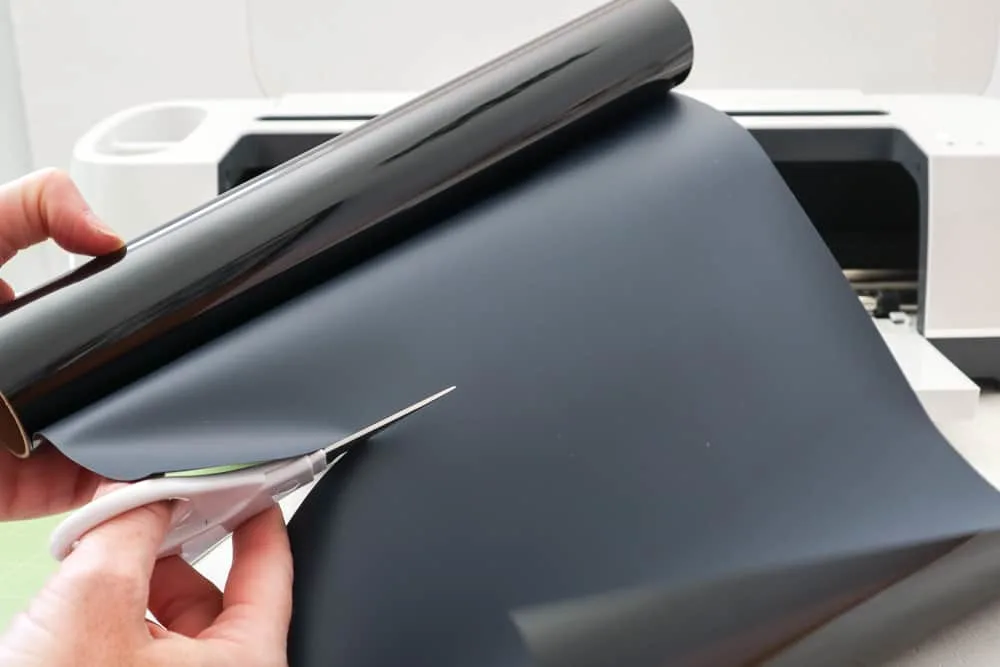
Cut the Everyday Iron-On Vinyl width to fit on the standard grip mat. Press continue.
Choose Everyday Iron-On Vinyl from the list of options in the drop down menu.
Place the Iron-On vinyl directly onto the standard grip mat with the SHINY SIDE DOWN.
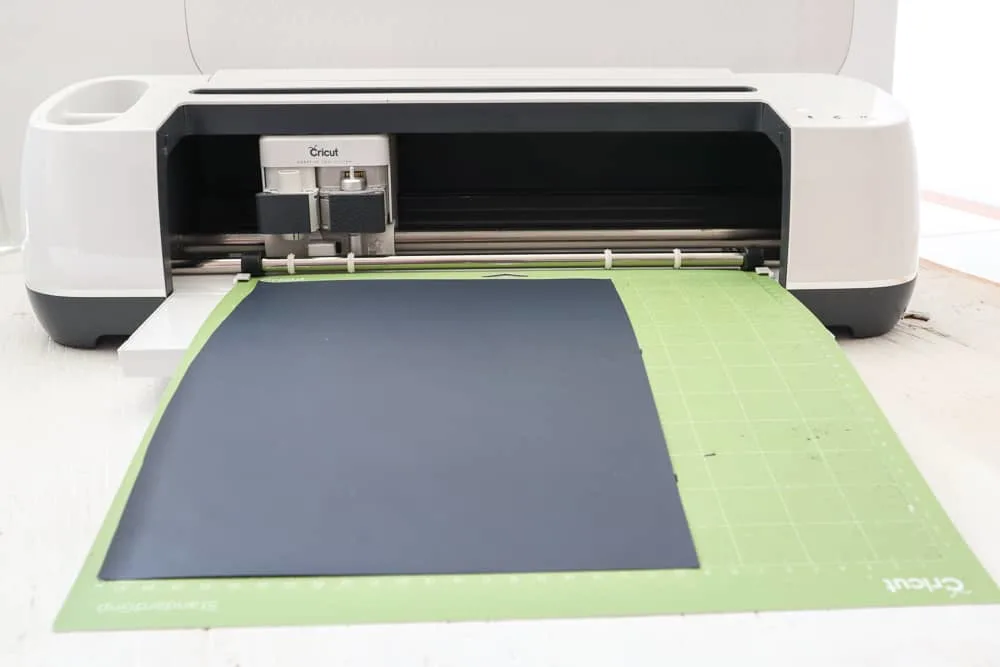
Following the instructions prompted on the screen, cut out the vinyl.
Remove the vinyl from the mat. Cut around the image and put aside the left over vinyl for another project.
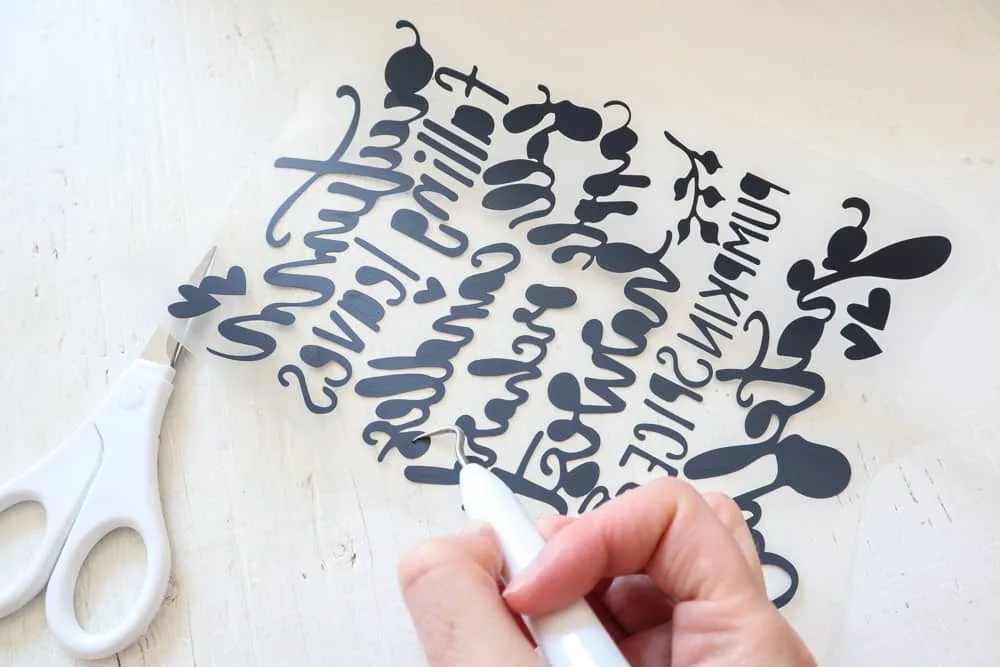
Using a weeding tool, peel away the excess vinyl leaving only the lettering.
How to Apply Vinyl on Flour Sack Towel
Position the mat or a towel on a flat surface.
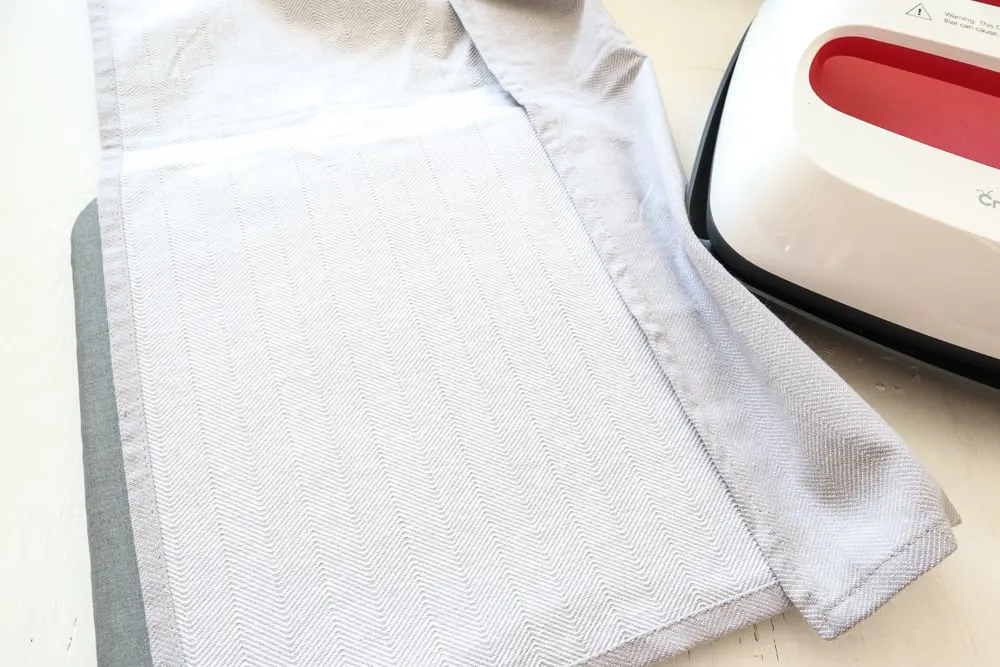
Set the temperature and time on the machine (or an iron) following the chart for the type of vinyl and material being used or use this Cricut Heat Guide.
For a 100% Cotton tea towel and Everyday Iron-On Vinyl, set the Easy Press 2 to 315F.
Decide where you will be placing the lettering and preheat the tea towel in that spot for 5 seconds. This will prep the fabric for the vinyl, removing all excess moisture as well as help to remove any creases and wrinkles from the fabric.
Place the cut lettering on to the tea towel with the shiny side up.
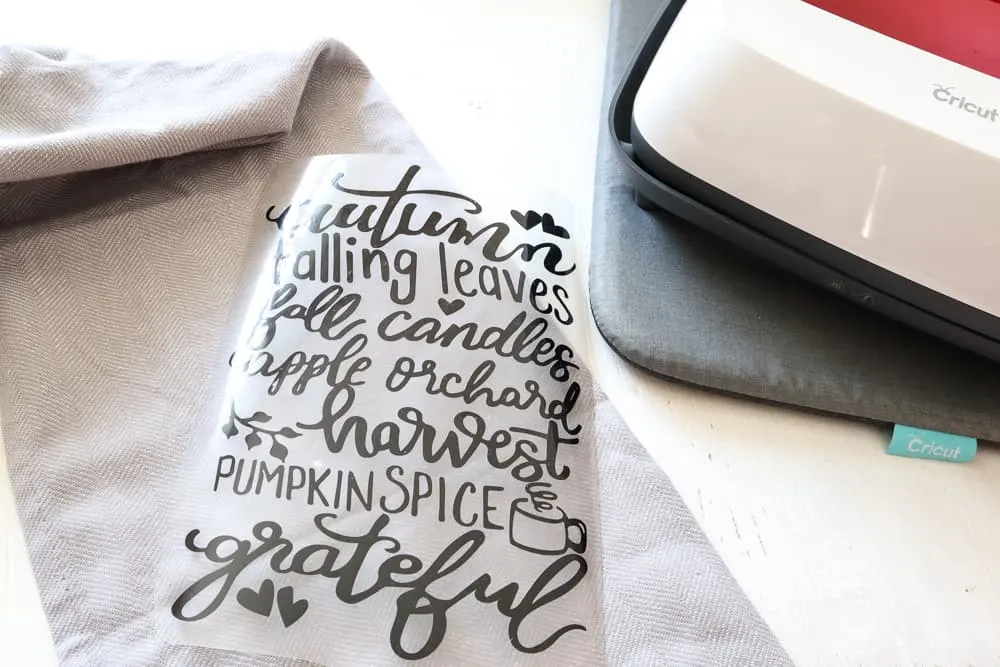
Press the image on to the tea towel for 30 seconds with light pressure.
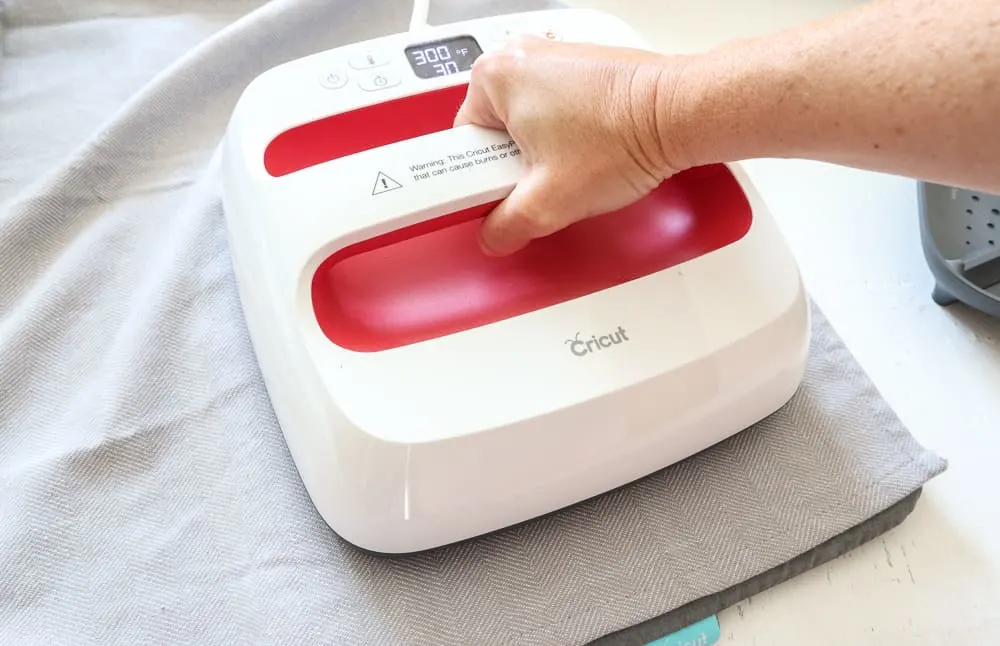
Turn the towel upside down and apply heat for another 15 seconds.
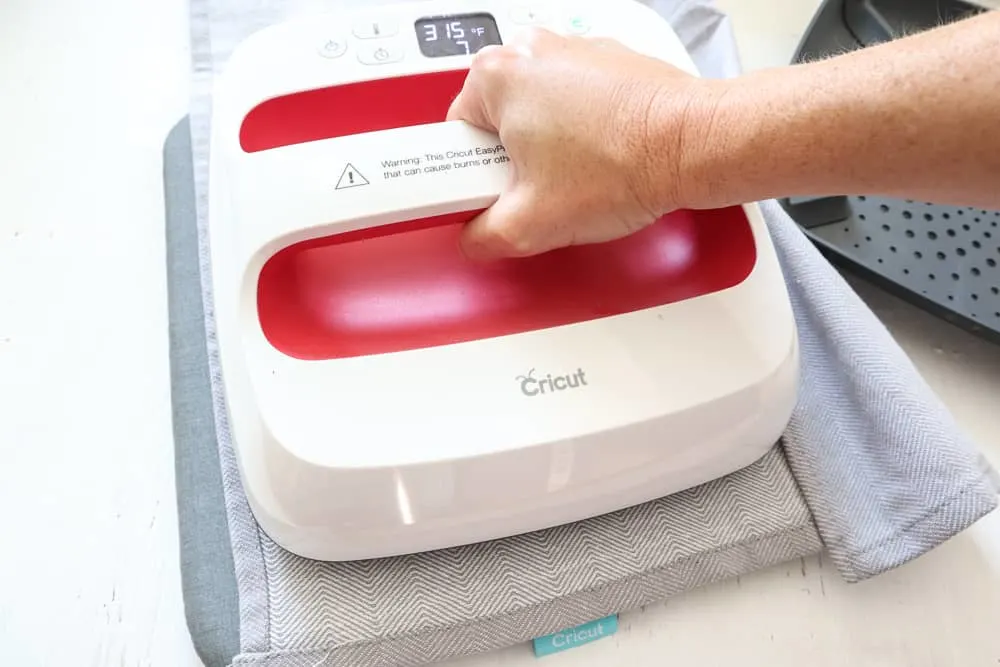
Peel the plastic part of the vinyl off carefully once it cools and discard.
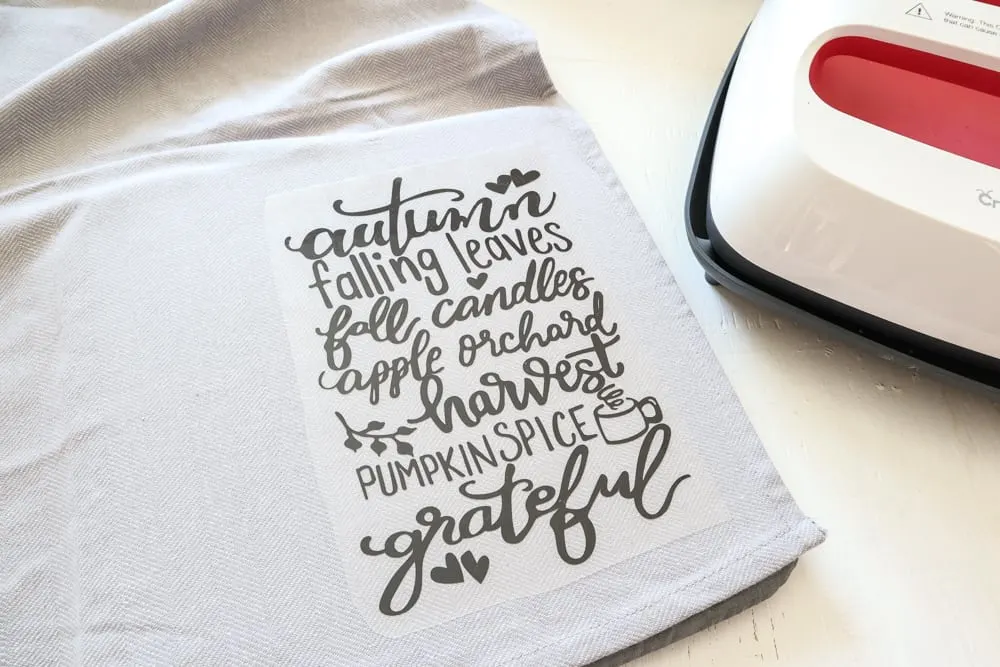
If the vinyl lettering appears to be peeling off, keep the plastic covering on top and re-press for longer.
Make sure you do not place an iron or the Easy Press directly over the vinyl without the protective plastic cover.
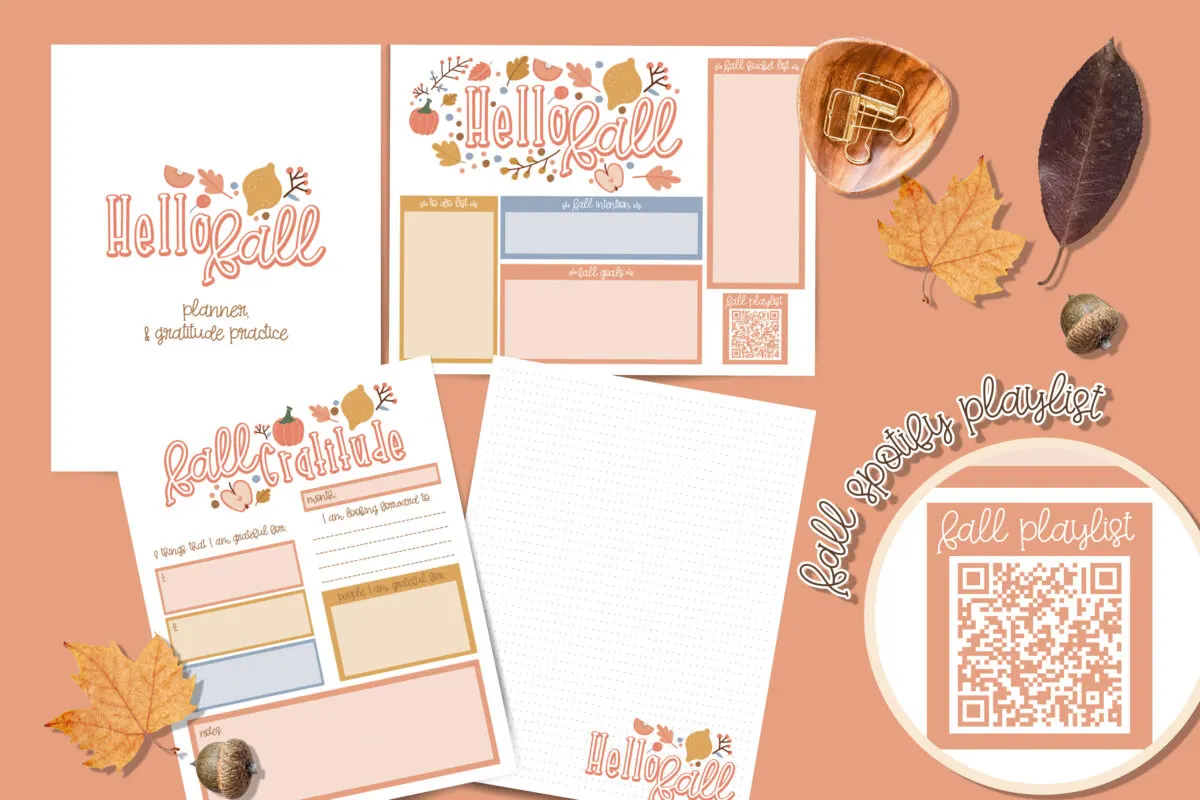
Get Your Fall Gratitude Journal Now!
Fall is a time to rest, reflect and be grateful. This printable planner and journal pack will help you capture your memories, and plan for the busy season ahead.
Want more Fall Cricut ideas? Check out my Cricut Spider Web Hoop.
These creepy crawly Halloween vases are made from upcycled glass jars.
Pastel pumpkins never looked so good as these 3D felt pumpkins.

