

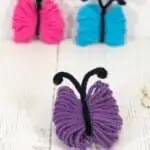
Butterflies bring joy and happiness as they fly around the garden. If you love butterflies, too, you will love this easy DIY craft that is easy enough for kids to do on their own.
Yarn butterflies can be used to decorate your home or as fashion accessories. After making these cute butterflies, you can glue them to a variety of items or use them in fun and unique ways.

Some great ideas for using these yarn butterflies are:
- Hair clips
- Headbands
- Pins
- Magnets
- Garland
- Plant Stakes
- Tree Ornaments
Scrap cardboard is used as a template to make the yarn butterflies.
You can use any type of yarn, including cotton, wool or acrylic. This is a great craft for using up smaller sections of yarn that aren’t large enough for crocheting.

How to Make a Yarn Butterfly
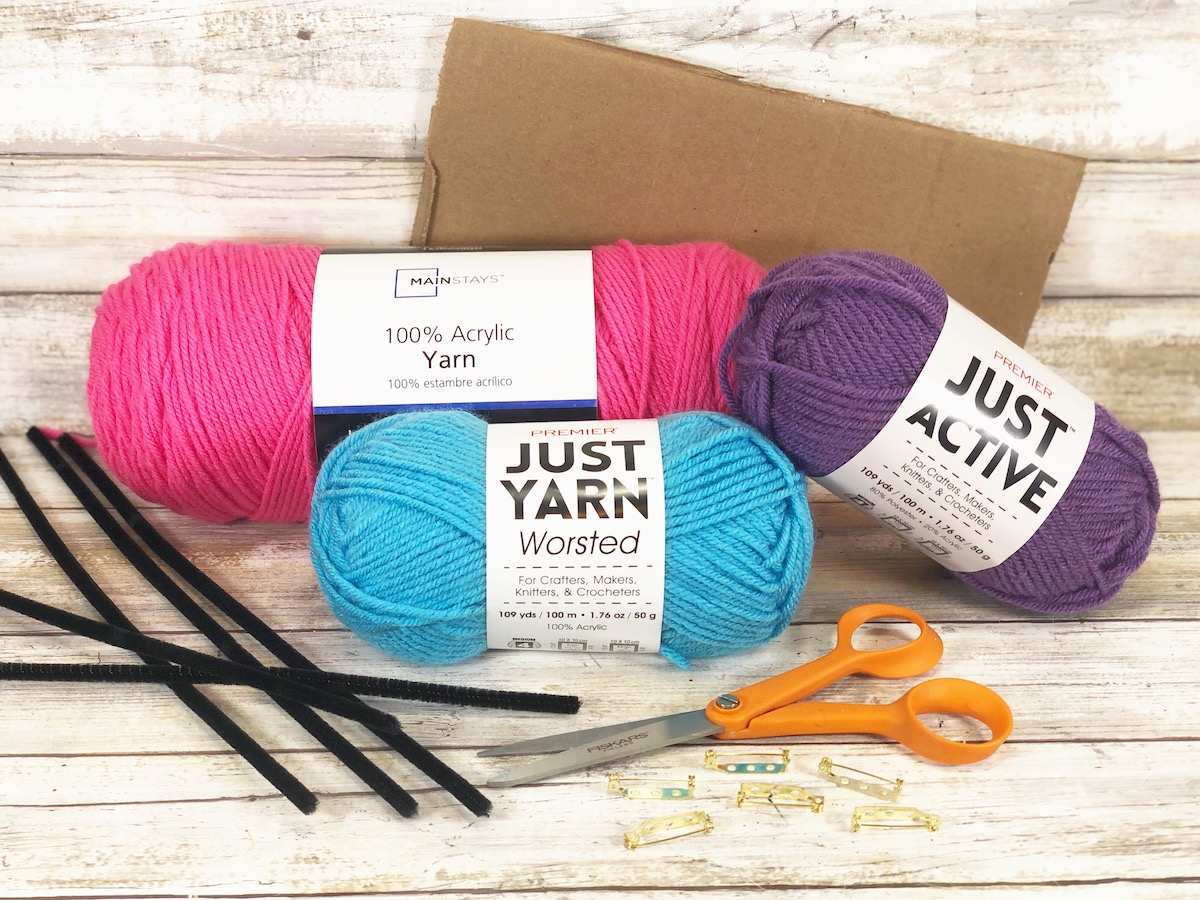
Each butterfly takes less than 15 minutes to make and you can use supplies from the Dollar Tree!
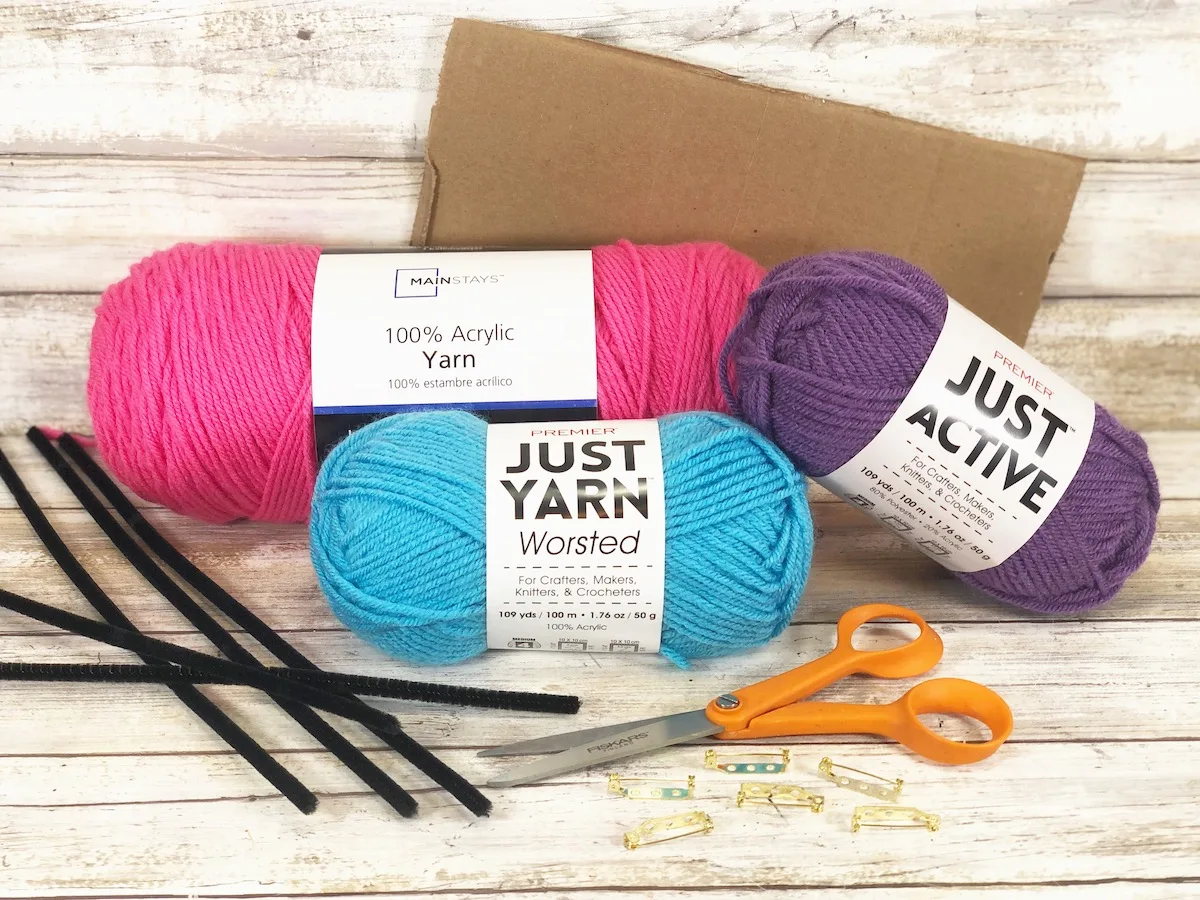
Materials
- Yarn
- Chenille Stems, Black
- Metal Pin Backs, Magnet or Hair Clip
- Glue Gun
- Corrugated Cardboard
- Scissors
Instructions
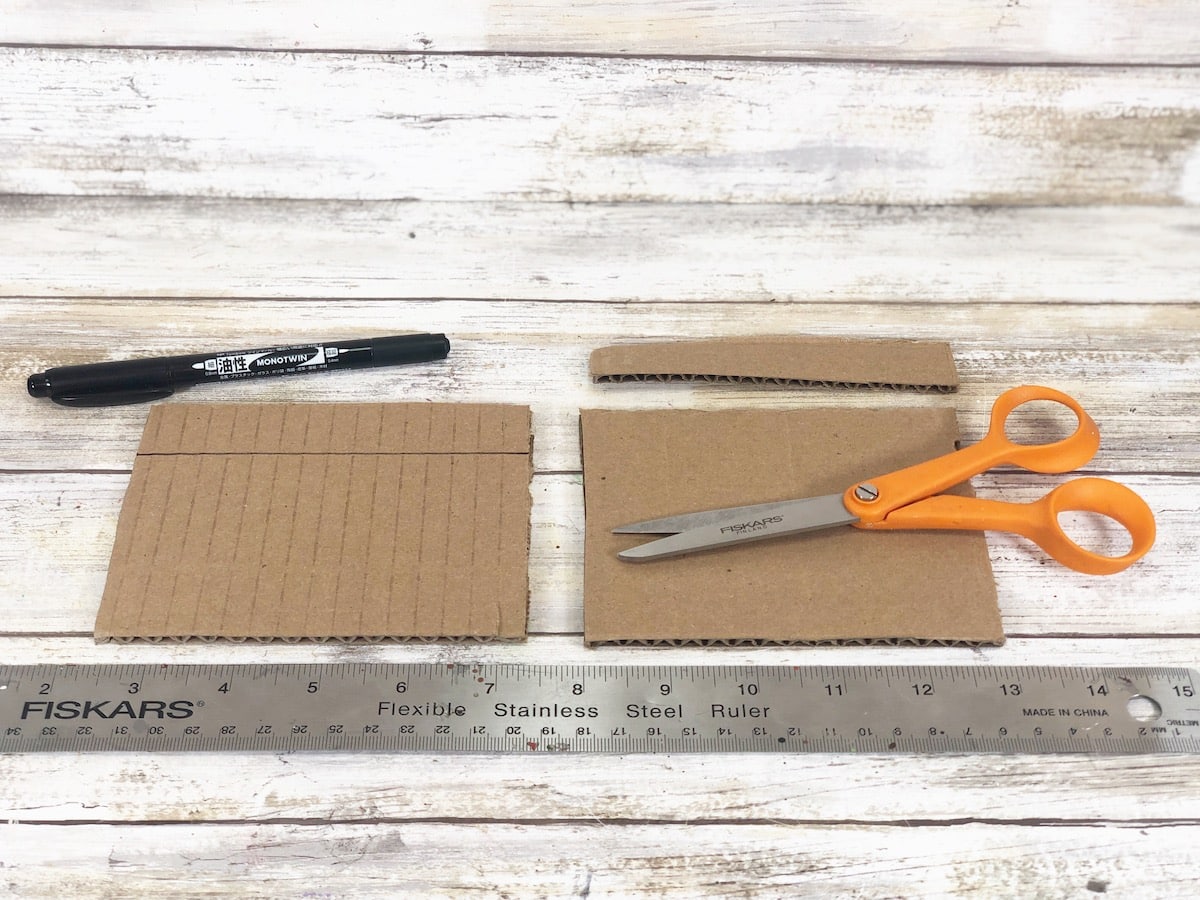
Step 1
Measure a scrap piece of corrugated cardboard that is 4” wide by 6” long. Cut out the rectangle with scissors.

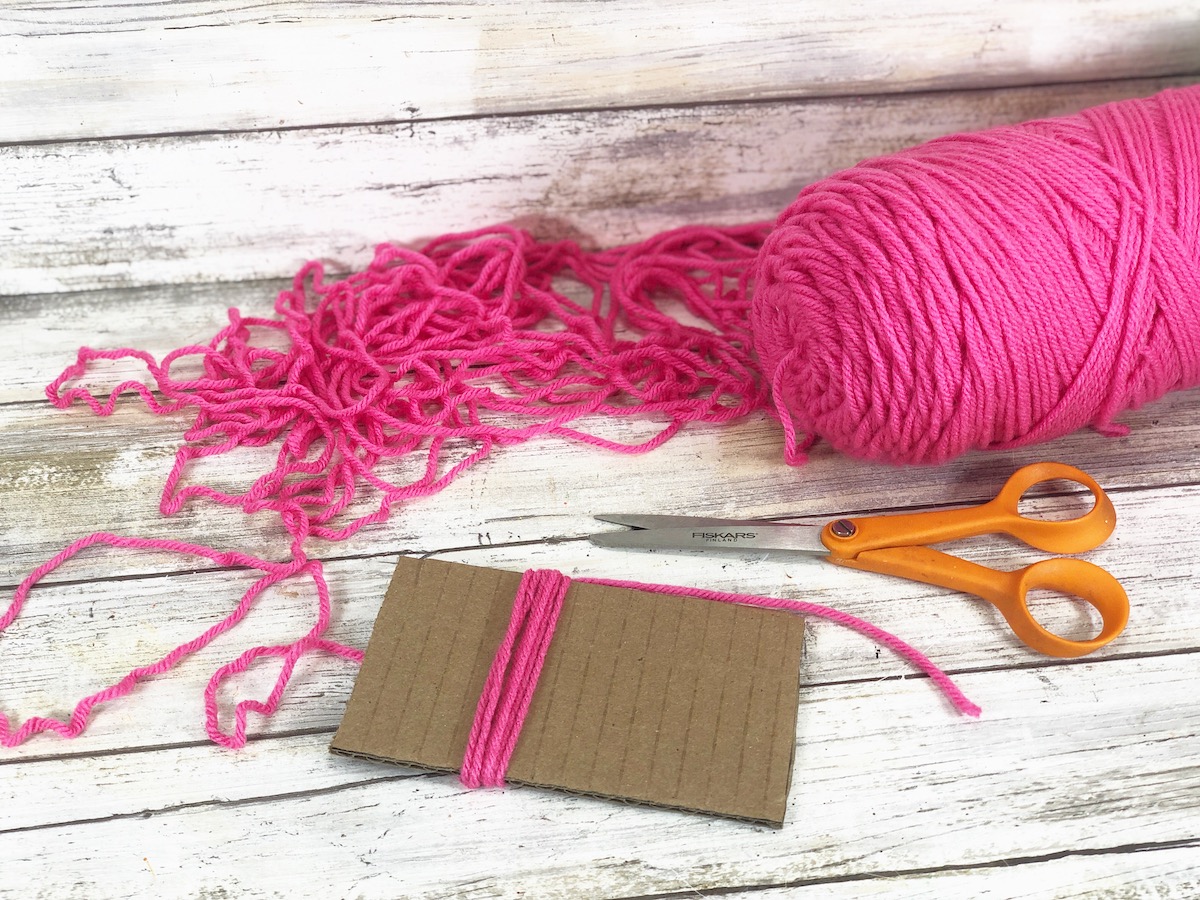
Step 2
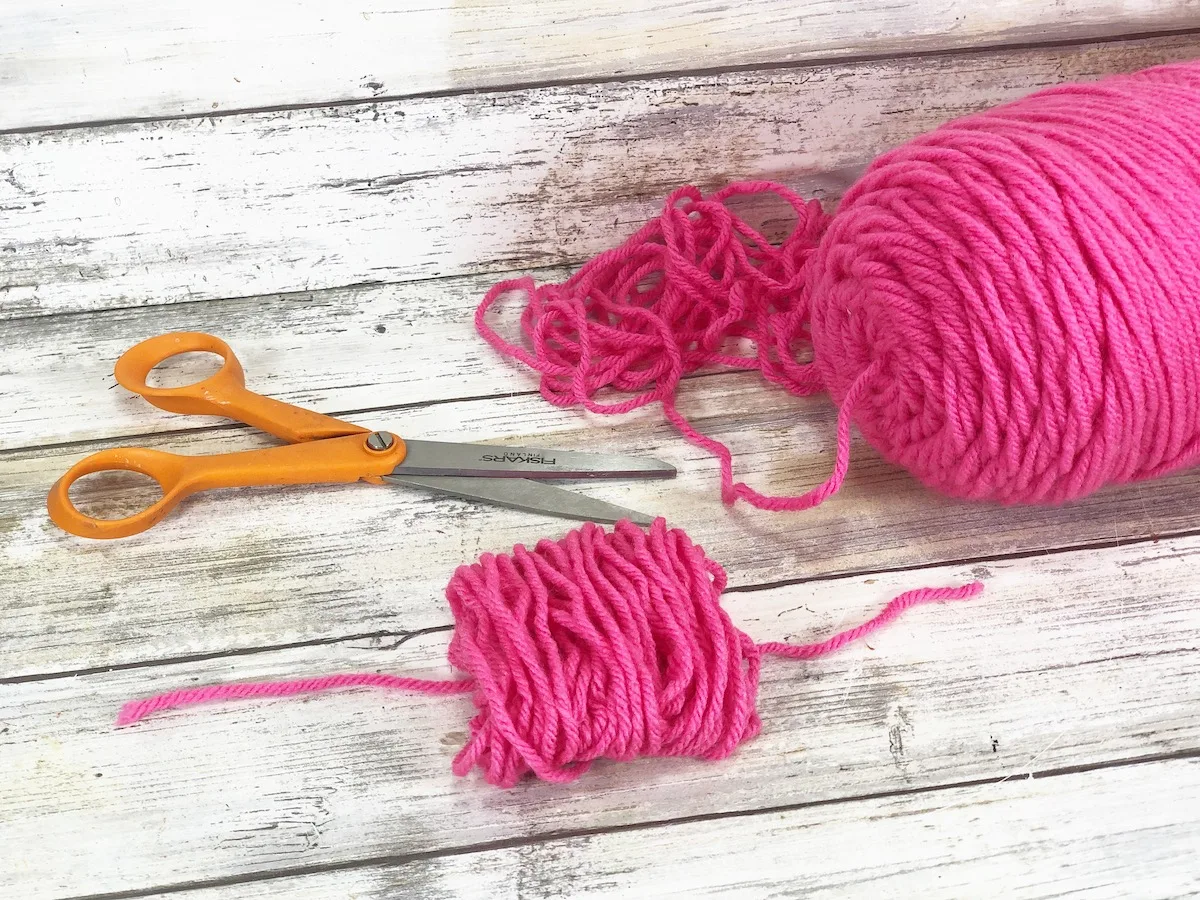
Start to wrap the yarn around the cardboard to make the butterfly wings.
Leave a tail of yarn that is approximately 6” long hanging off the cardboard. Then wrap the yarn around the 4” width of the corrugated cardboard 15 times.
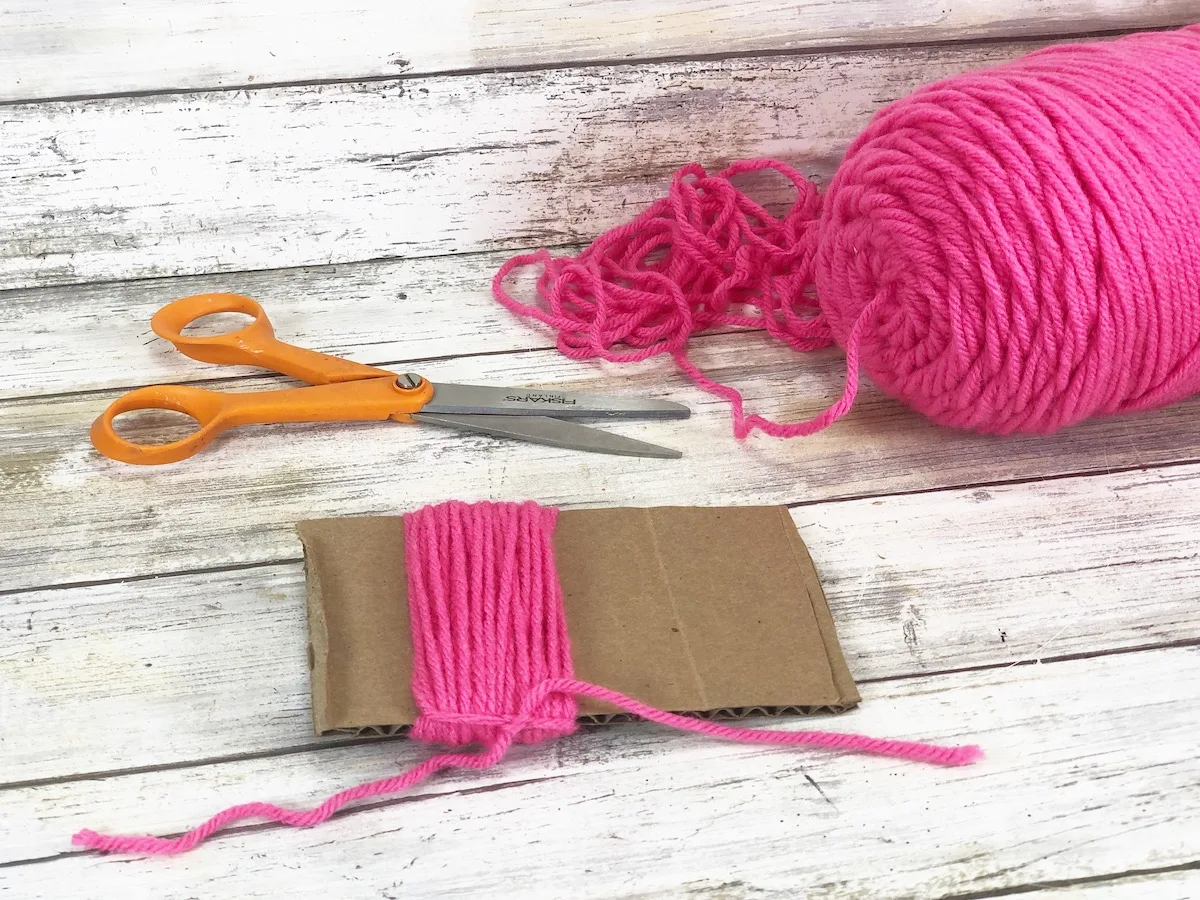
Make sure to keep the rows of yarn straight and wrapped closely next to each other.

Carefully wrap the yarn back around the cardboard another 15 times, keeping the rows neat.
Leave a 6” tail at the other end and tie off in a knot.

Step 3
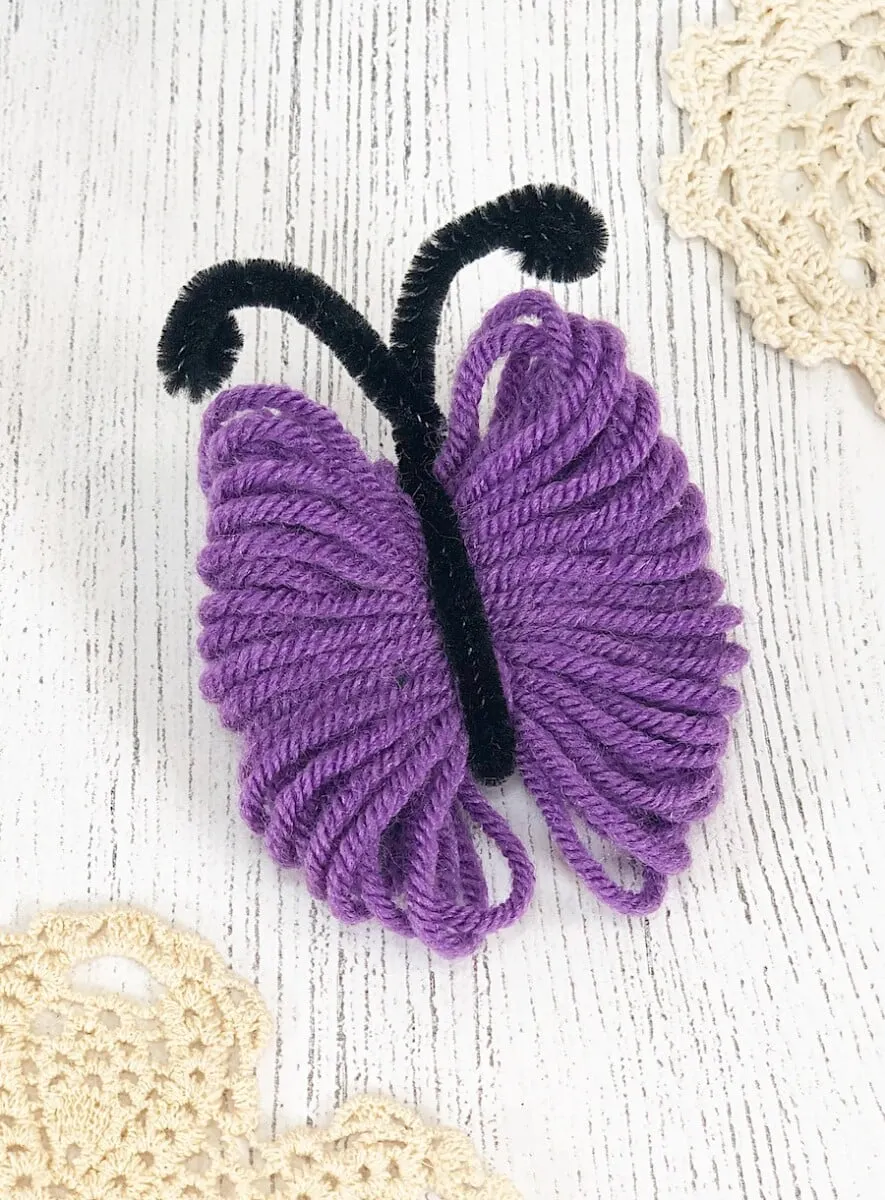
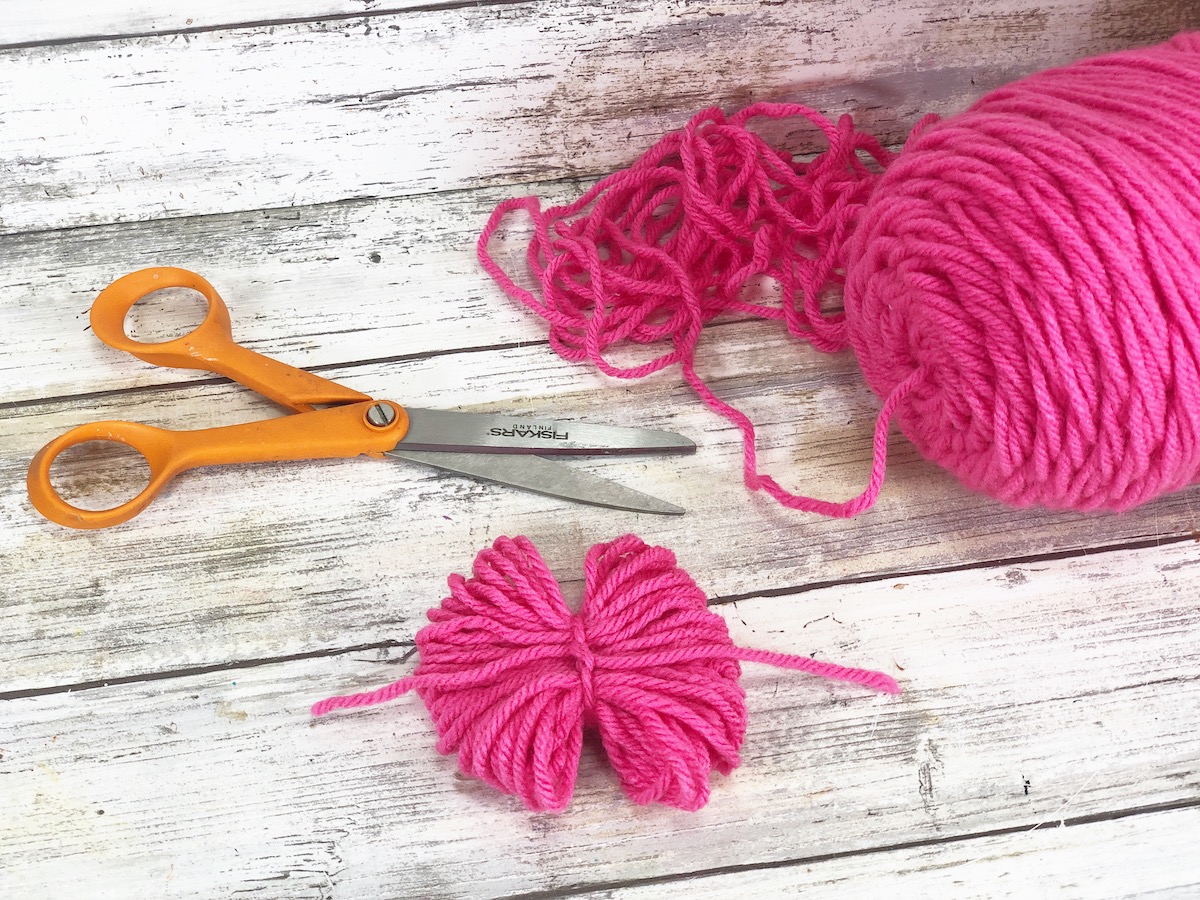
Gently slide the yarn off the cardboard, with the knot on the bottom of the yarn bundle.

Tie the yarn ends in a knot on the top of the yarn bundle. Trim the long tails of the yarn. This will give you a bow shape that will become the butterfly wings.

Step 4
Bend the 12” black chenille stem in half.

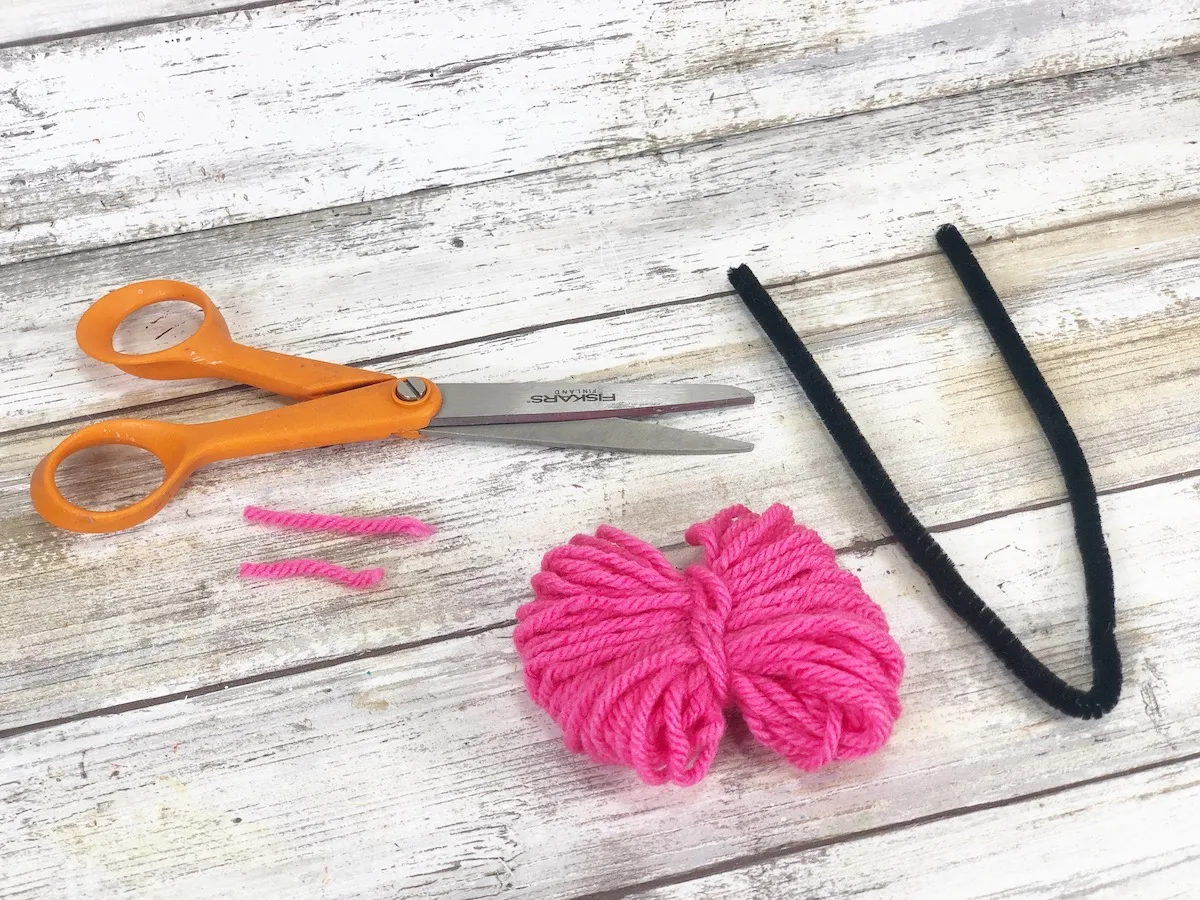
Slide the yarn butterfly in the middle.
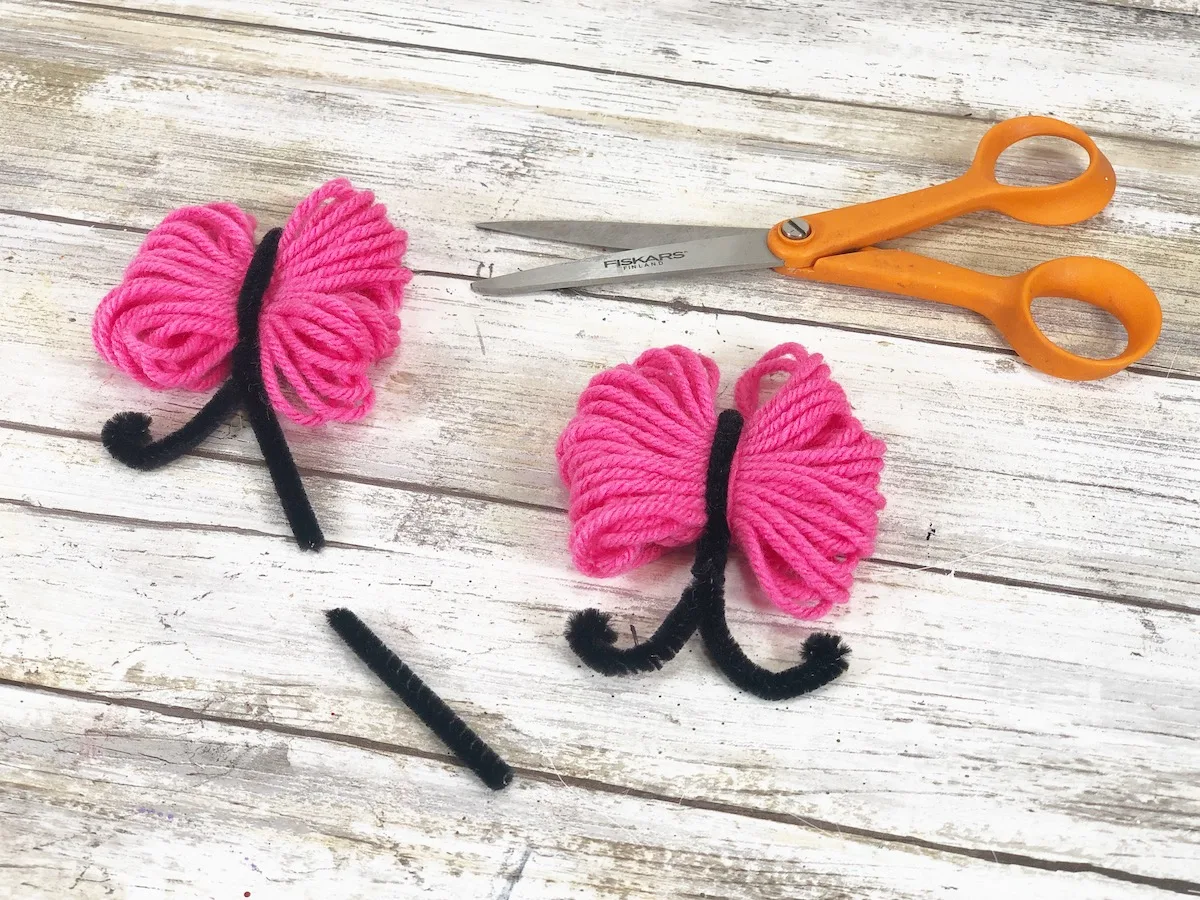
Gently twist the chenille stems together twice just above the yarn bundle to secure.
Measure and cut off 2” from the end of each chenille stem. Bend both ends of the chenille stem into antennae.

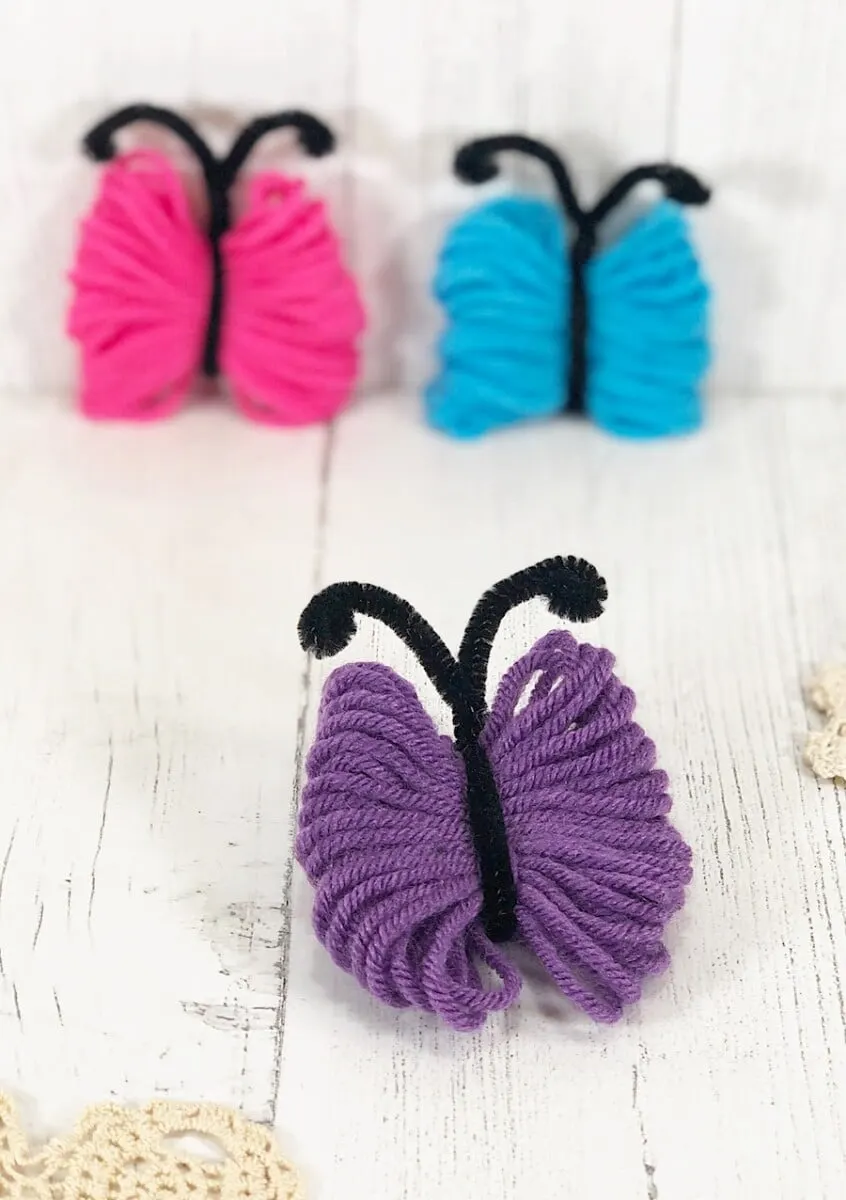
Step 5
At this point, you can glue that yarn butterfly to decorate a hair clip or headband. You can also make the butterflies into a magnet by gluing on a magnet to the back.
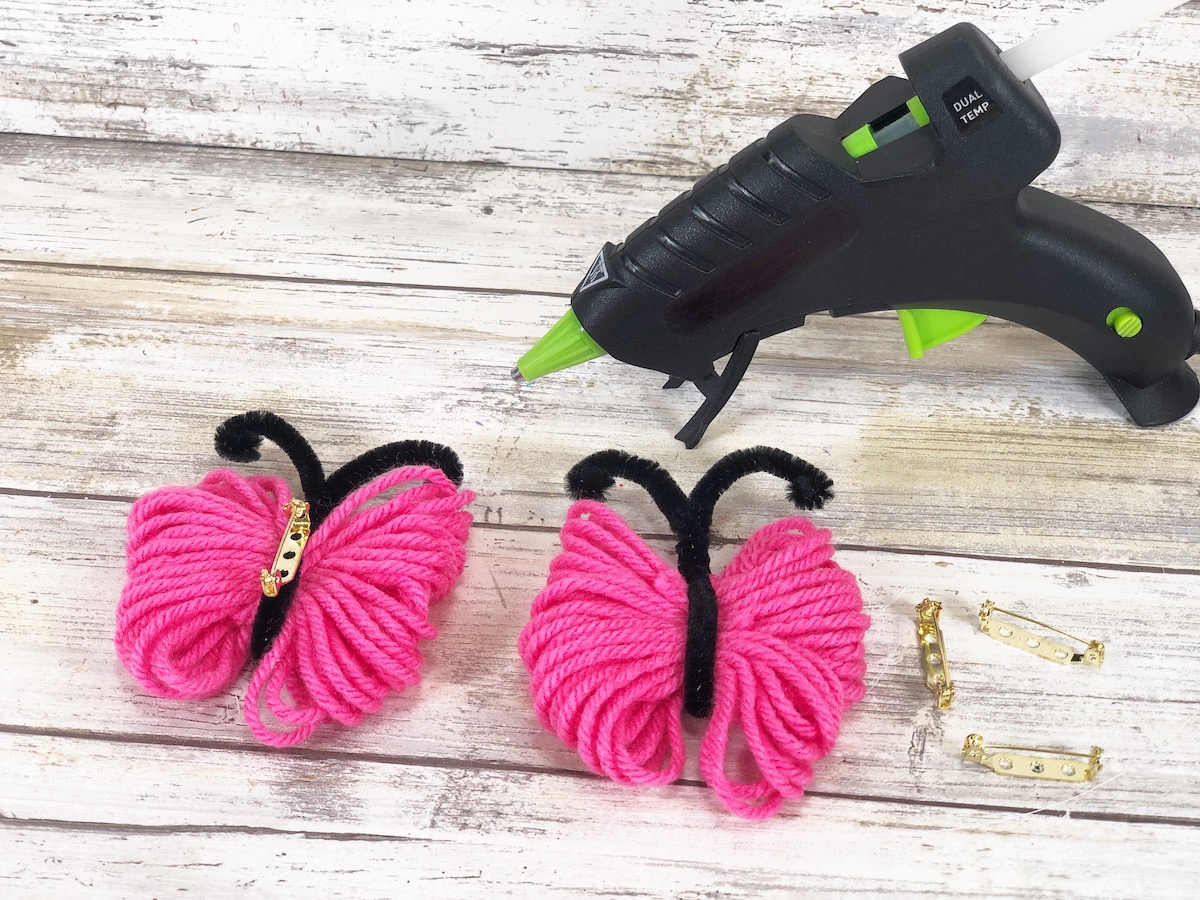
In this tutorial, I’m showing how to make a butterfly pin.
Flip the yarn butterflies over and glue a metal pin closure to the back of the chenille stem.

Be sure to Pin This easy DIY yarn butterfly craft to save for later!
