


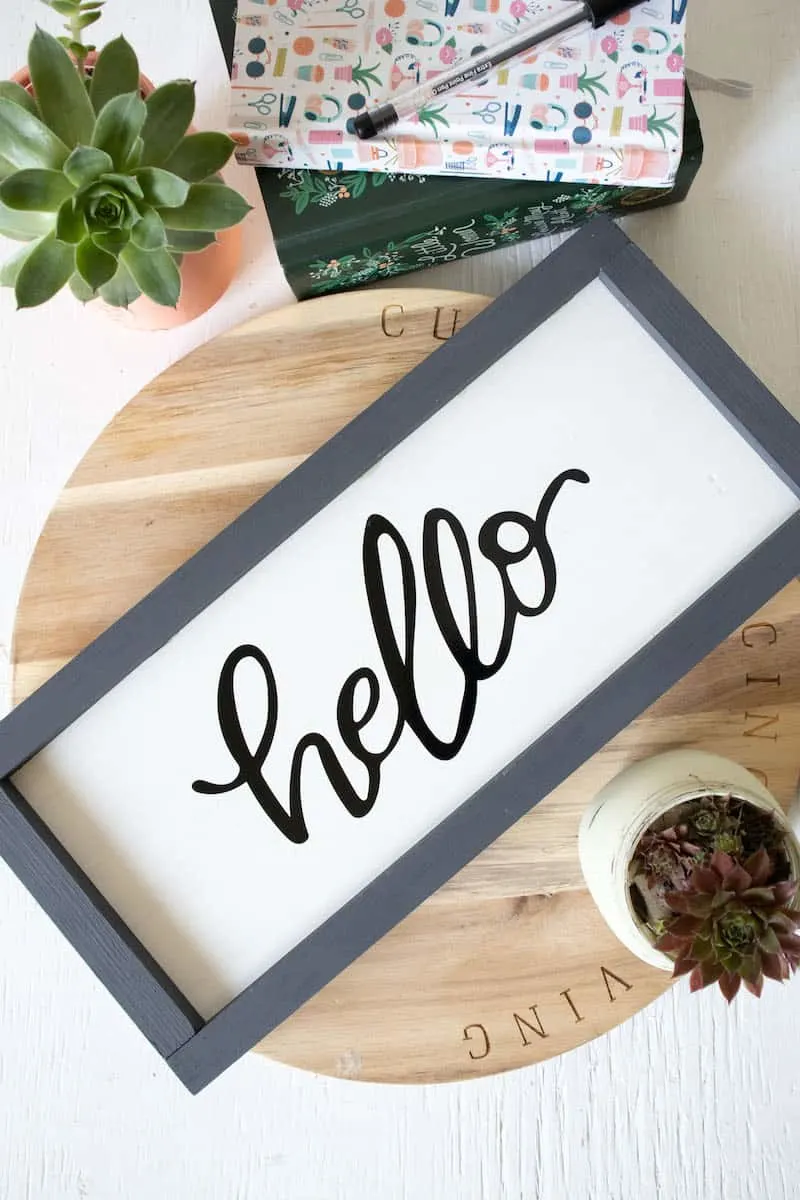
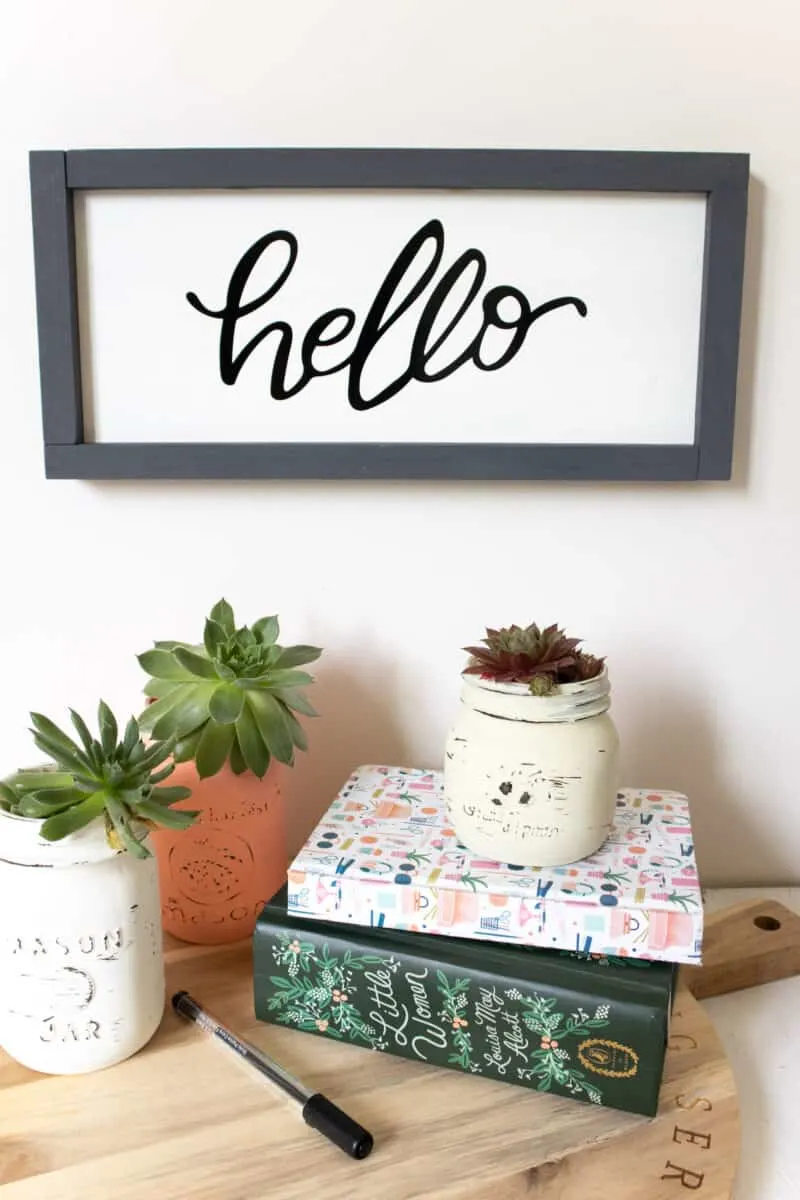
This simple DIY Hello Sign is easy to make on a Cricut machine with vinyl and wood.
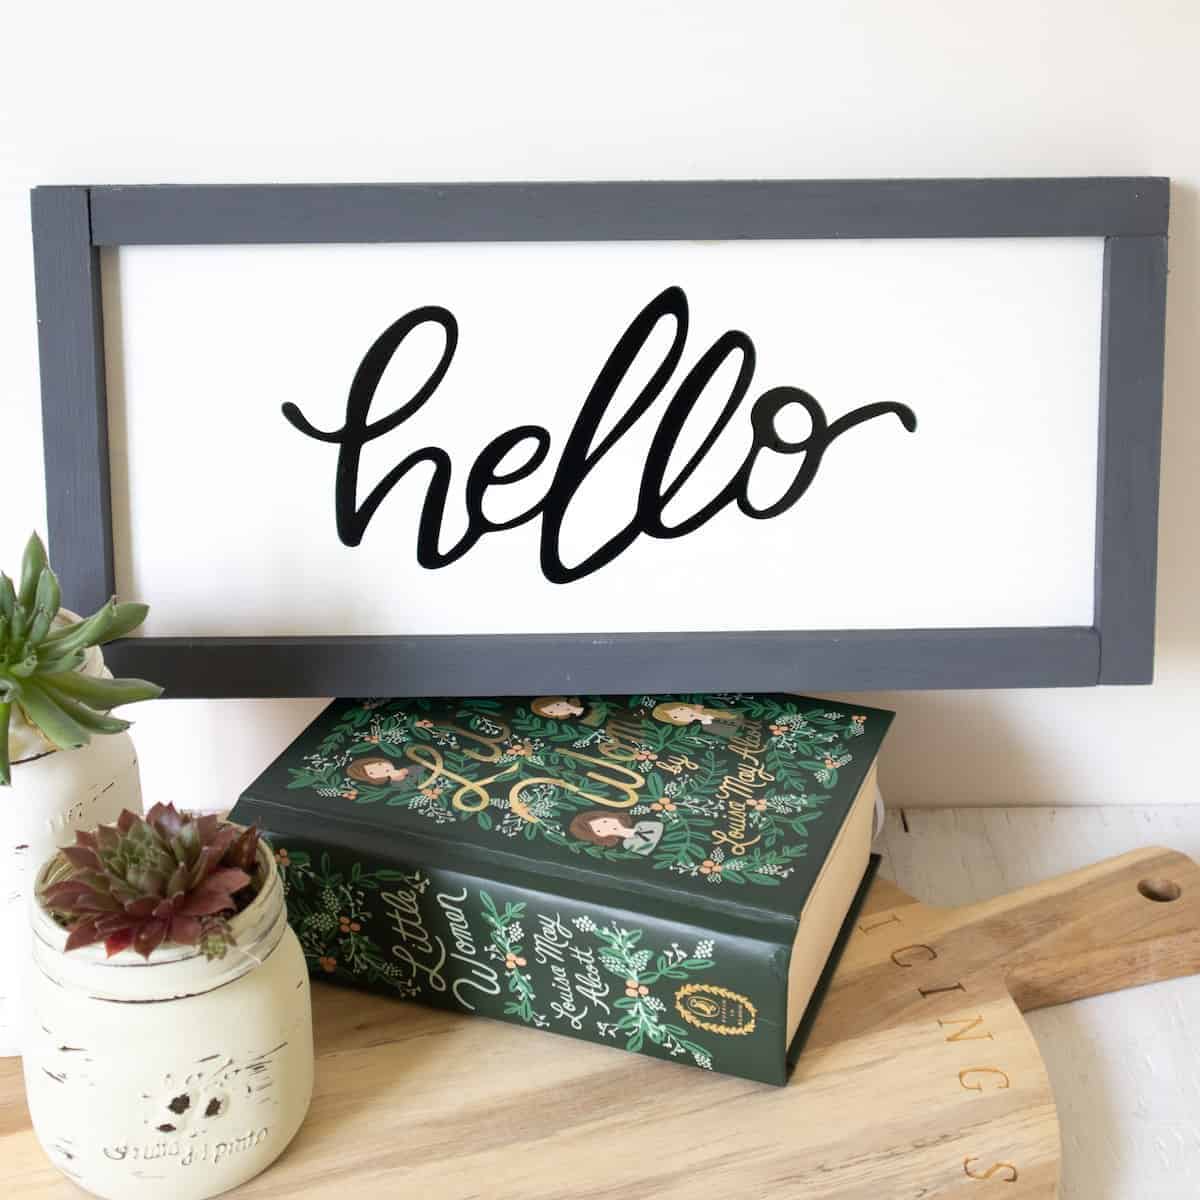

This DIY entryway sign is perfect for welcoming guests to your home, selling the signs at craft fairs, or for giving as a gift.
Be sure to grab the free Hello SVG file (linked below) to make this sign.
In a hurry? No worries! Just Pin this to your Craft or Cricut Pinterest board to save for later.

How to Make a DIY Hello Sign with Cricut Joy
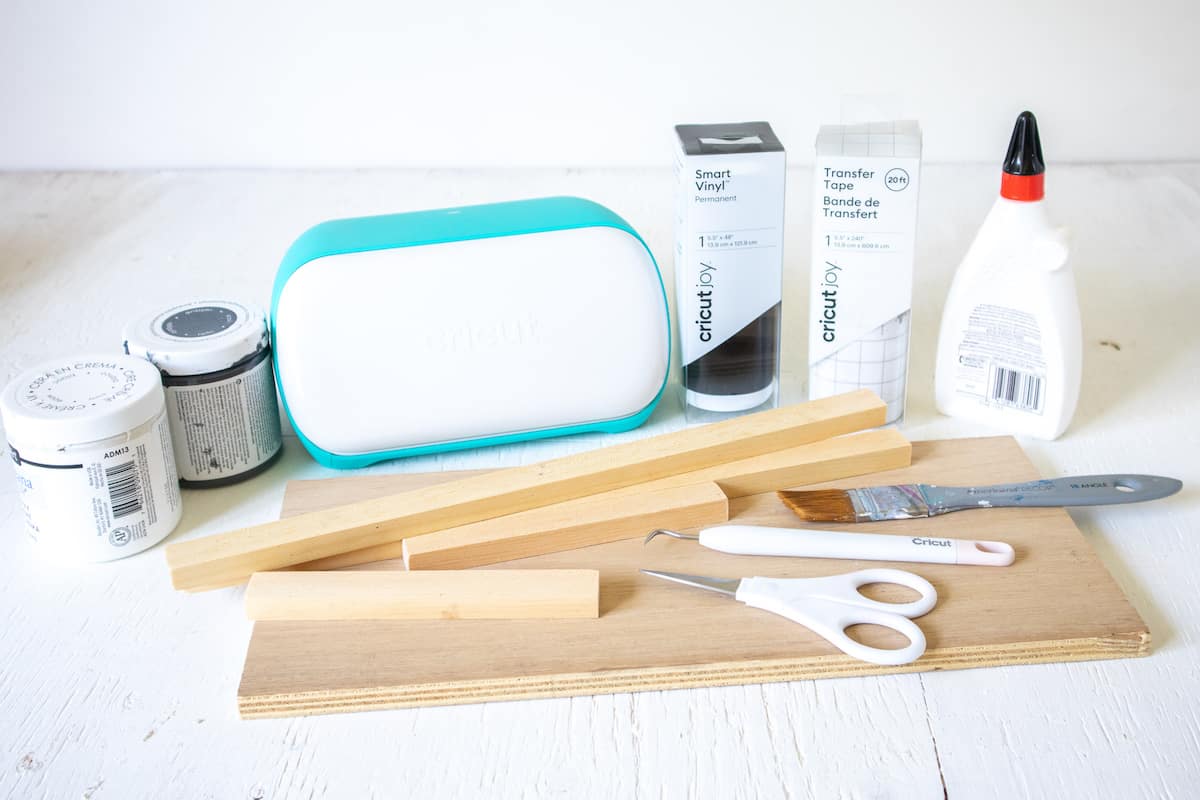
Materials
- Sanded plywood, cut to 15” long x 7” wide
- 1 x 1 wood, 2 pieces cut to 14 ¼” long and 2 pieces cut to 6 ¼” long
- Sandpaper, 150 grit
- Americana Decor Chalky Finish in Everlasting and Relic
- Paintbrush
- Wood glue, clear drying
- Hello SVG file
- Cricut Joy
- Smart Vinyl Permanent in black
- Cricut Weeding Tool
- Scissors
- Cricut Transfer Tape

Instructions
Prepare Wood for Use
Cut a piece of plywood to measure 15” wide x 7” high.
Cut the wood trim into 4 pieces: 2 pieces measuring 6 1/4” long and the other two measuring 14 1/4” long each.
Sand edges and surface of plywood and trim and then clean off all the loose dust.
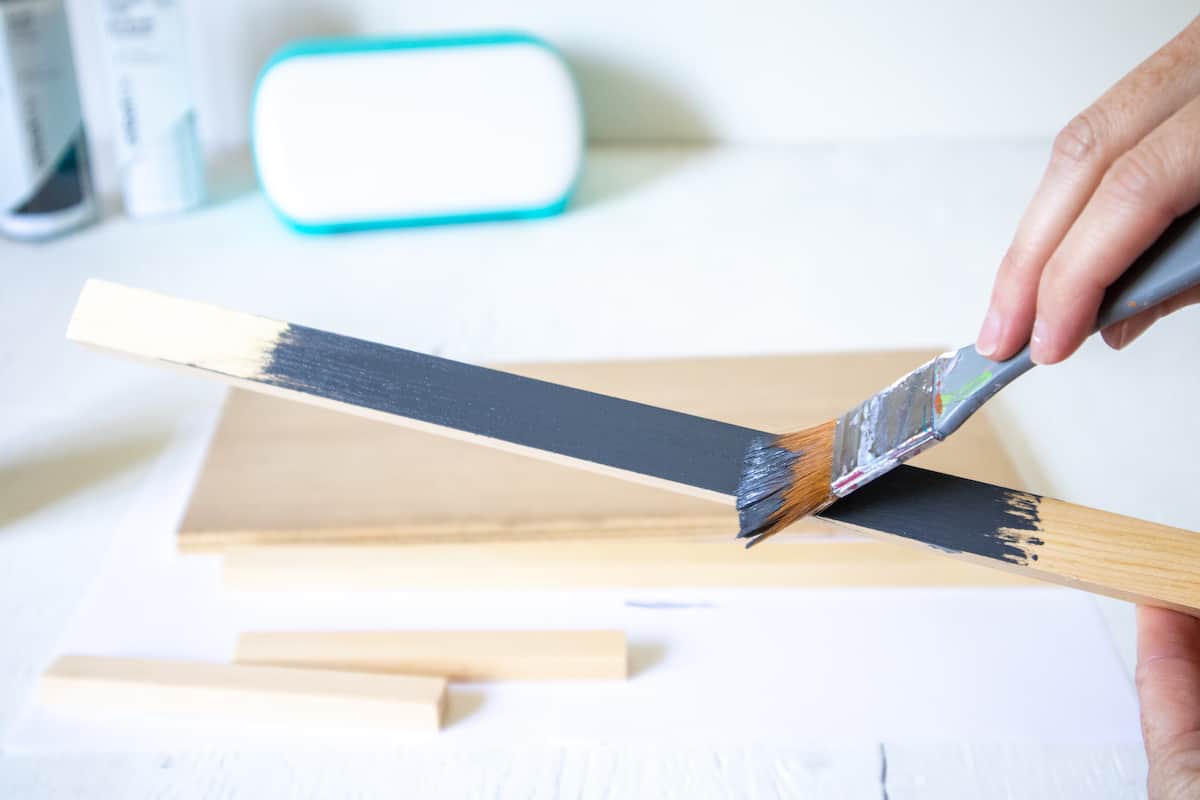
Painting the Wood and Assembling the Sign
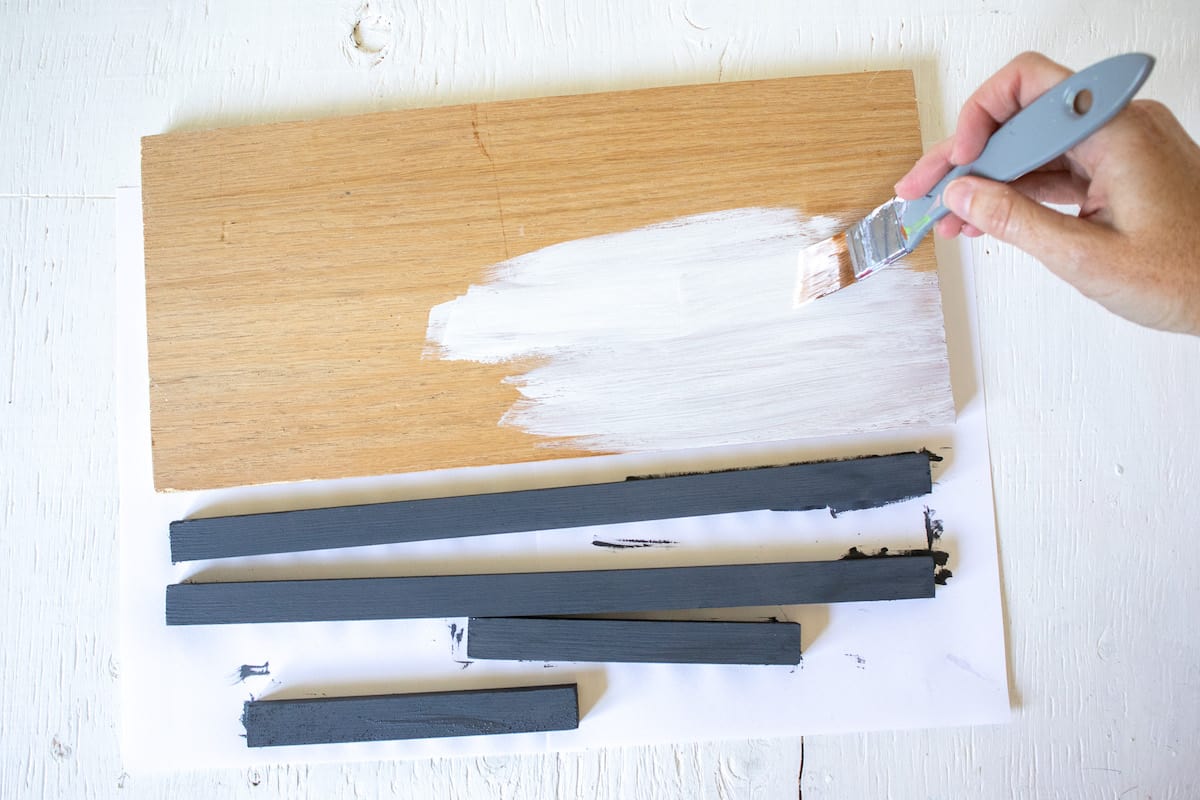
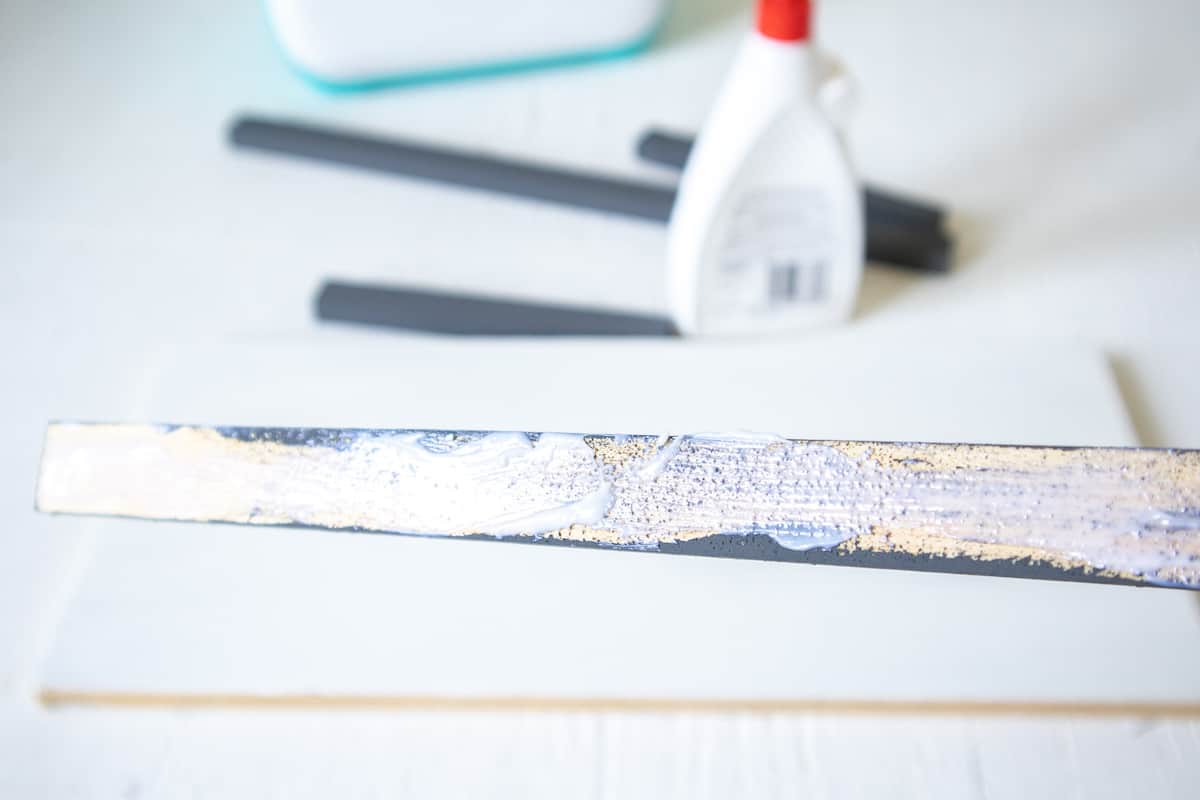
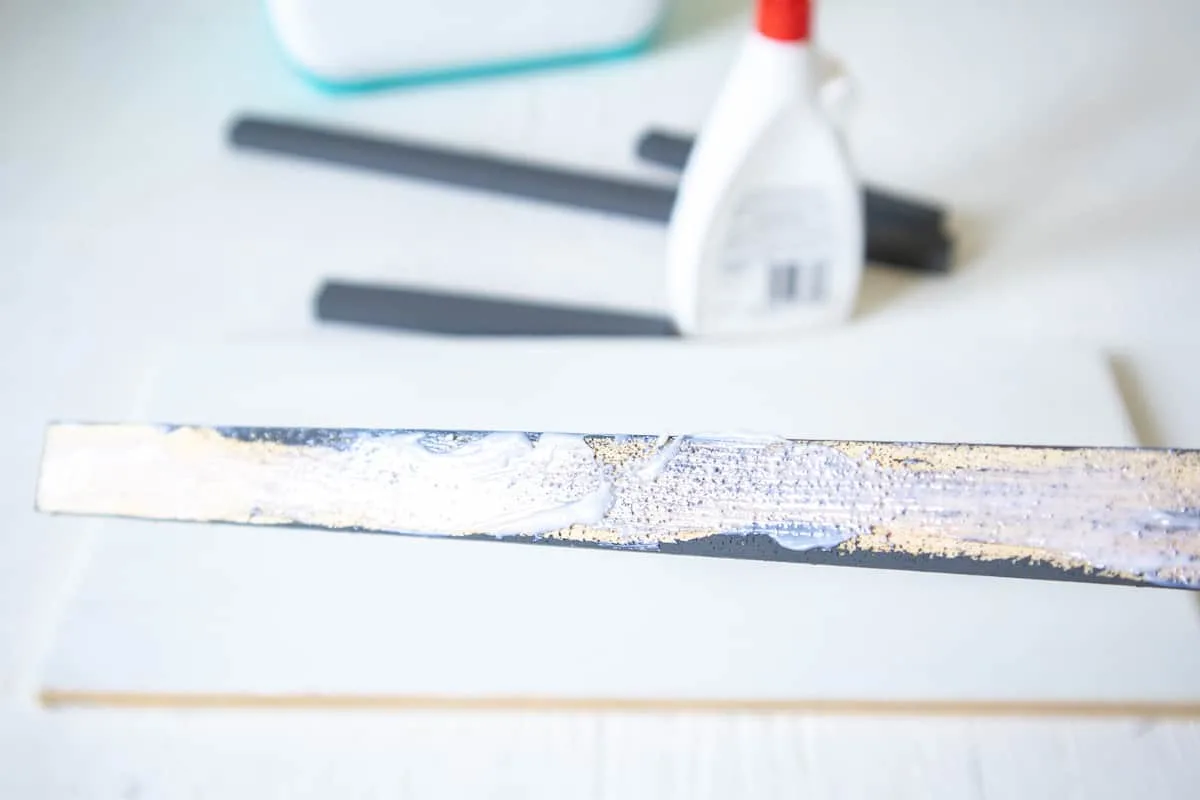
Paint the surfaces of the trim in Relic. Be sure to paint the top of the trim, as well as the sides. You do not need to paint the underneath side of the trim.

Paint the surface of the plywood in Everlasting. Leave paint to dry fully before assembling.

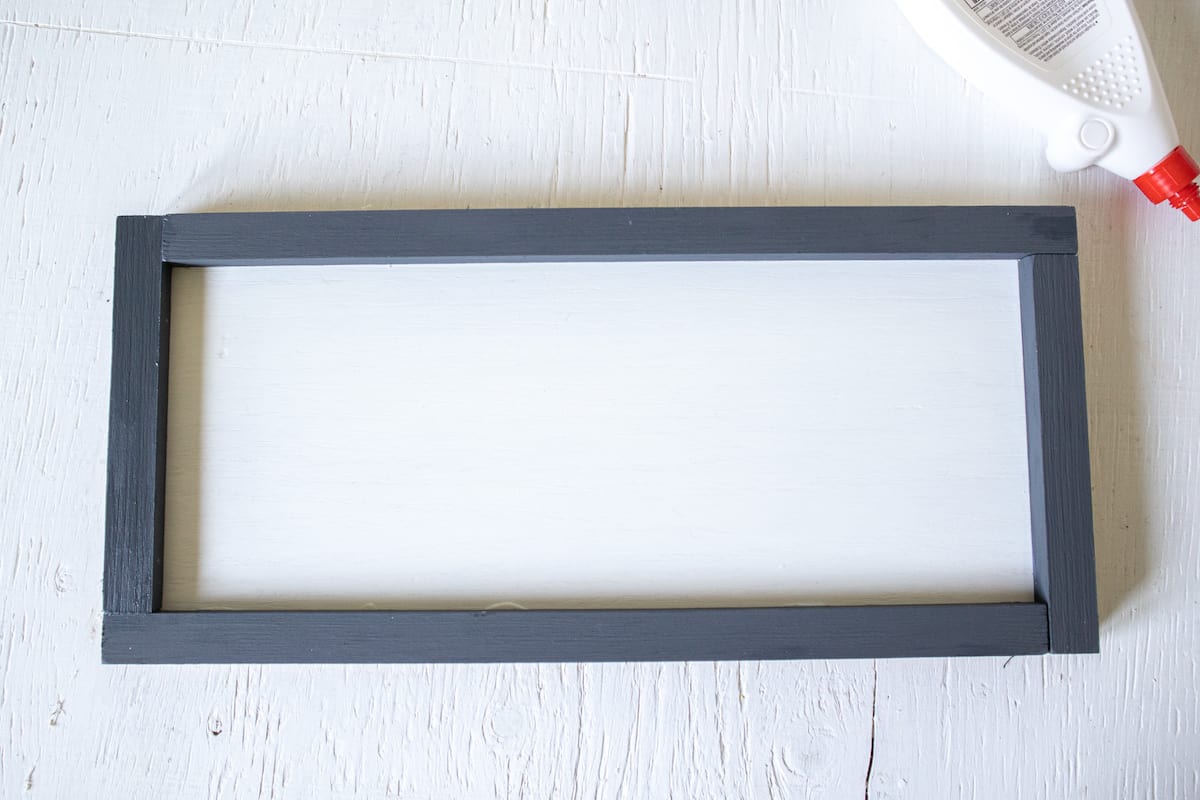
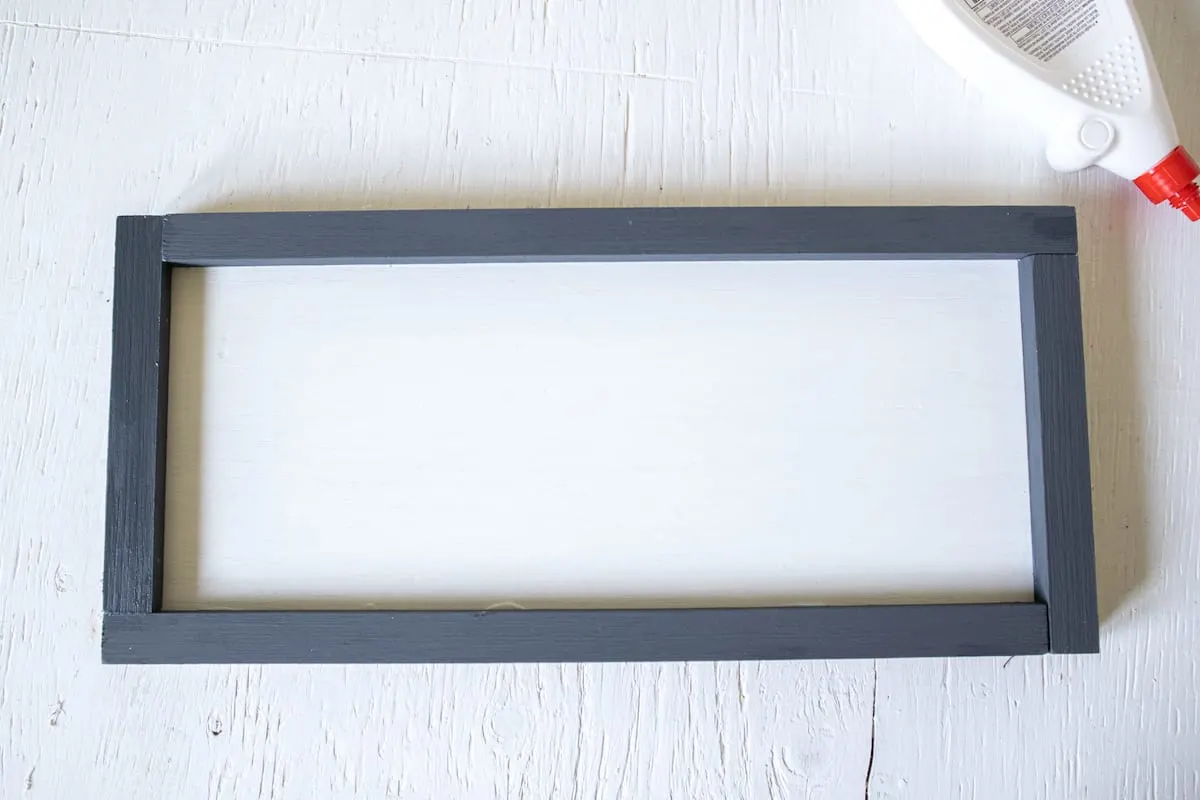
Apply wood glue to the back side of the trim.
Press the trim along the edges of the plywood to create the frame. Repeat with the remaining 3 sides.
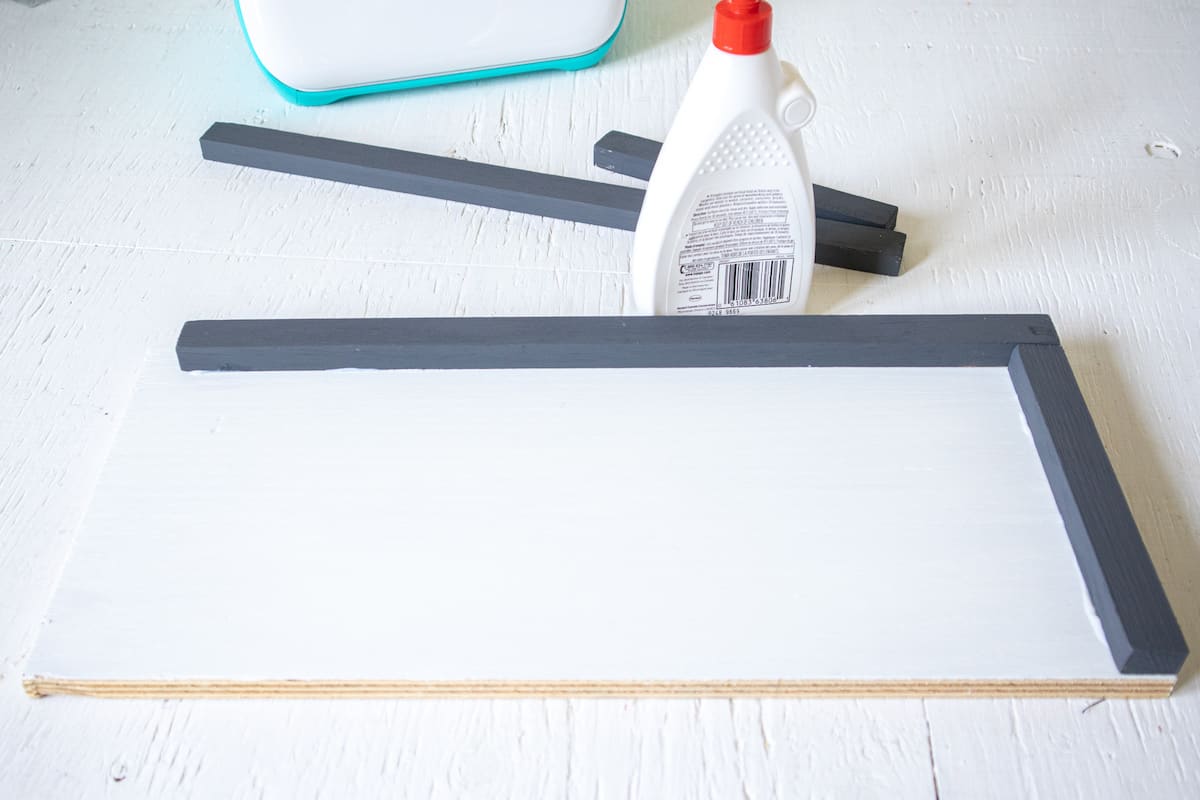

Place a heavy object over top of the glued trim and leave it until it dries fully before using.
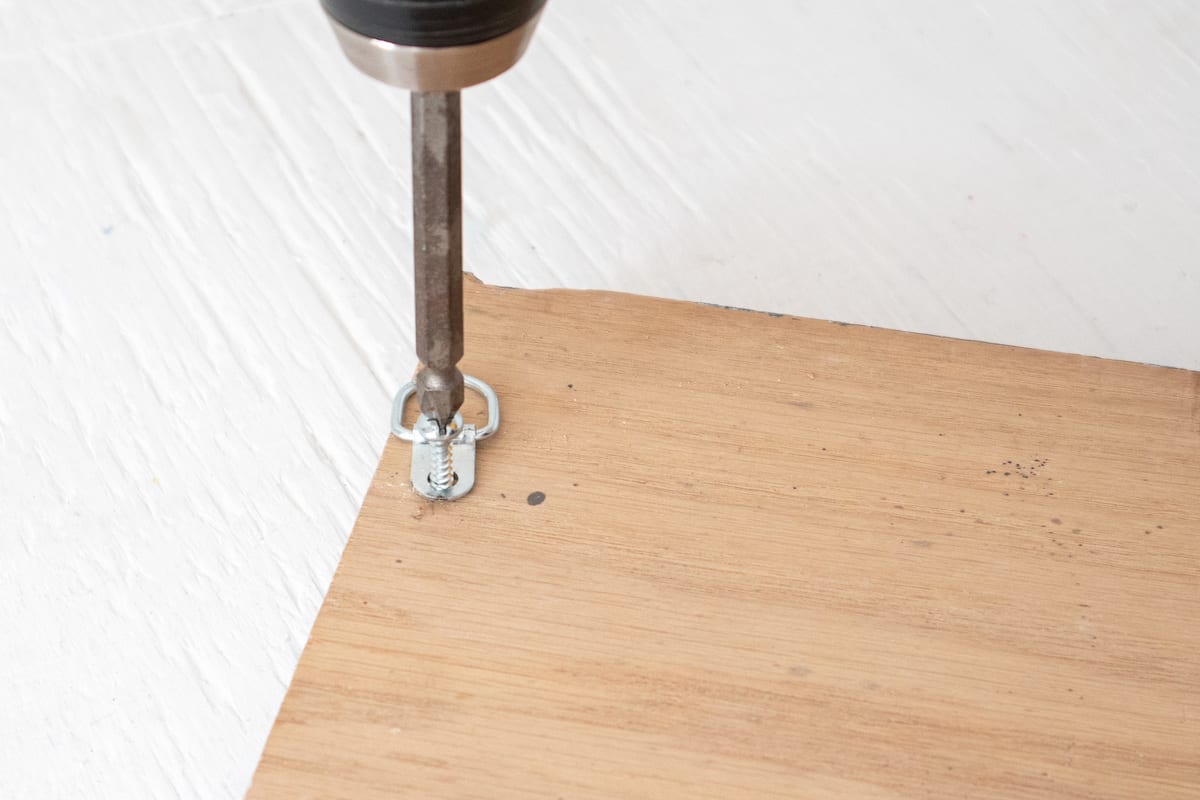
Add hanging brackets to the back side of the sign for hanging on the wall.

Uploading the Hello SVG Pattern
Open Cricut Design Space.
Click on the “+” sign to start a new project, opening up a blank canvas.
Click on the Upload button from the toolbar to insert the Hello SVG file onto the canvas.
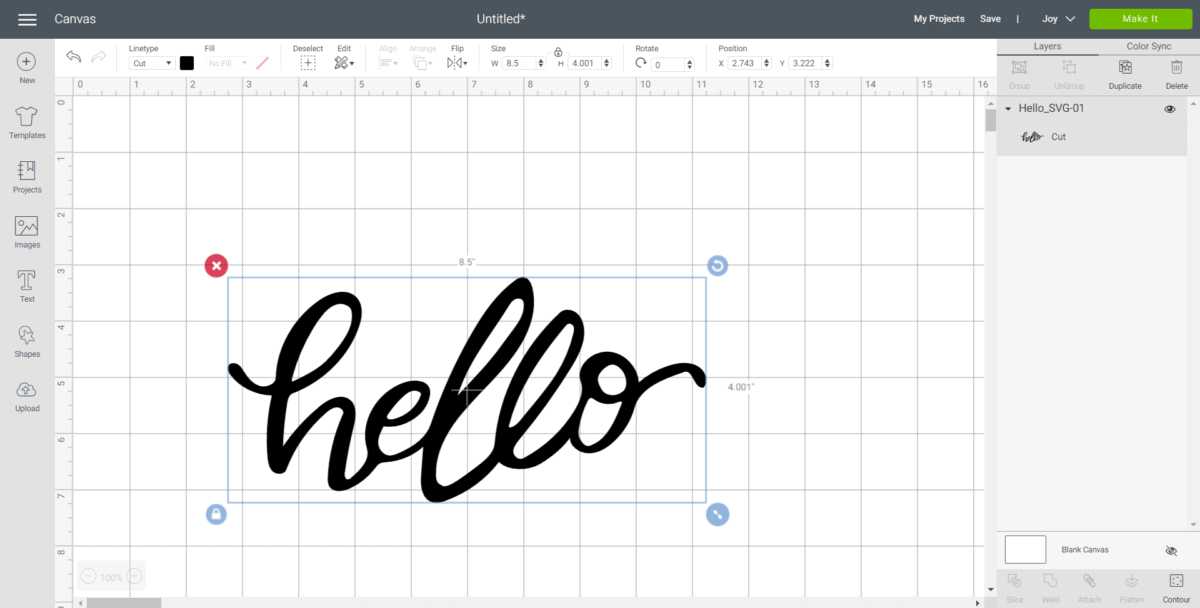
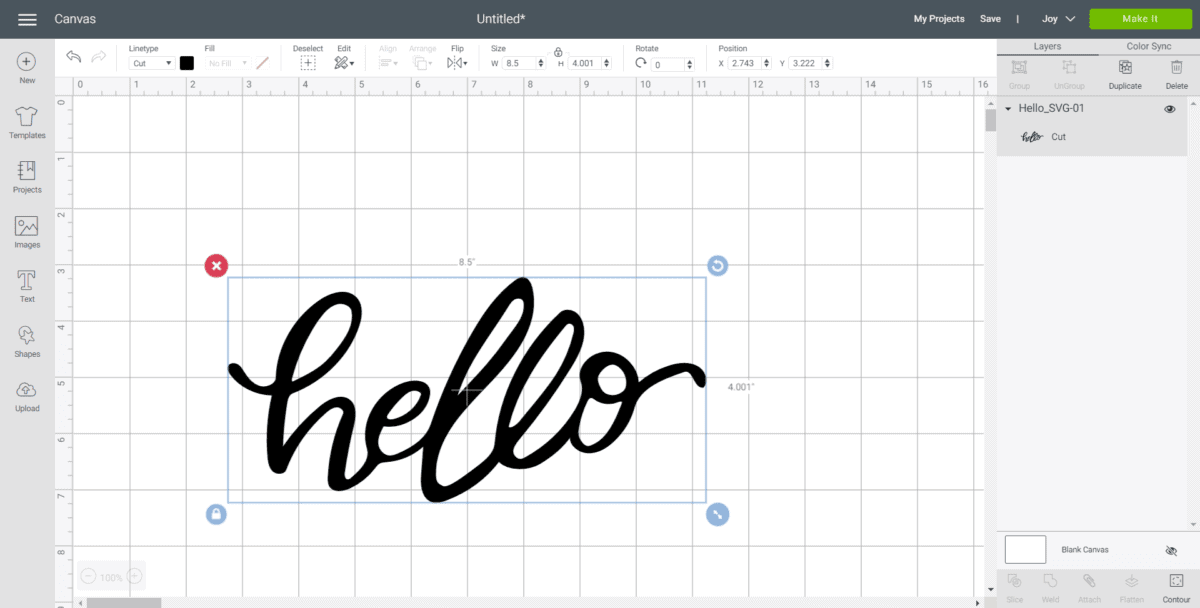
Maintain size at 8 ½” wide x 4” high.
Cutting the Vinyl
Ensure the machine is set to Cricut Joy and select “Make It” in Design Space.
Choose “Without Mat” as the option for cutting when using Smart Vinyl.
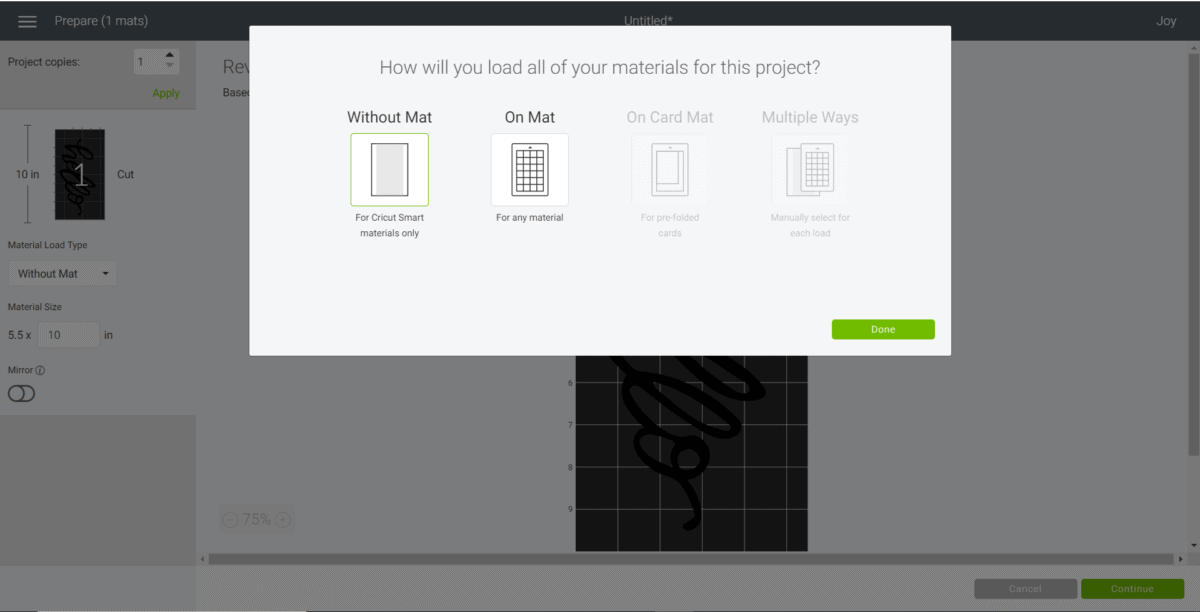
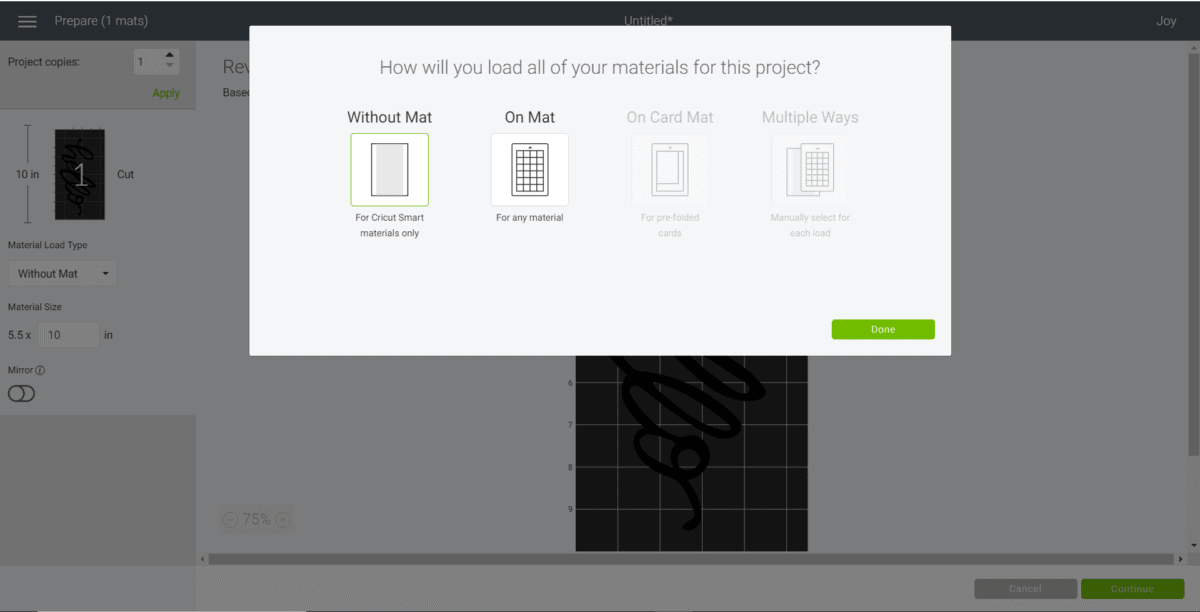
Set material type to Smart Vinyl.
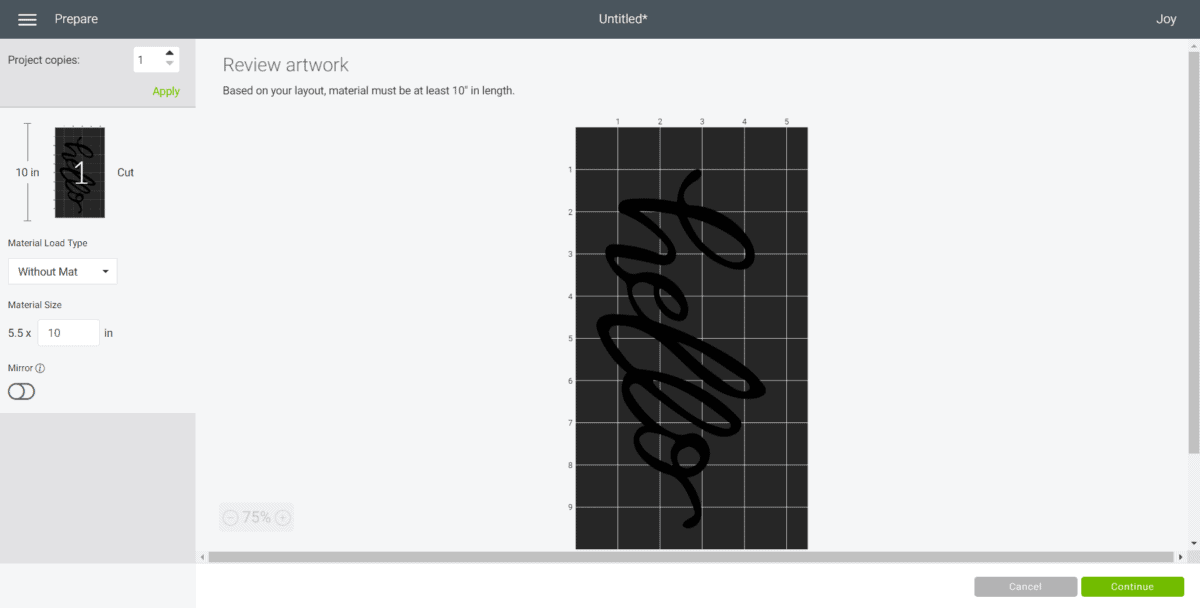

Follow prompts for loading the mat into the Cricut Joy and cutting the Smart Vinyl. When prompted, unload the vinyl from the cutting machine.
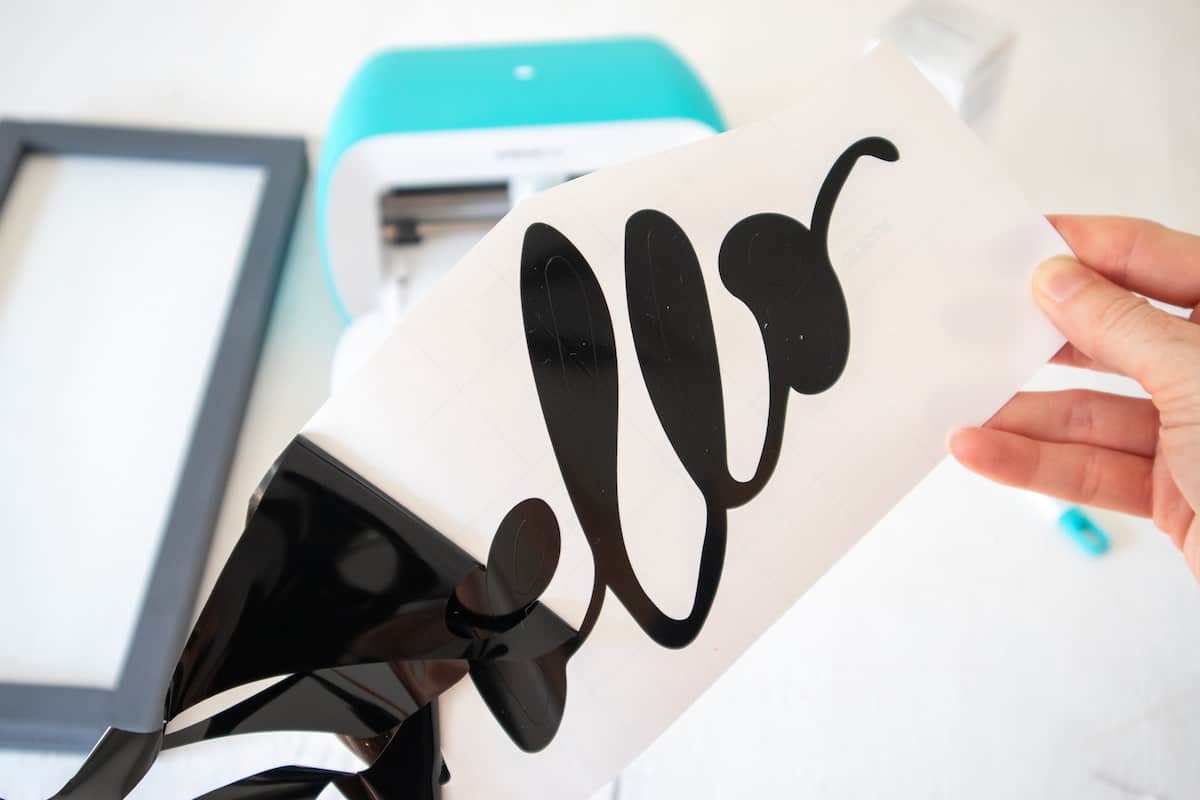
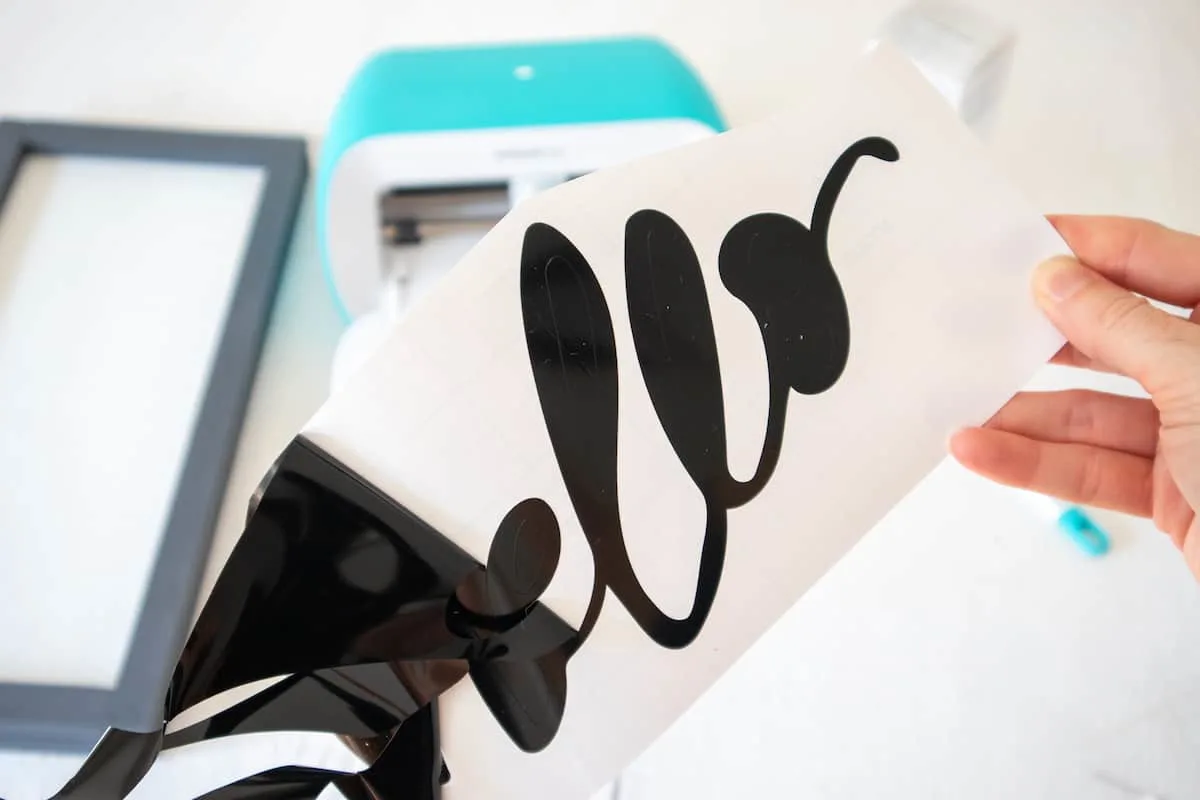
Applying the Vinyl to the Wood Sign
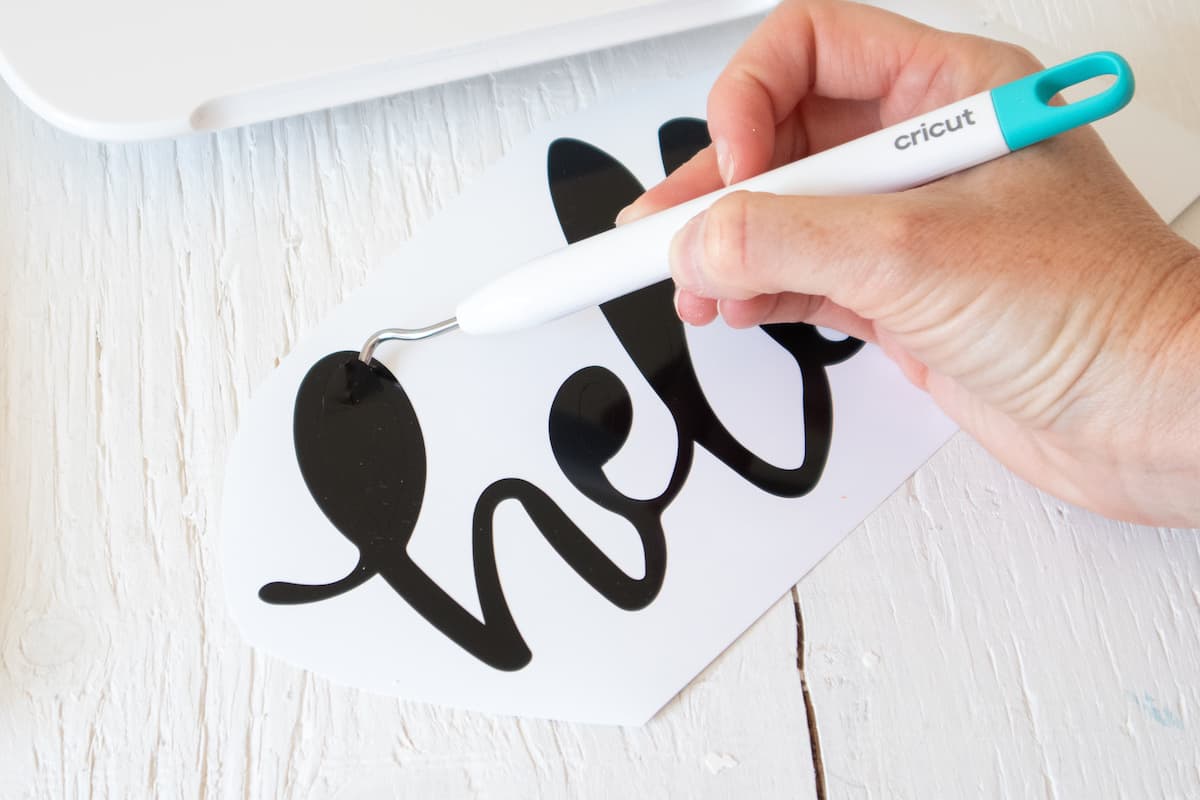
Using the weeding tool, peel away the excess vinyl around the word and discard.

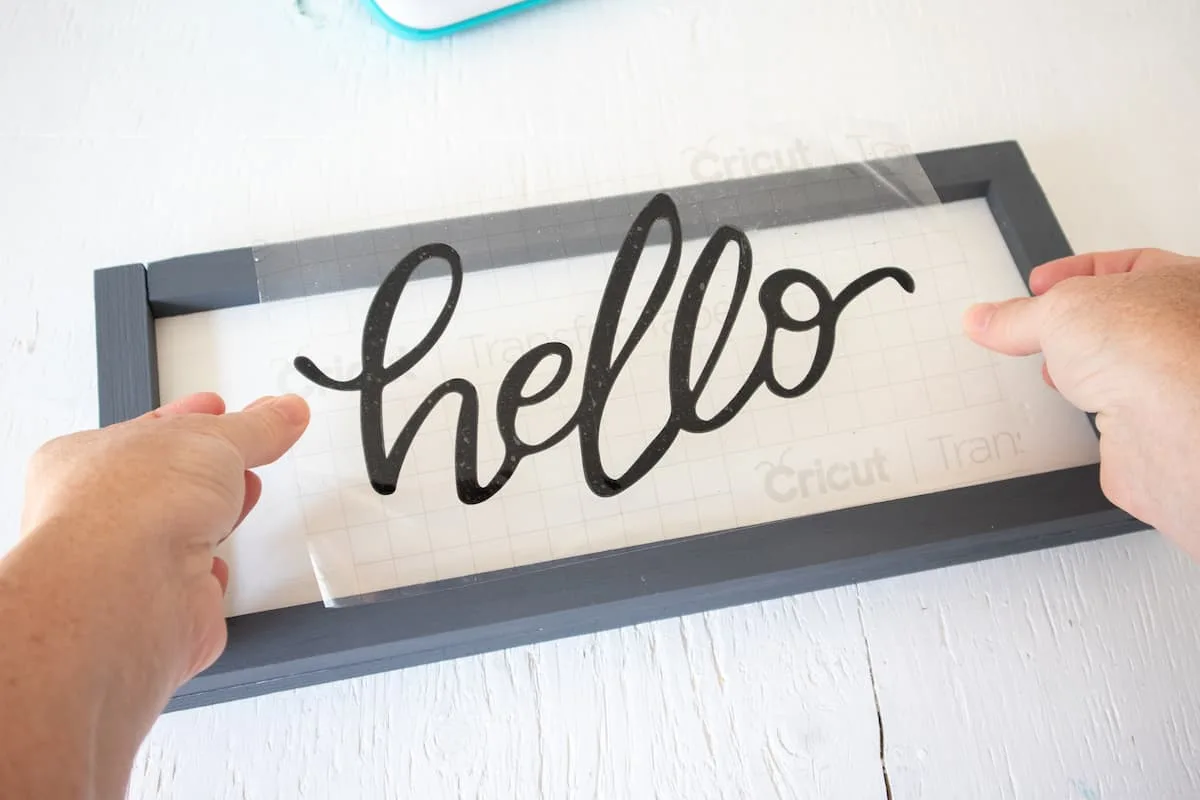
Cut a piece of transfer tape a bit larger than the size of the word.
Peel away the transfer tape backing and place the transfer tape overtop of the cut image. Gently rub the vinyl to help it stick to the transfer tape.
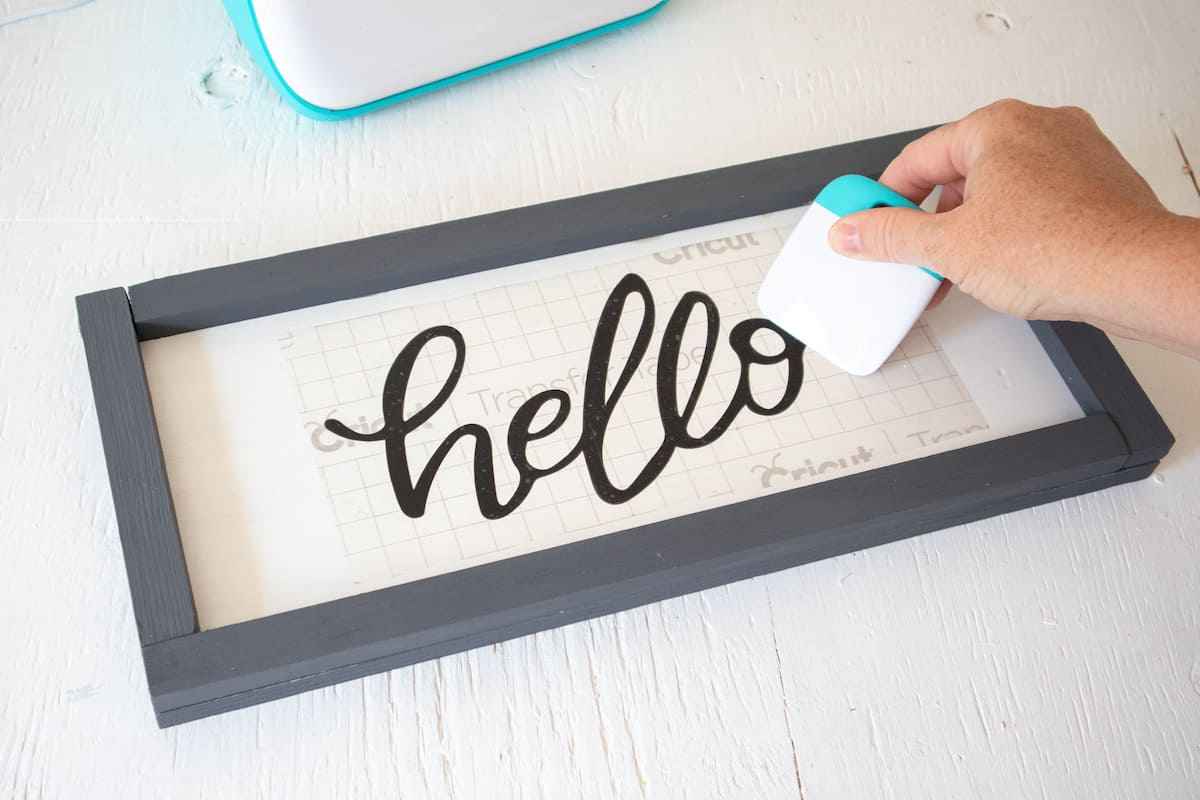
Peel away the vinyl backing and place the image on to the wood sign. Gently rub the vinyl to help it stick. You can use a Cricut scraper tool for this.
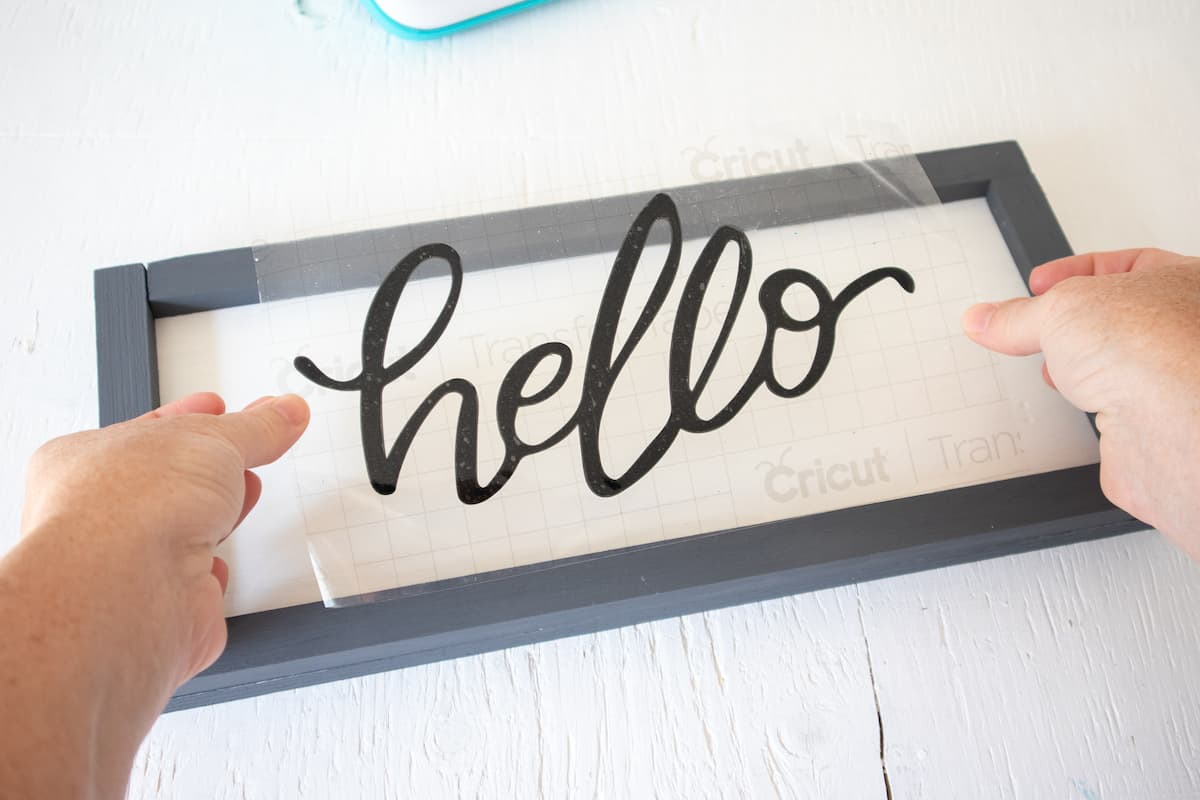

Carefully and slowly peel away the transfer tape.
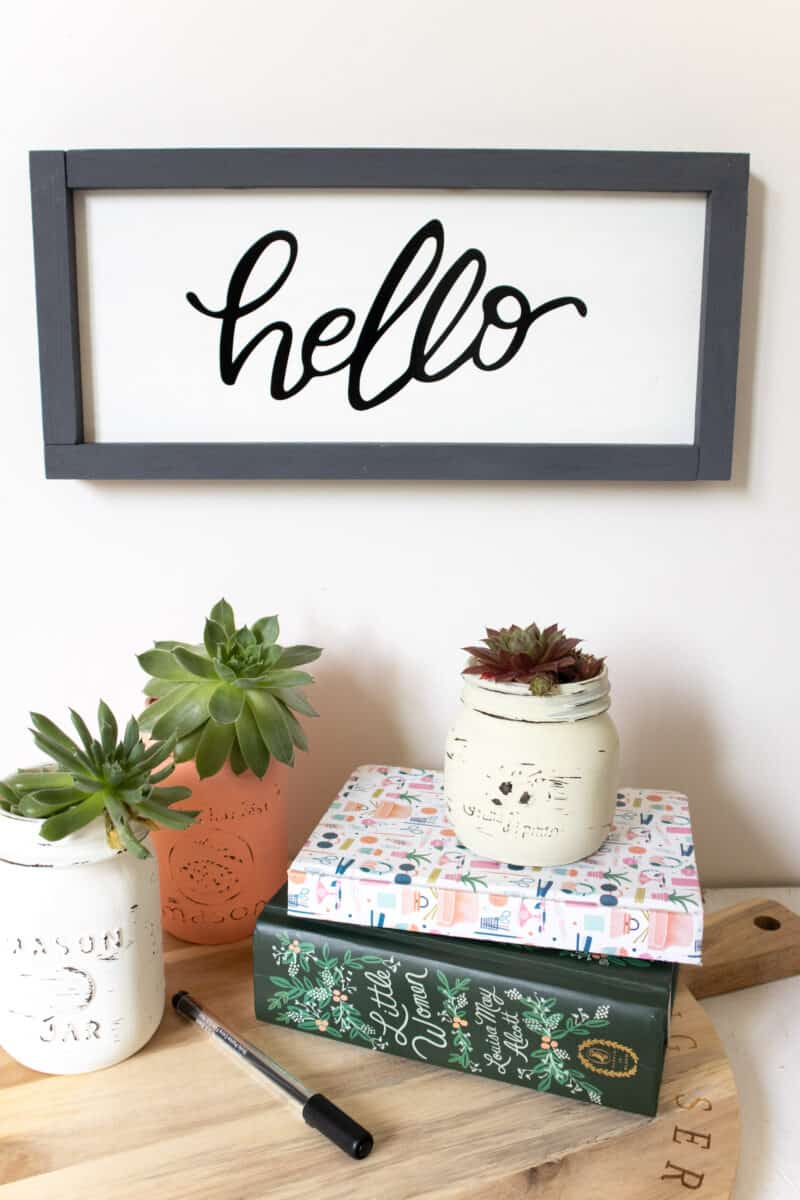
Ready to hang your farmhouse Hello Sign!
If you love making signs for your home or as gifts, you might also be interested in these:
- Farmhouse Key Holder Hooks for Entryway
- Make Your Own Silhouette Artwork
- Thrift Store Canvas Makeover
- DIY House Number Sign
