

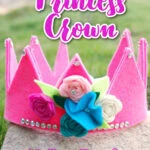
Our easy DIY Felt Crown is perfect for princesses, fairies and imaginative play!
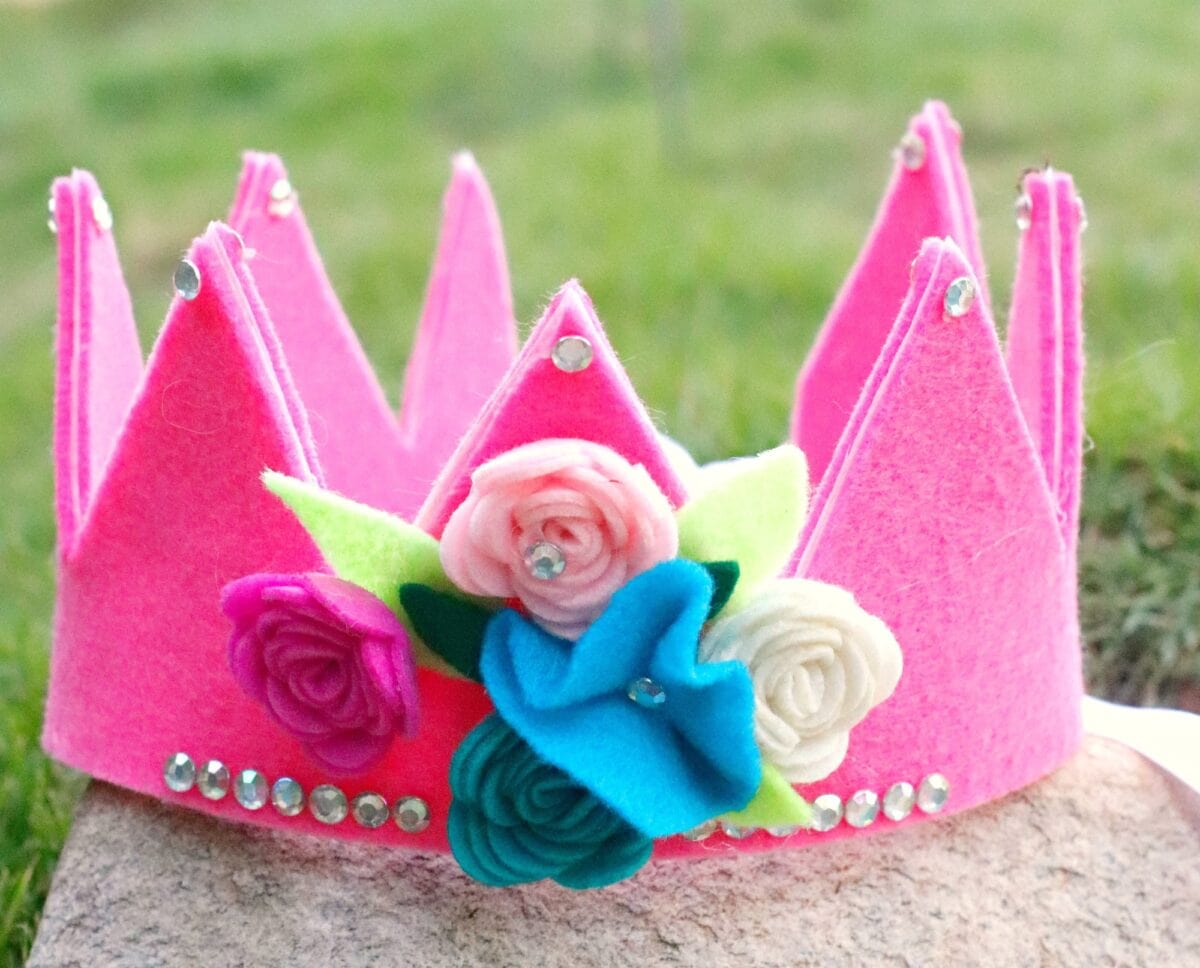
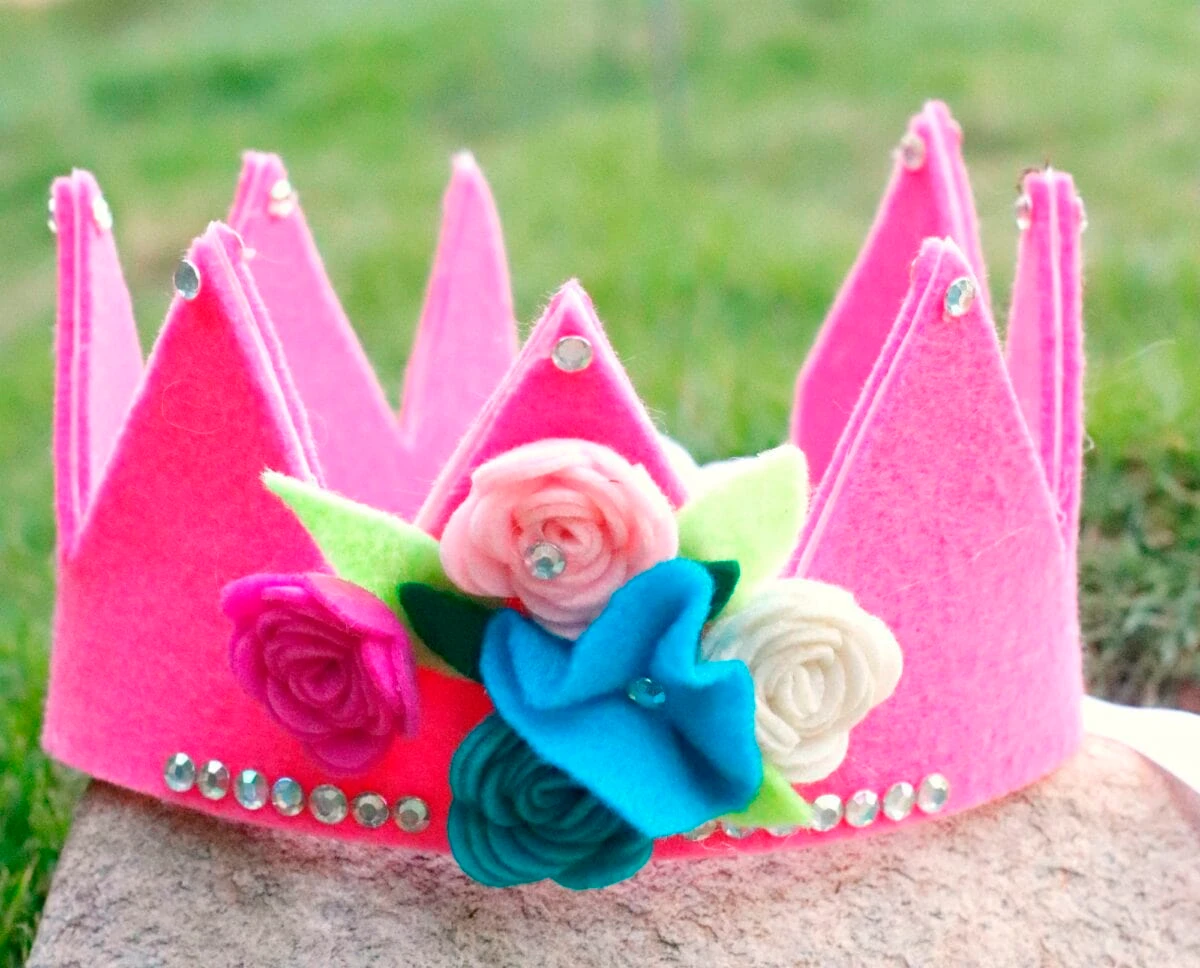
This easy handmade crown can be made with our free template. Kids will love being able to decorate their own crown to feel like a princess or fairy!
For older kids, this is a great craft project for birthday parties and summer camps.
How to Make a Felt Crown with No Sewing
Here are some helpful tips I learned while making this craft.
- The free PDF template is linked in the supplies list below. Be sure to print off two copies.
- Interfacing is definitely needed to stiffen the felt. Otherwise the crown’s points will droop. Interfacing can be bought by the yard at fabric stores (such as Hobby Lobby) and is relatively inexpensive. See this Beginner’s Guide to Interfacing for tips on how to iron it.
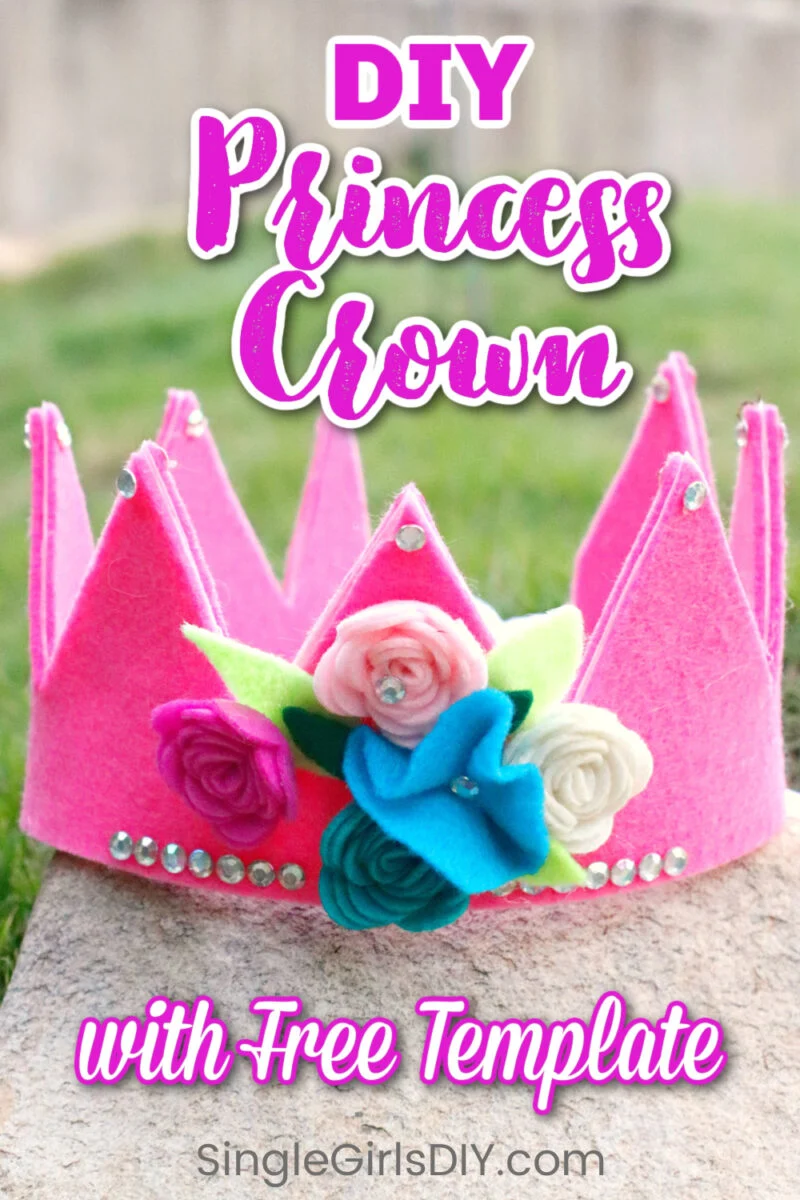
- Embellishments can be bought at dollar stores, craft stores, and online.
- Use a thicker ribbon (½ inch wide or more) rather than a narrow one.
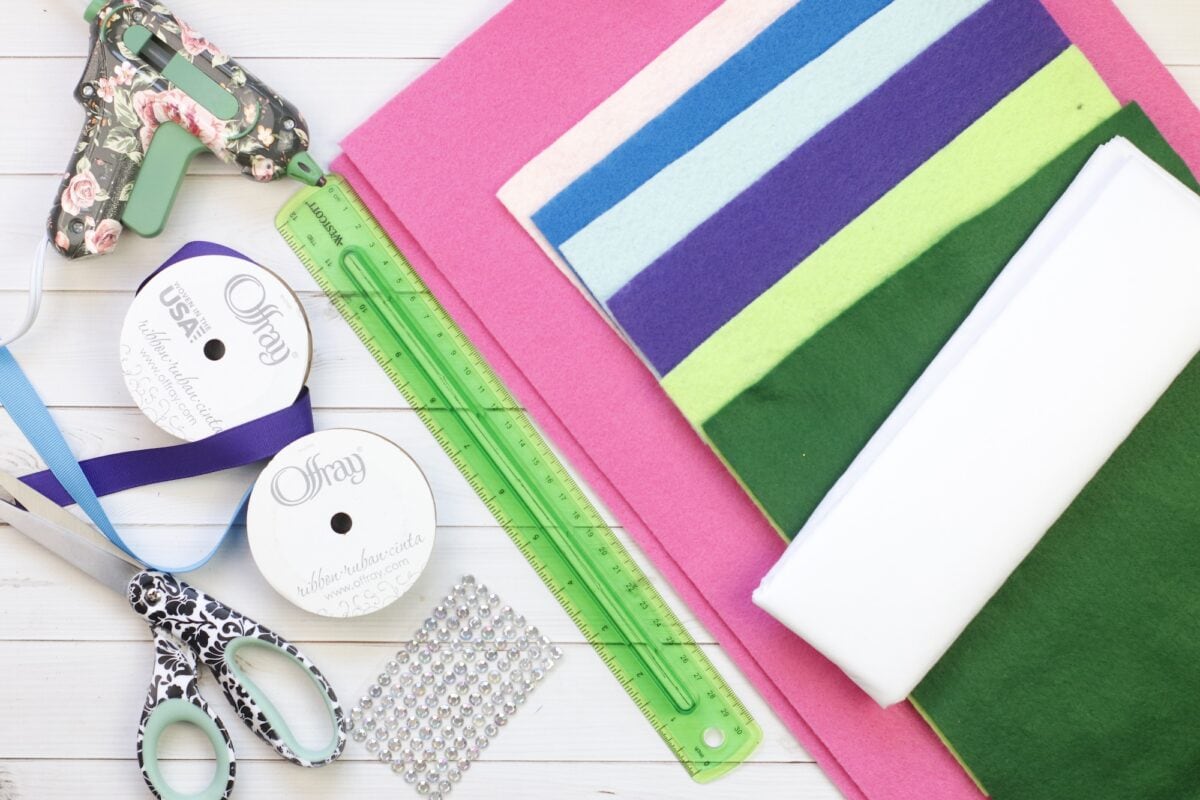
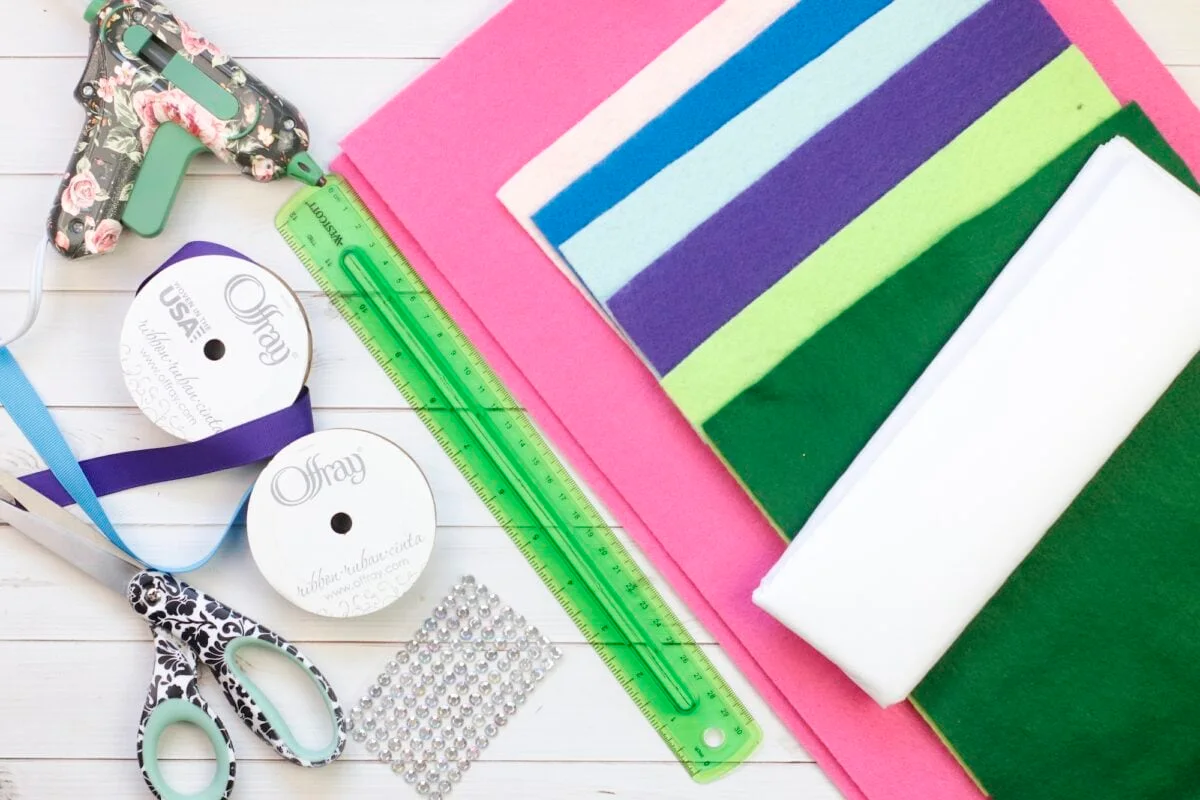
Supplies
- Free Felt Crown Template
- Large felt sheets (at least 22 inches long)
- Felt Flowers (We used these felt roses, but also love these felt daisies, too)
- Rhinestones with Adhesive Backing
- Medium to Heavy Weight Fusible interfacing
- Hot Glue gun and glue sticks
- Scissors
- Ribbon
- Clips or Pins
Instructions
Step 1
Print 2 copies of your Felt Crown template and tape them together.
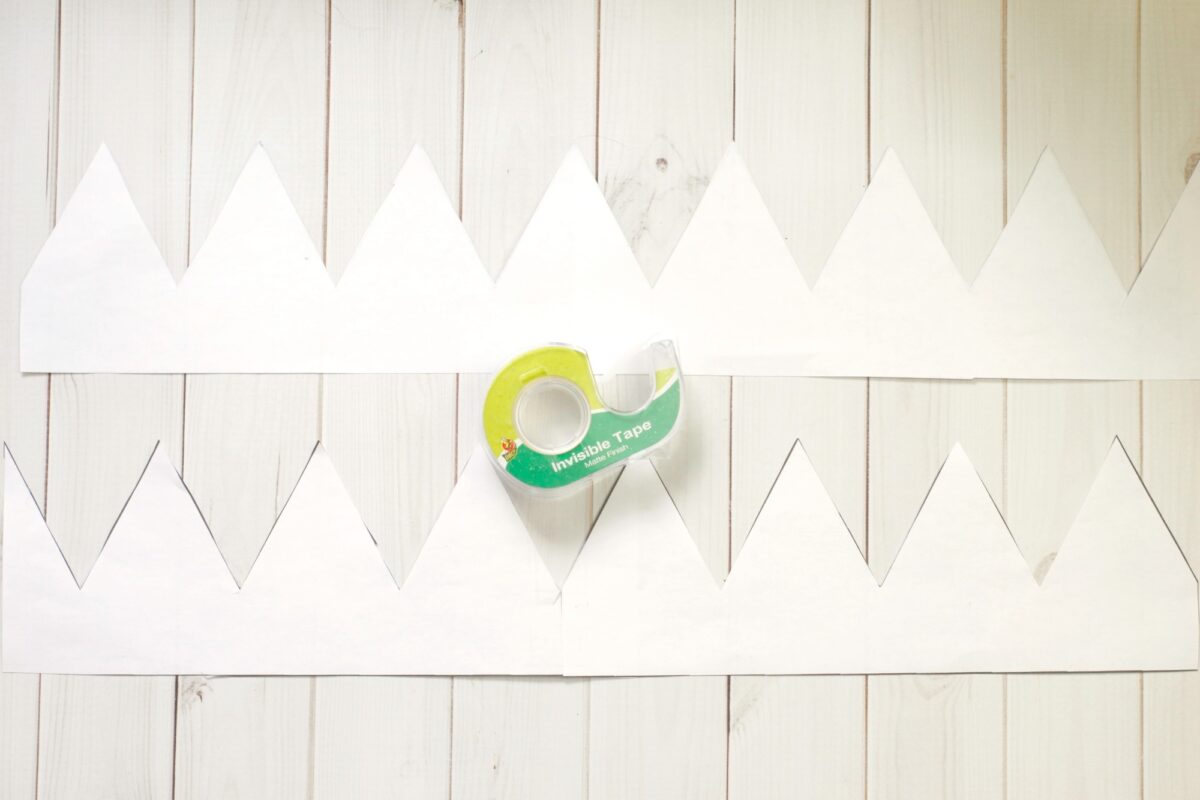
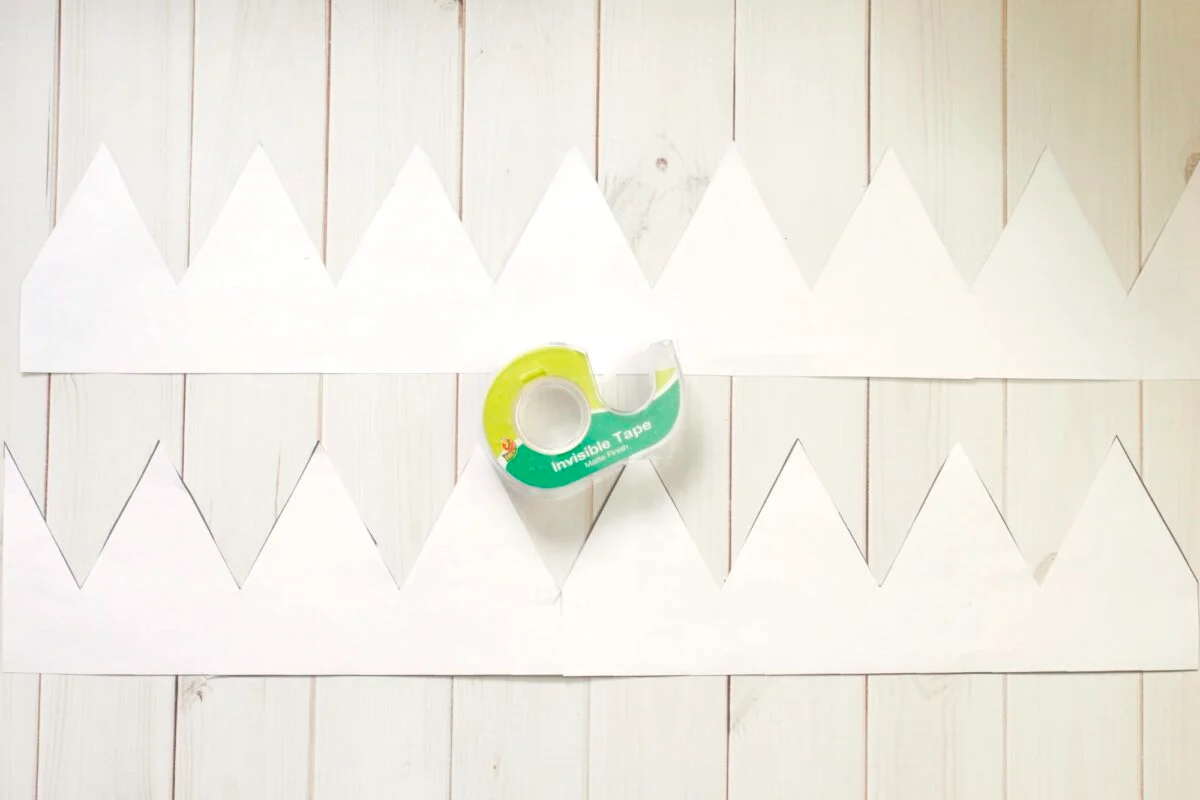
Measure around the child’s head and subtract 1”. This is the length you want the template for your crown. Then cut your template to the size you need.
***If you are making felt crowns for a gift, party favor or costumes for children and do not have their head size, you could use a 17″ length and make the ribbons long. The crown doesn’t have to wrap completely around their head, but the ribbons do need to be long enough to cover the gap and still be able to be tied into a bow.
Step 2
Cut two pieces of felt and two pieces of interfacing to the height and width of your finished template size.
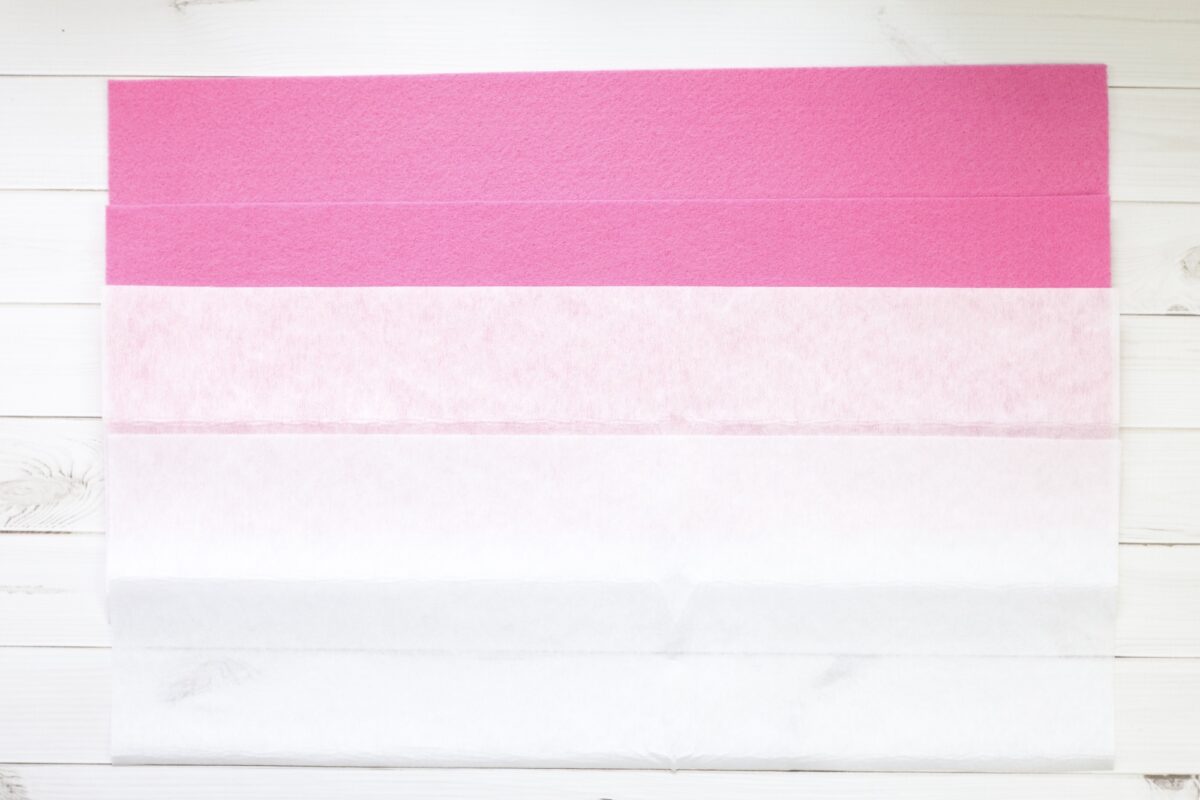
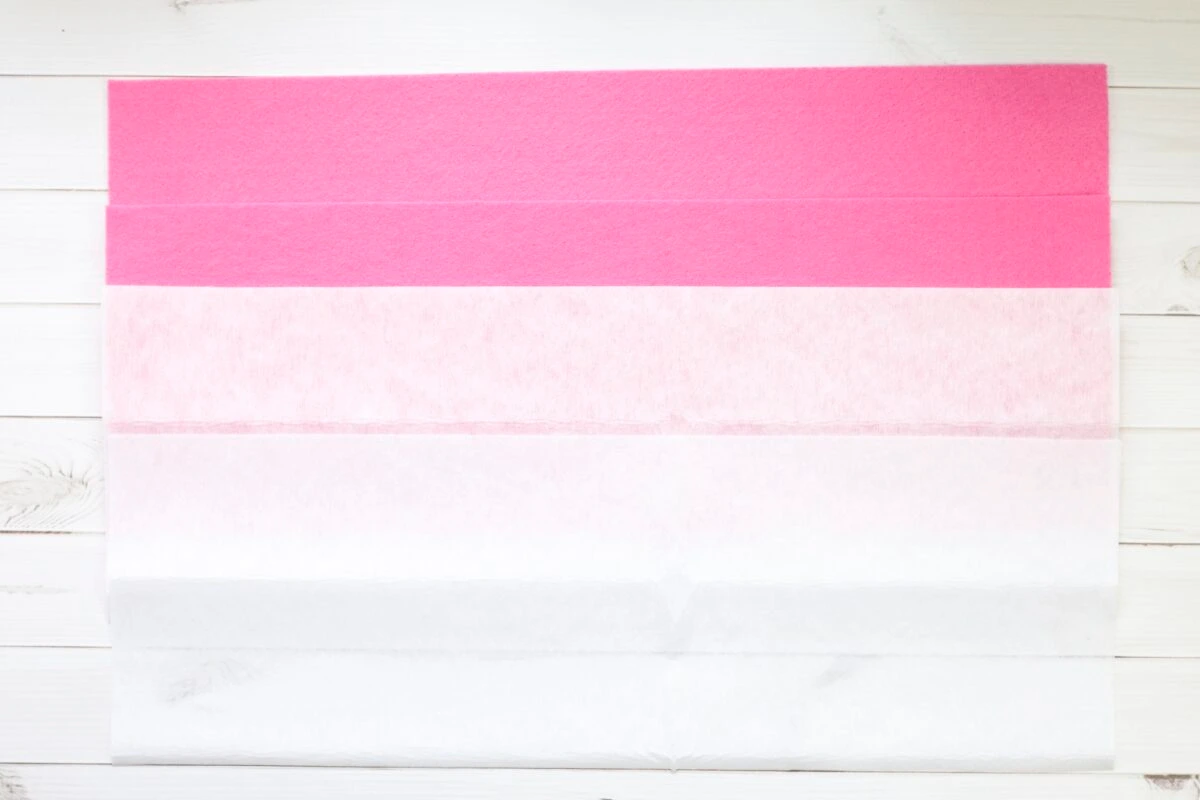
Iron the interfacing onto the felt according to the manufacturer’s instructions.
Step 3
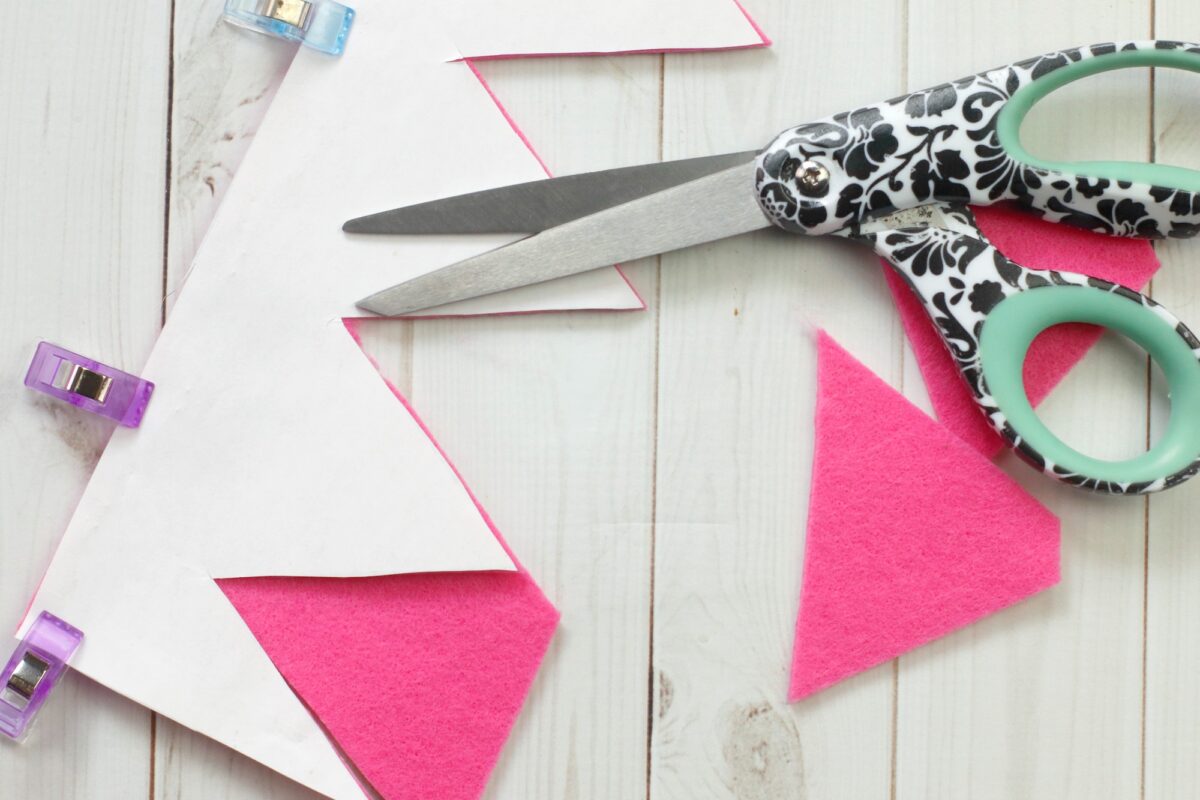
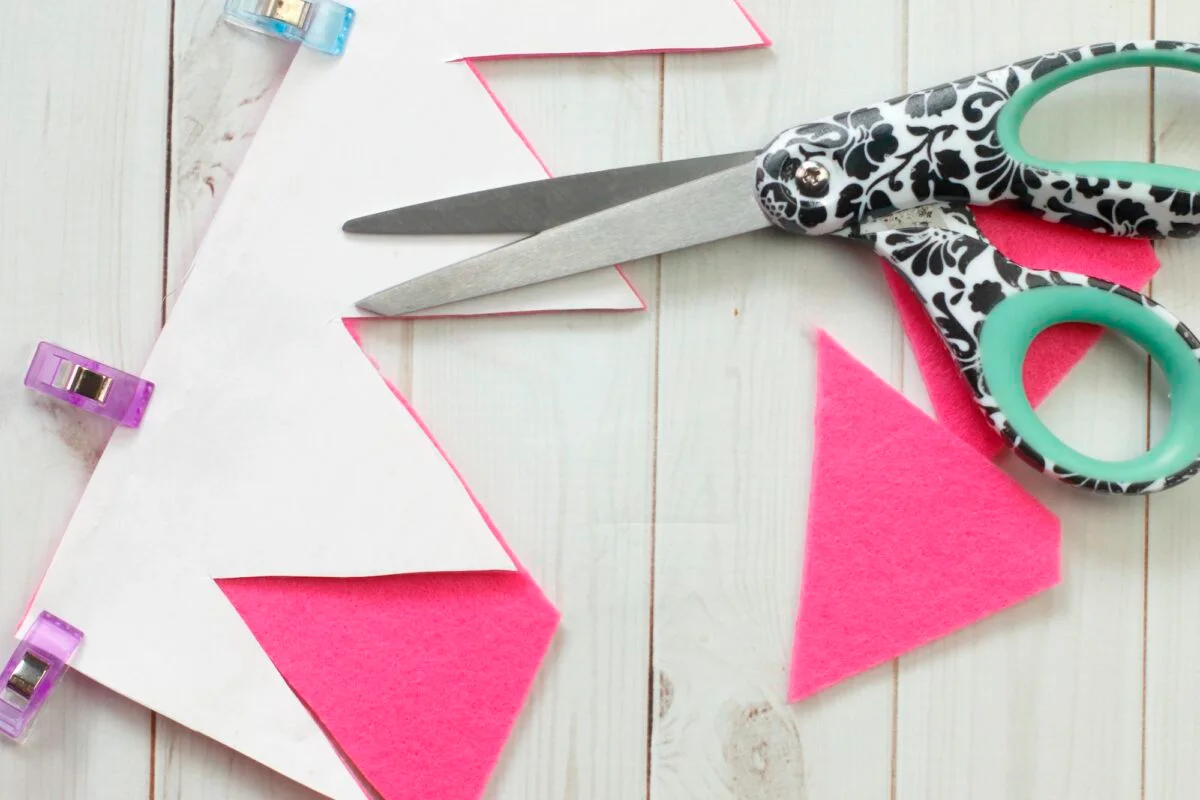
Lay one template onto one piece of felt, with the felt side up (NOT the interfacing side) and clip or pin into place, then cut.
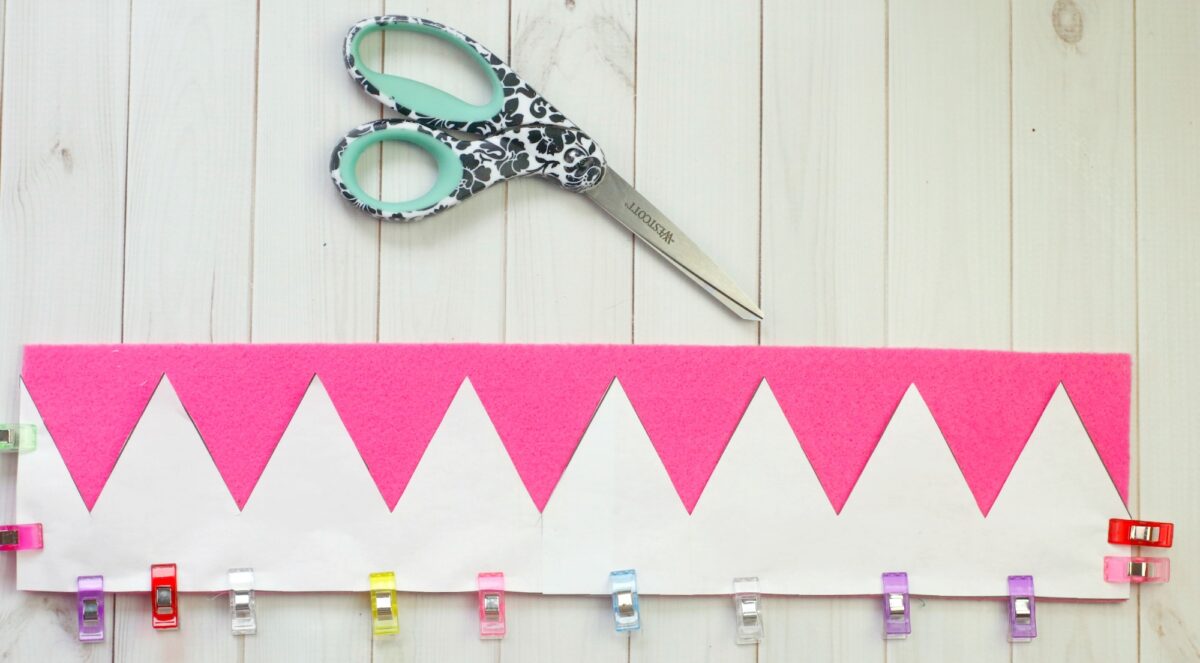
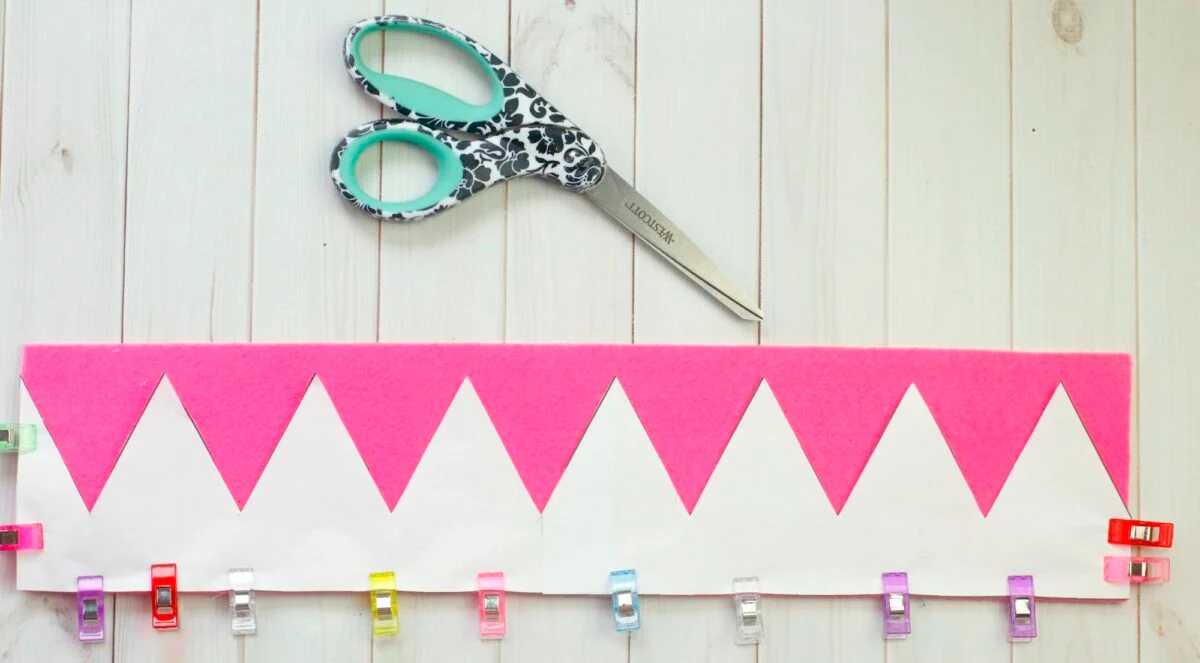
Now flip the template over to the other side and place it on the other piece of felt, felt side up and clip or pin into place, then cut.
Step 4
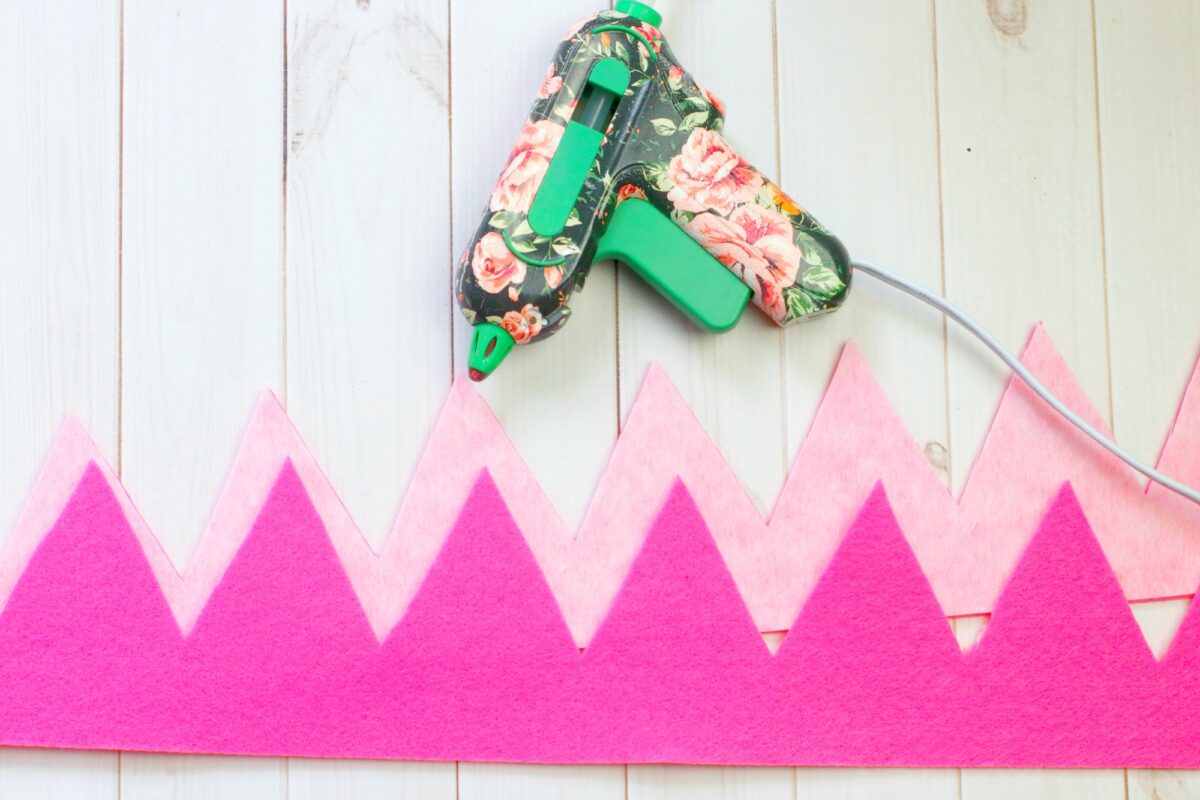
Using the hot glue gun, line up your two felt crown pieces, interfacing sides together, and secure together with glue. Leave a small opening in the middle on either side edge for the ribbon.

Step 5
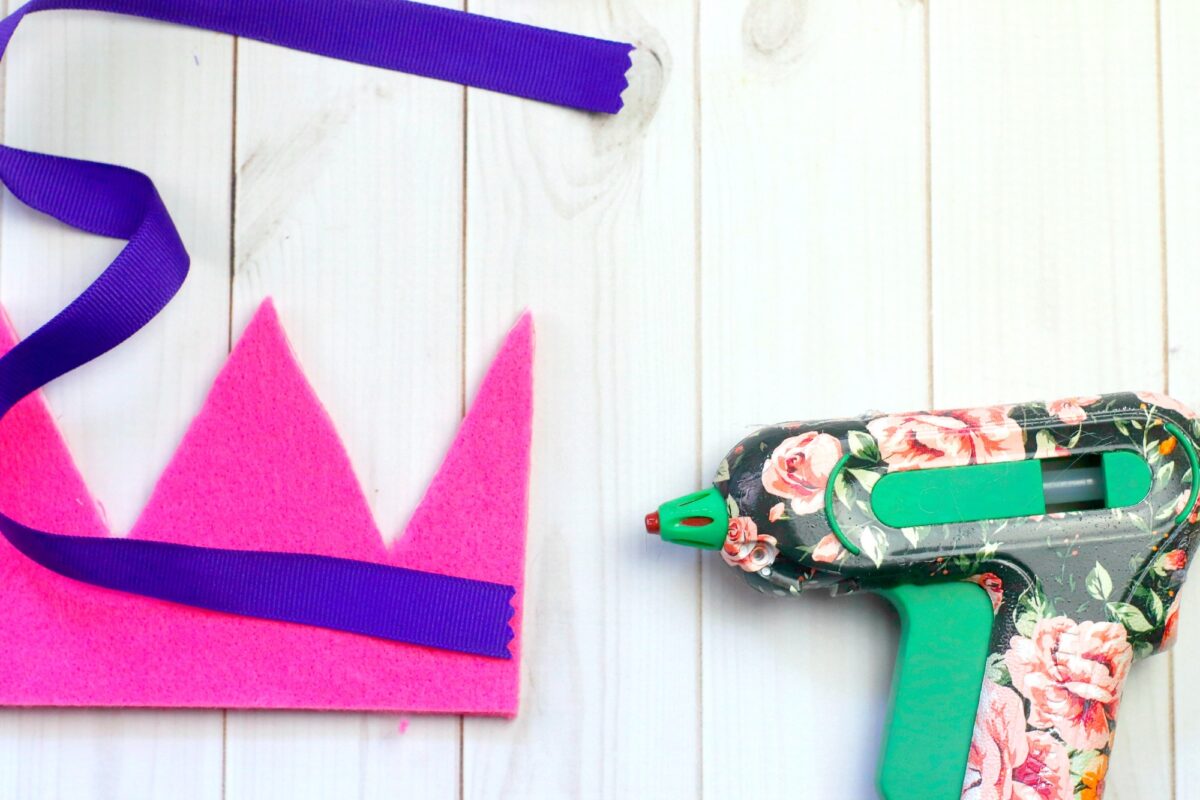
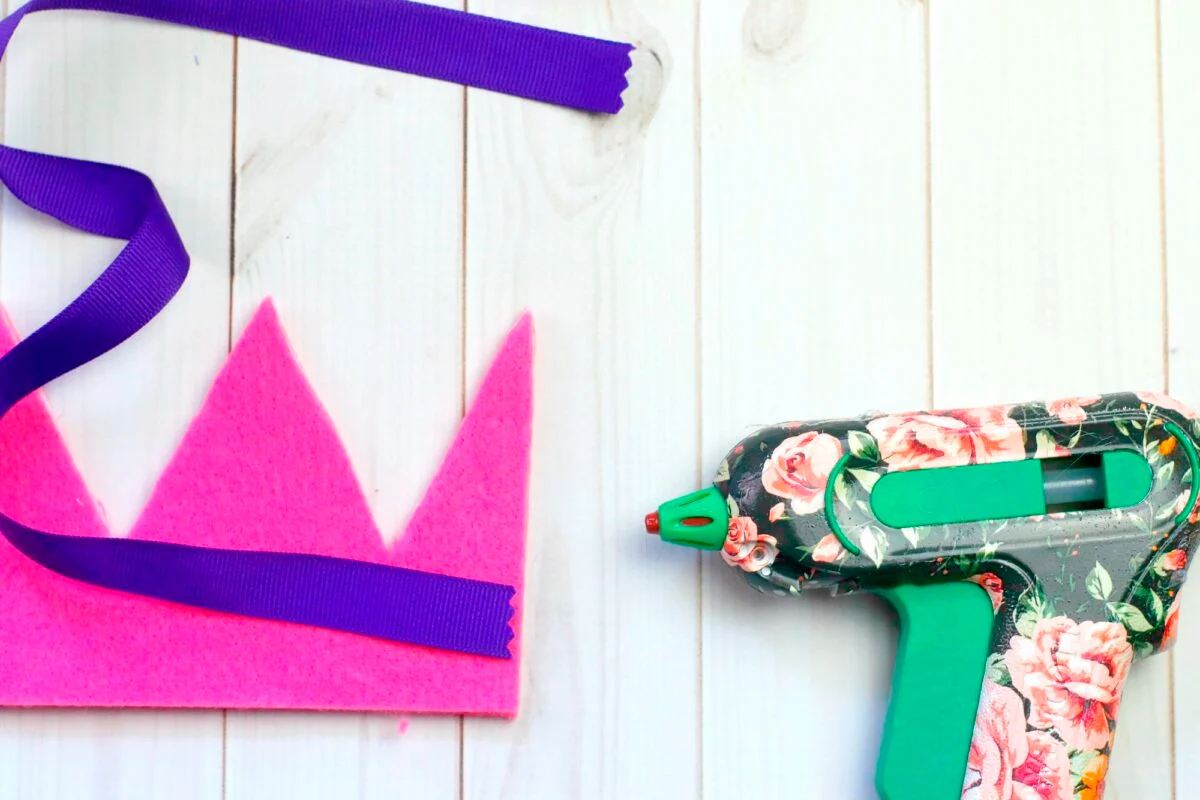
Cut two lengths of ribbon for the ties. The length will depend on how long you would like it to be…. either a short bow to secure the crown or long flowing ribbons for a fairy crown.
Insert one end of each ribbon into the small opening on either edge and glue it in place between the layers. Then secure the layers together with hot glue to finish off the seam.
Step 6
Now it is time to add embellishments!
Use felt flowers, felt leaves and rhinestones with adhesive backing to stick on the front of the crown. We like putting a rhinestone on each point of the fairy crown and along the bottom edge for as much sparkle as possible!
If you would like to make your own felt flowers, you can do that, too.
On our crown, the blue flower in the middle was made by using a small glass to trace a circle on a piece of felt. Cut out the circle and then pinch it from behind with your fingers to gather it into a flower shape.
Put a small amount of hot glue in the middle of the flower to hold it together. Then add a small rhinestone in the middle over the hot glued area. Attach the flower to the crown using hot glue in the back.
For more embellishment ideas, see our DIY Ruffled Felt Flowers and these DIY Satin Flowers.
Want to save this idea? Pin It to Pinterest or Flipboard!

Kids will love these DIY Star Wands, too! Just customize the color to match your crown!
