
Puzzle boards are crazy expensive to buy! They cost between $30-70 to buy one online. Yet making a puzzle board is really quick and easy. So save your money and learn how to make a puzzle board in an hour or less!
Puzzle boards are the solution to spreading out puzzle pieces on a table while still being able to use the table when you need it, such as for eating dinner or when company comes over.
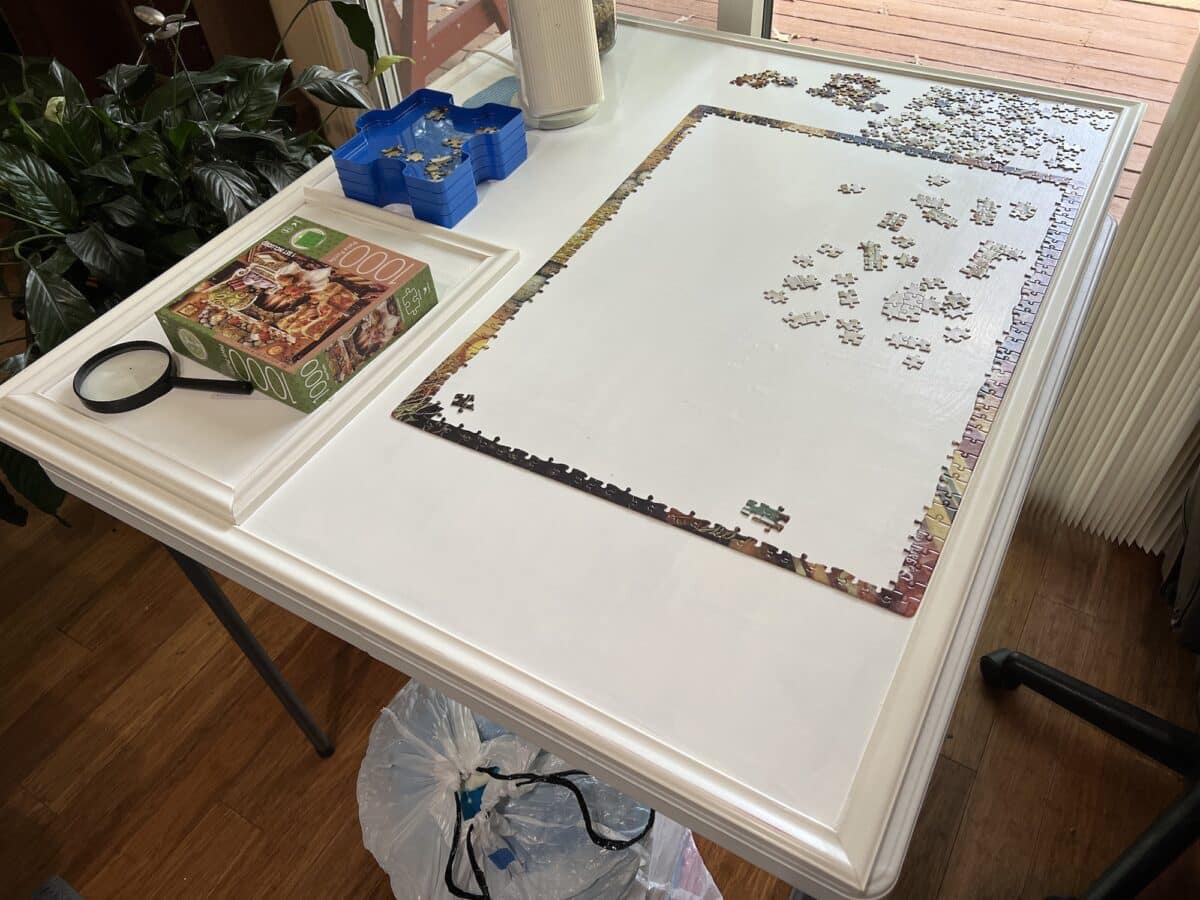
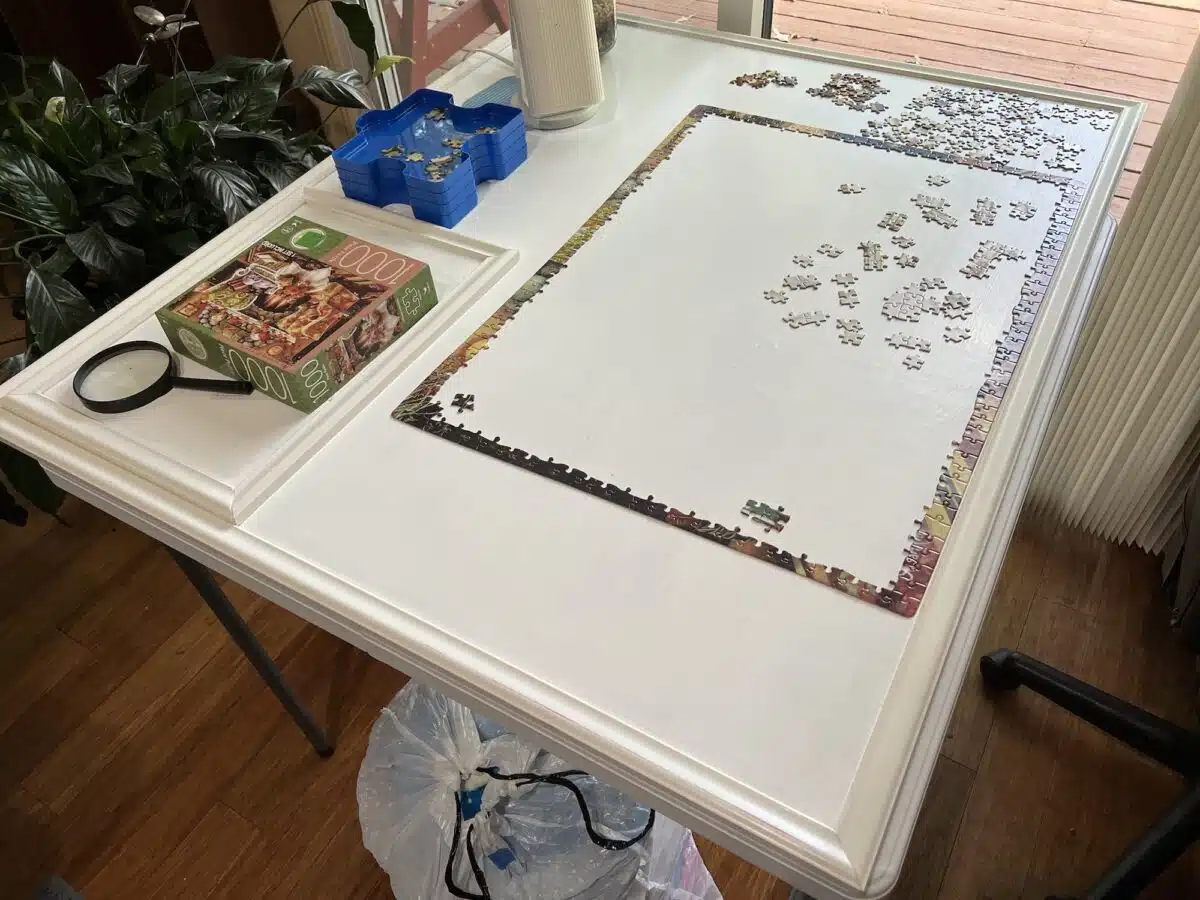
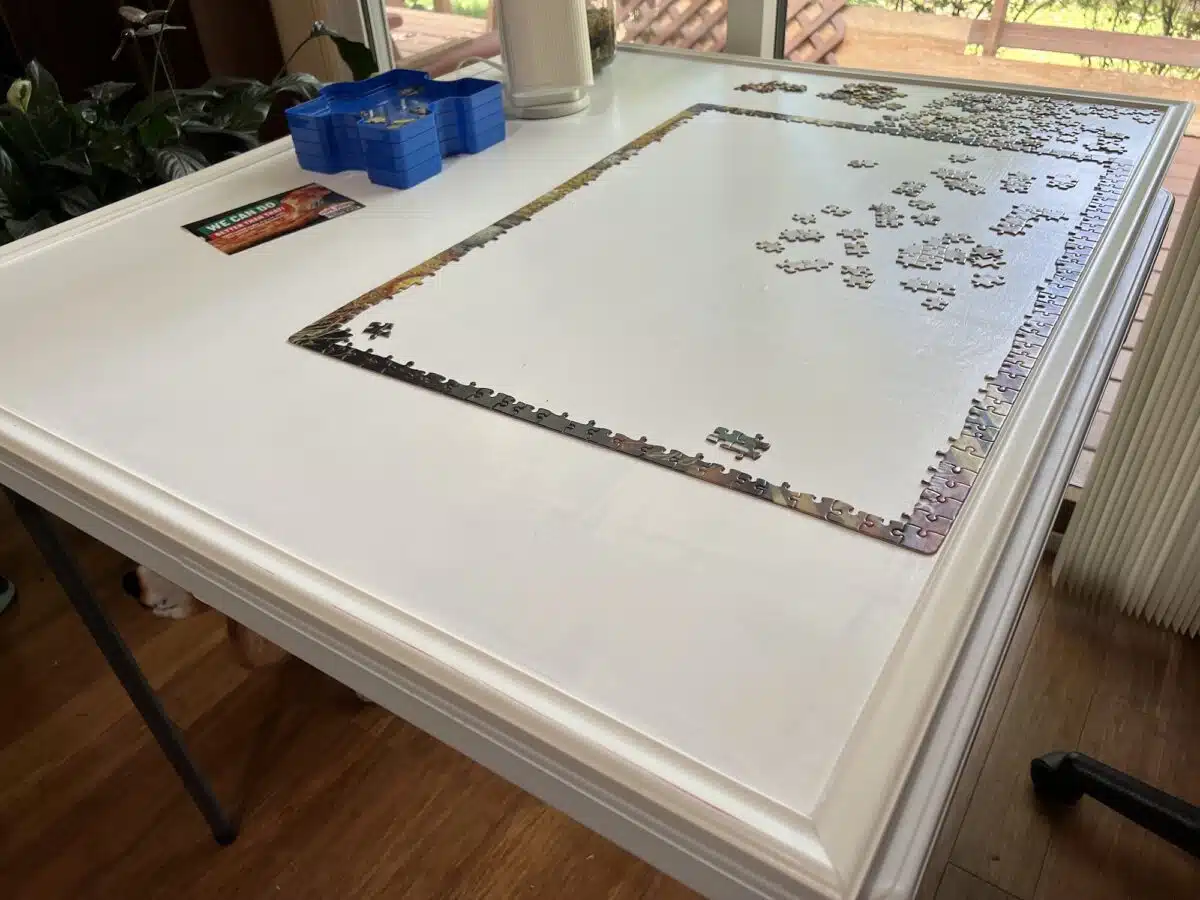
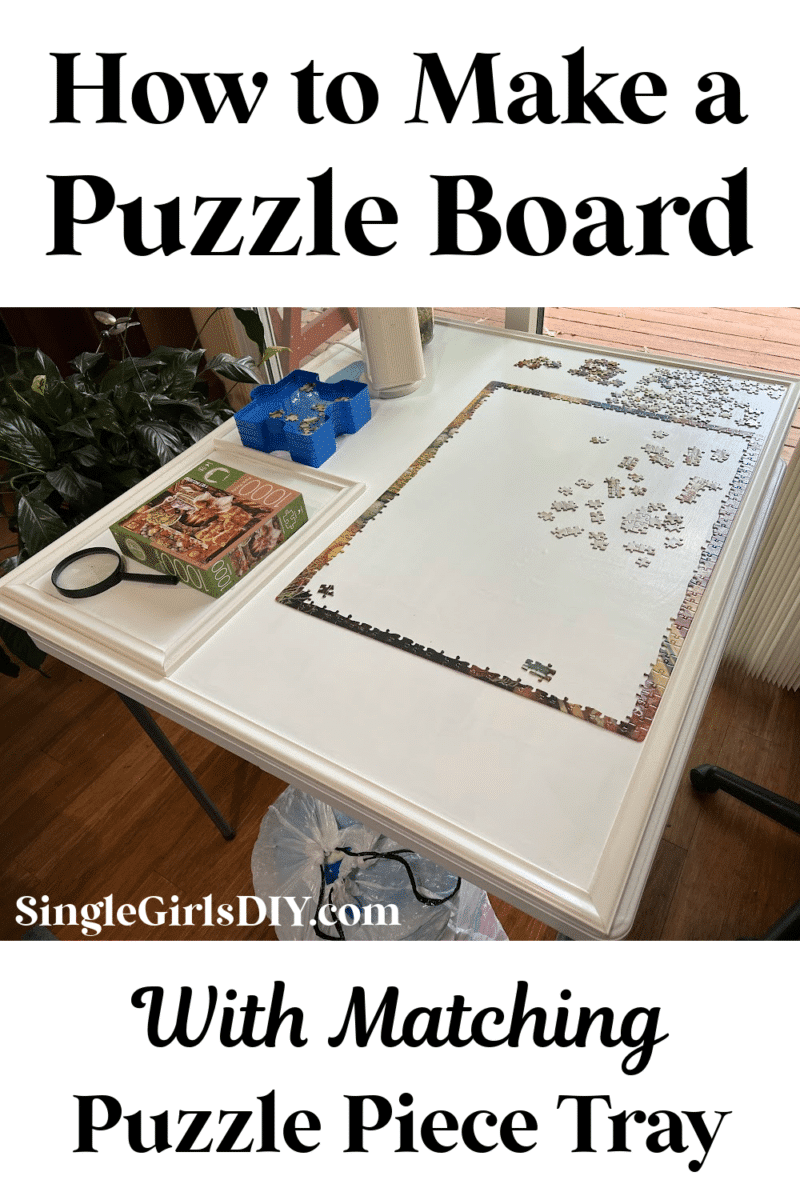
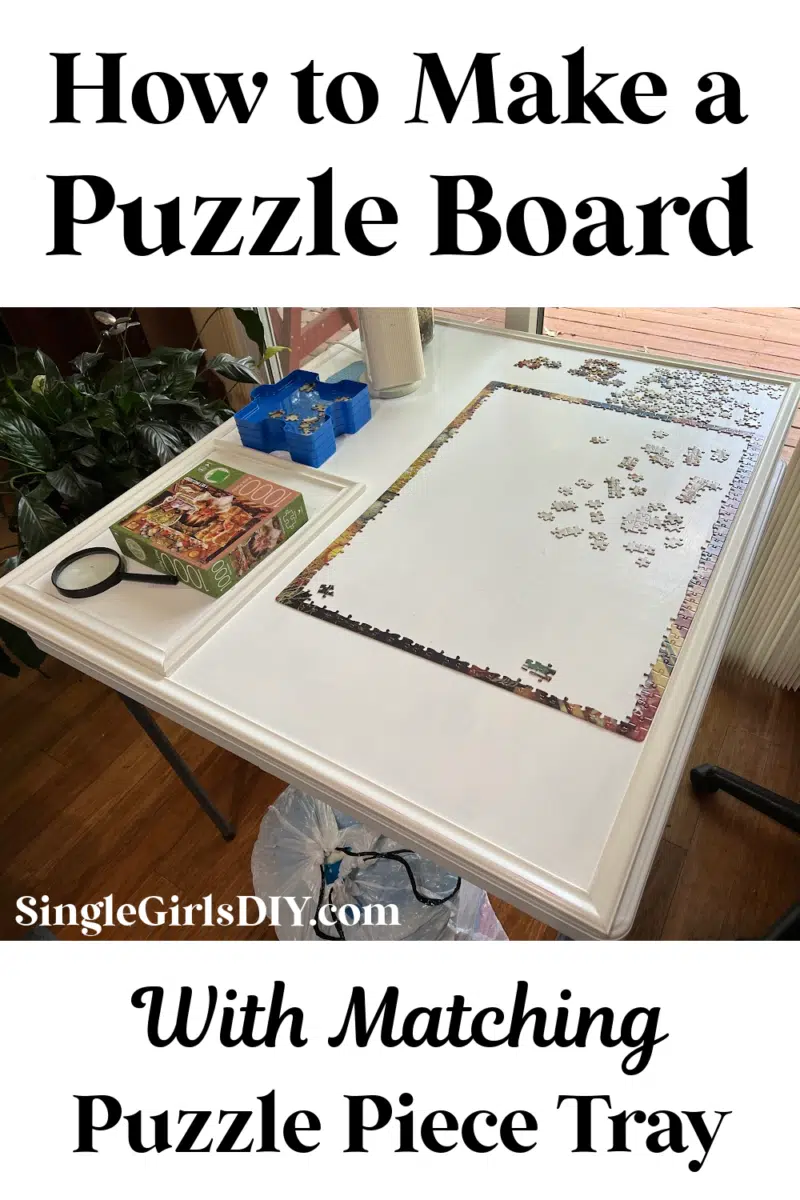
Assemble the puzzle on top of the puzzle board, then lift up the board when you want to use the table.
It’s that easy!
My parents made a puzzle board because they always have a puzzle they are working on. PLUS, they made a small puzzle piece board that lays on top of the big one. This way they can spread out some of the pieces in the smaller board and look at them when they are sitting somewhere else, then come back to the table and assemble the puzzle.
Brilliant!

These photos are the puzzle board they made, so I don’t have any in process photos, but this tutorial is so easy you don’t need them.
DIY Puzzle Board
Supplies
- Standard plywood (most puzzle boards are 36 X 26 inches, but make whatever size works best on your table)
- Sandpaper
- 1 inch trim
- Hand saw or miter saw (if you don’t have a saw something like this could work)
- Wood glue
- Clamps (Harbor Freight has lots of different sizes for really cheap)
- Paint or stain
- Cabinet drawer handles (optional)
Directions
- Cut the plywood to the size that works best for you. Ideally you want to ask the lumber department to cut it to size when you buy it if you don’t have a table saw at home.
- Sand the plywood to be smooth. Lightly sand across the surface, then make sure to sand off rough pieces along the cut edges.
- Cut your trim pieces to match the width and length of your puzzle board. You will want two pieces the size of the width, and two more pieces the size of the length.
- Using a miter saw, cut the ends of the pieces at a 45 degree angle so that they will join in the corners.
- Glue down the trim pieces to the top of the plywood using wood glue. Be sure to match up the corners carefully, and fill with a wood putty if there are any gaps. Clamp the trim to the plywood and wipe off any glue that oozes out. Allow to dry completely (at least 4-6 hours or preferably overnight).
- Remove the clamps. Paint or stain the entire puzzle board and trim.
- Allow to dry. Add a second coat, if needed.
- Optional: Add drawer handles on either side to easily pick up the puzzle board. Attach these with small nails or screws into the trim, rather than wood glue.
Multipurpose Tray
My parents made two different sizes for their puzzles. You can make boards in any size you want, too, for a variety of uses, such as:
- Game Board
- Charcuterie Board
- Breakfast in Bed
- Moveable Centerpiece

Great Gift Idea!
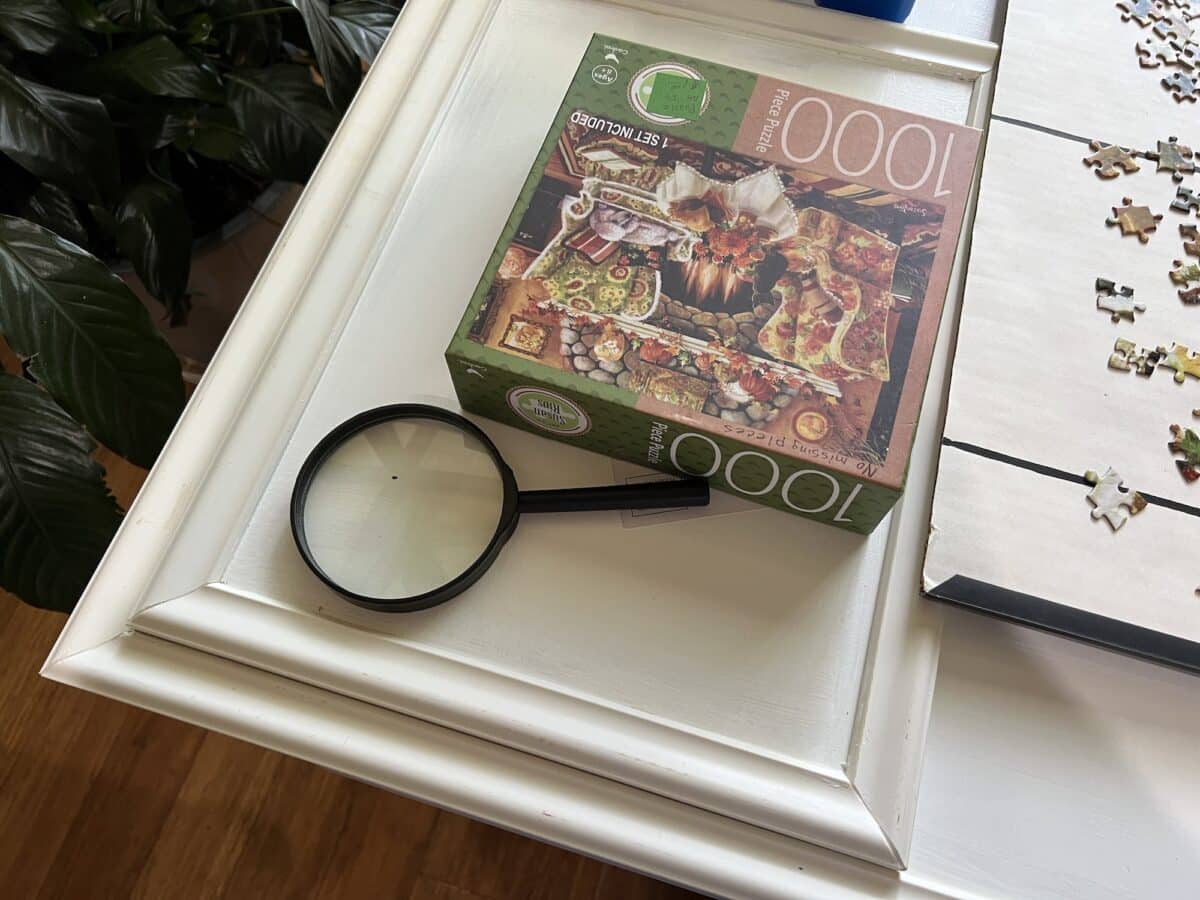
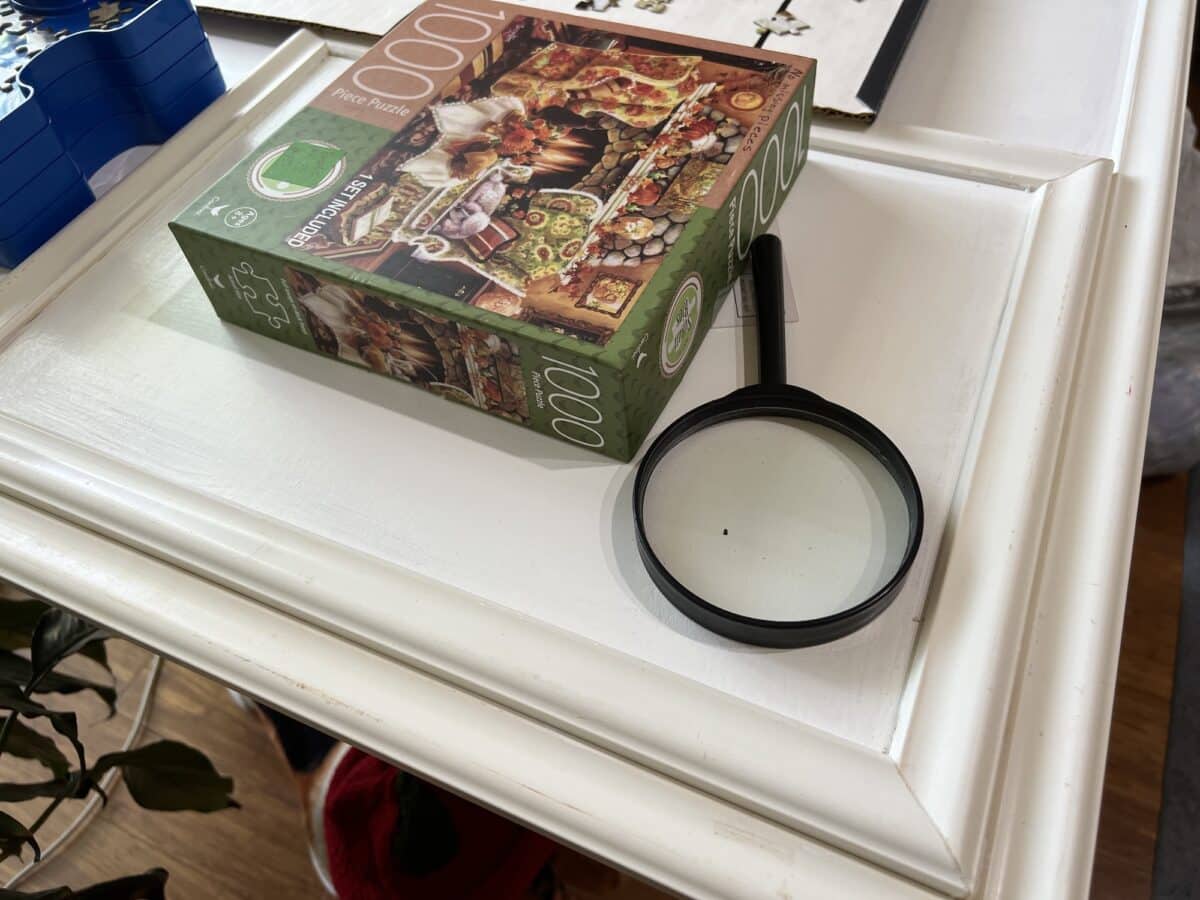
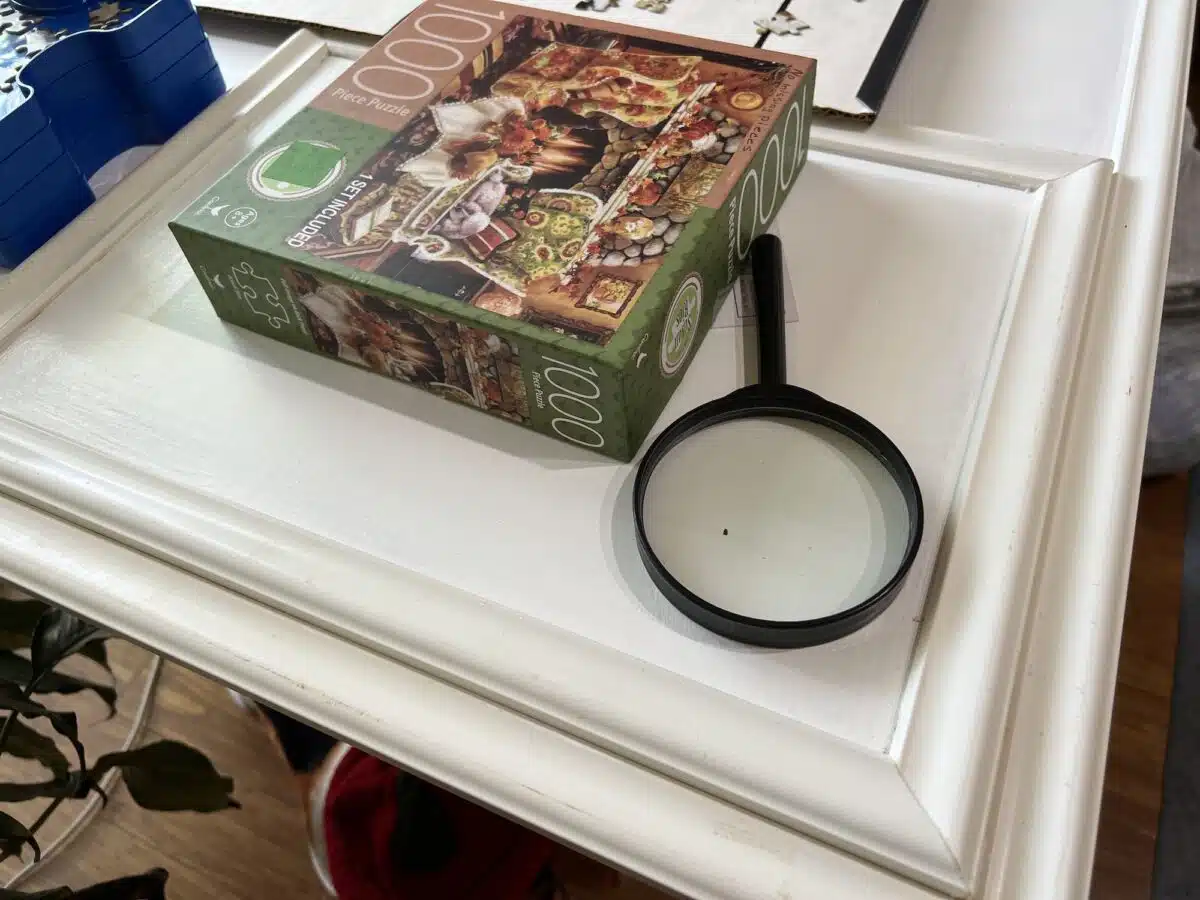
A DIY puzzle board is perfect for anyone who loves putting together puzzles! Pair it with a new puzzle and maybe a large magnifying glass and they will love it! Guaranteed!
Pin this idea to save for later!
