Santa Cookie Christmas Ornament (Free Pattern)
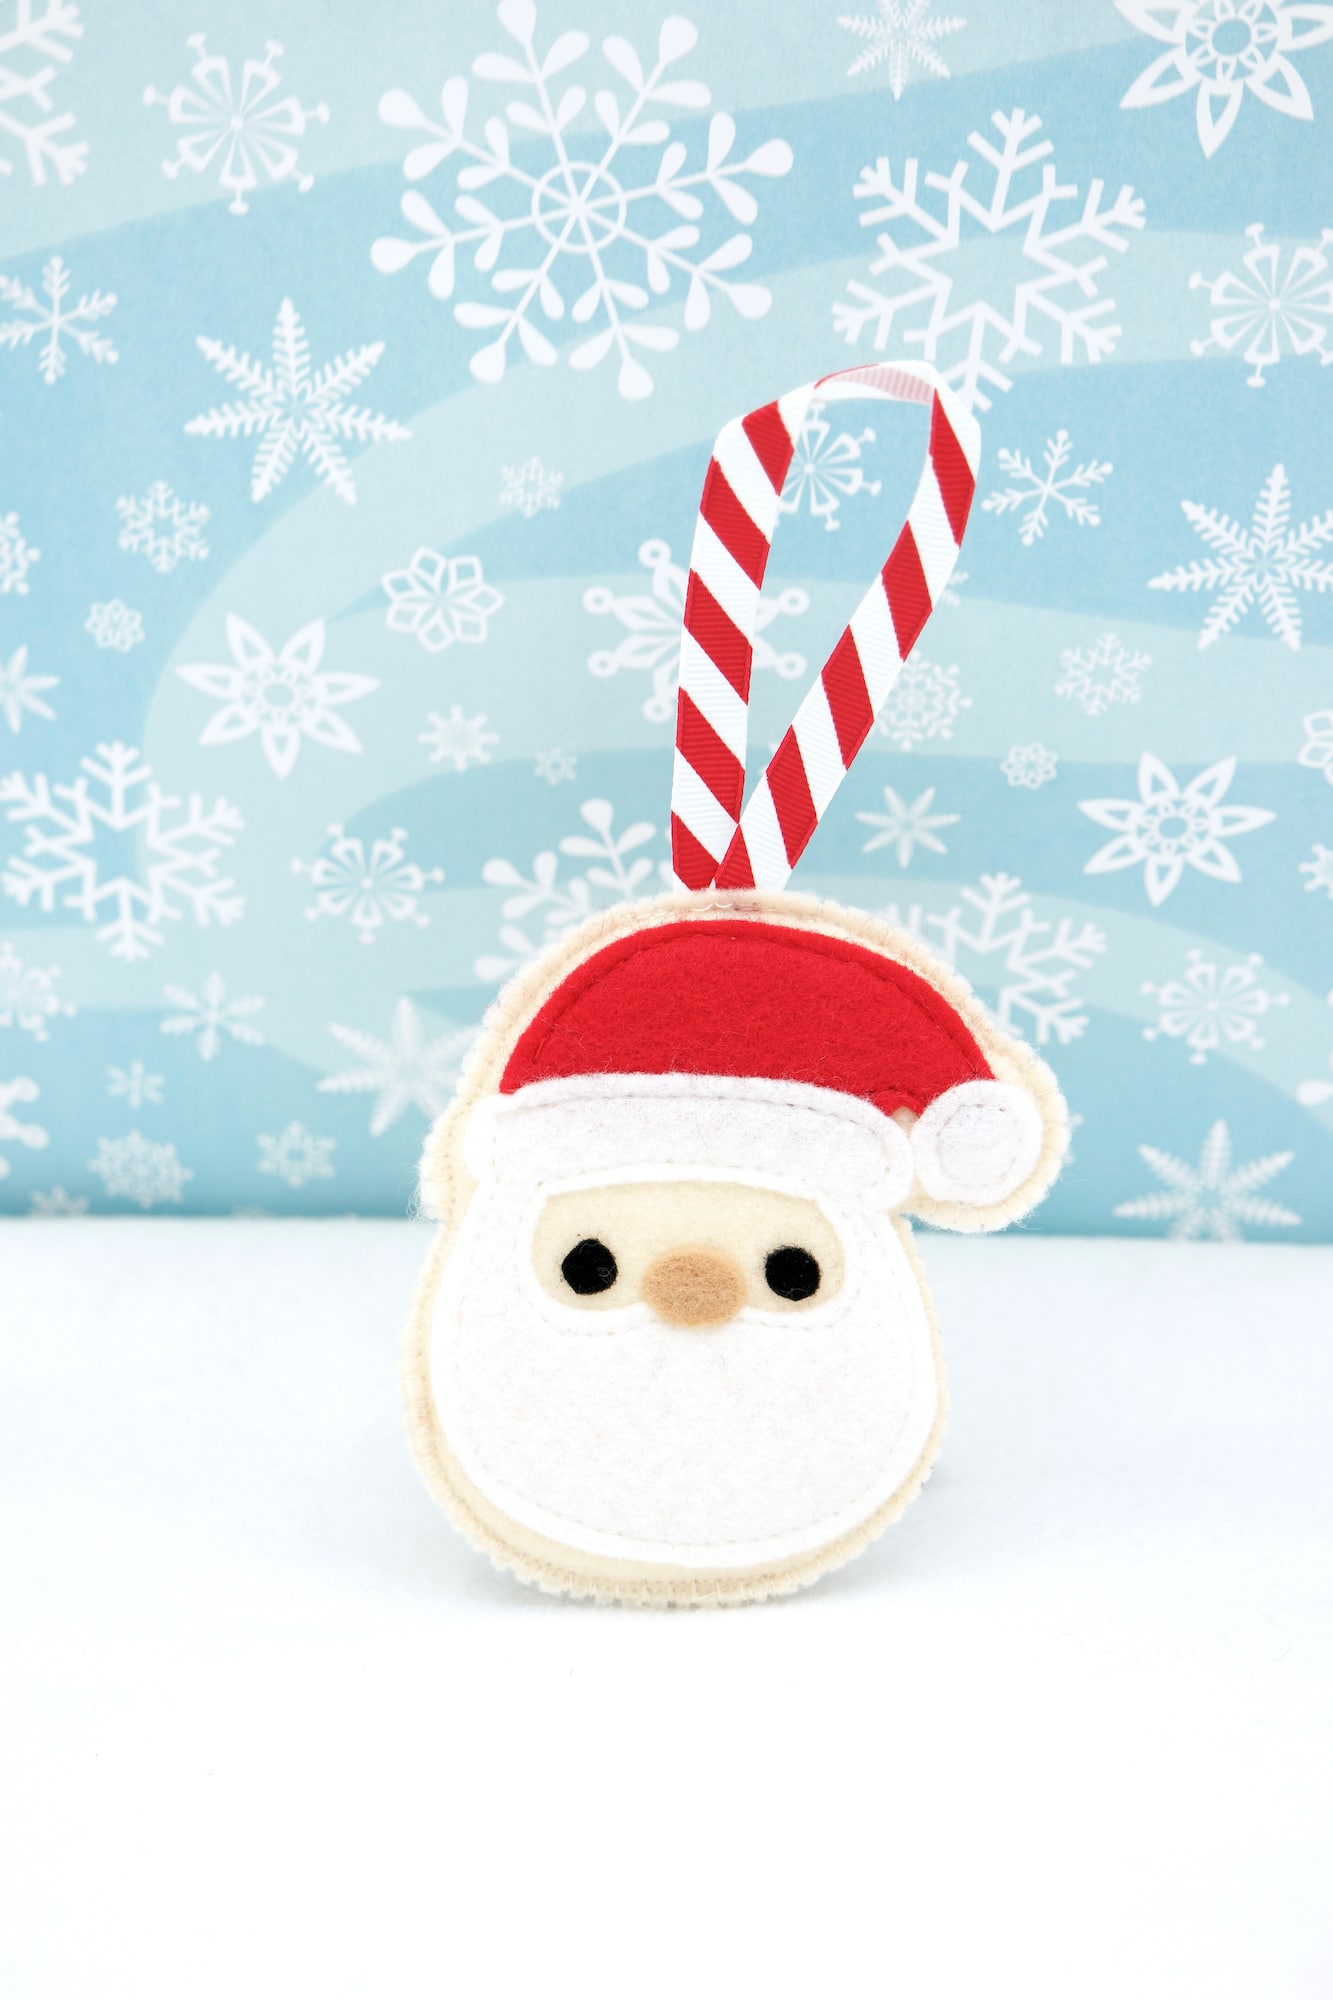
Our felt Santa cookie ornaments are so much fun to sew for the holidays! Use our free pattern to make these adorable Santa decorations.
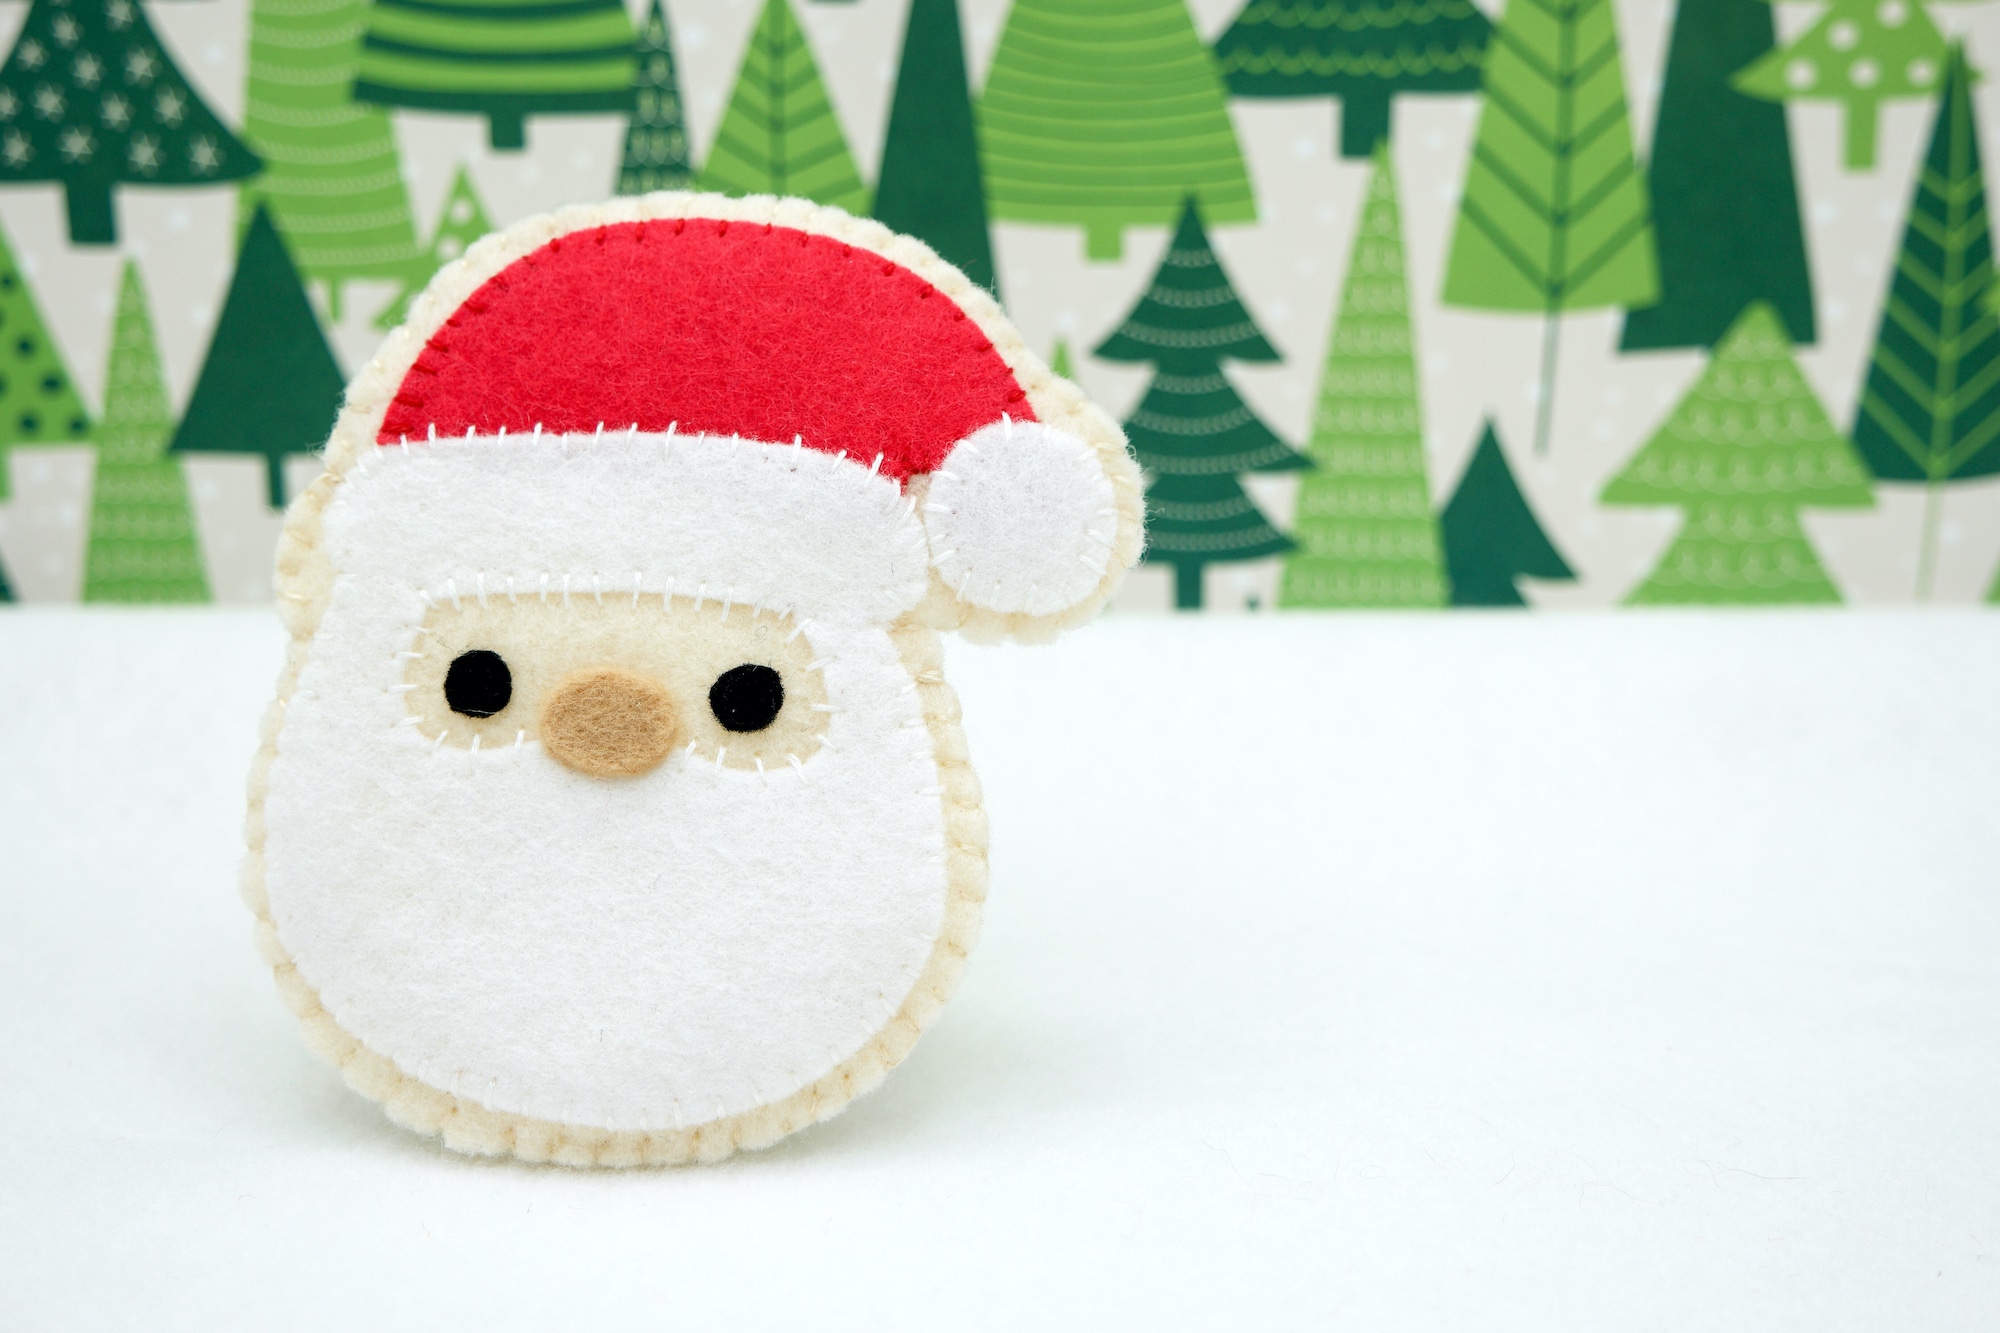
Add a ribbon to these felt Santa faces to make a Christmas tree ornament or a gift topper. Or make a few of these without the ribbon and put on a cookie plate as faux Christmas cookies that can be reused year after year.

How to Sew a Santa Cookie Ornament
Supplies
- Free Santa Cookie Pattern Template
- Felt (Red, White, Flesh Tone of Your Choice, Black
- Polyfil stuffing or a piece of foam
- Needle & thread in coordinating colors
- Fabric pen (erasable with heat) – optional
- Glue

Directions
*I used a double-strand of thread when stitching.
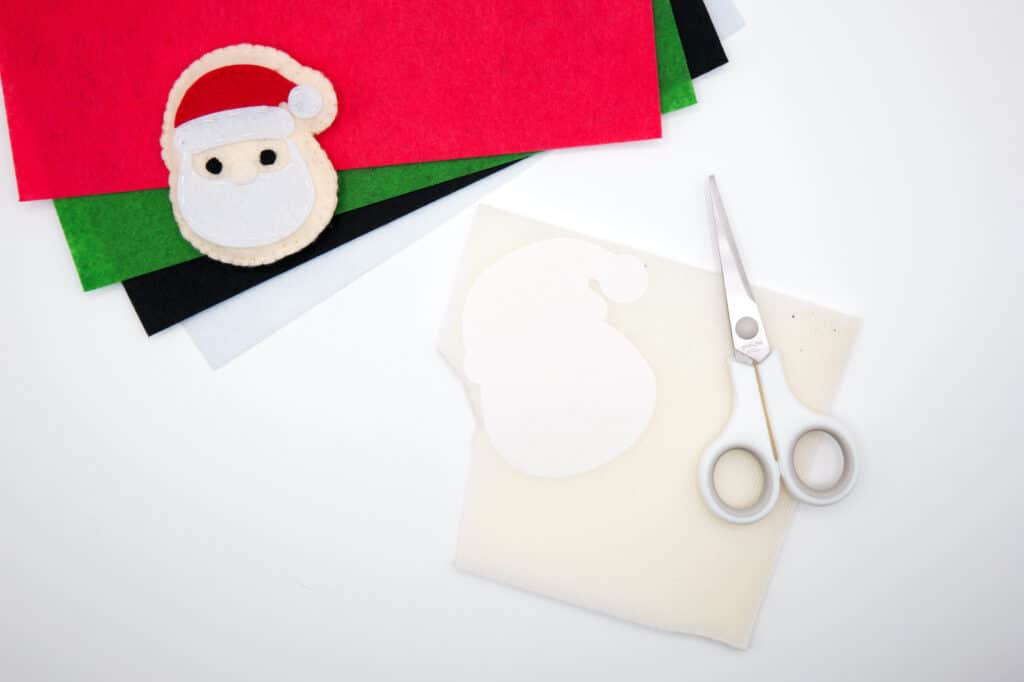
Step 1
Print the pattern and cut it out. Trace the patterns on appropriate colors of felt and cut out.
If you are using a piece of foam instead of Polyfil, as I did, cut out your foam piece, as well.
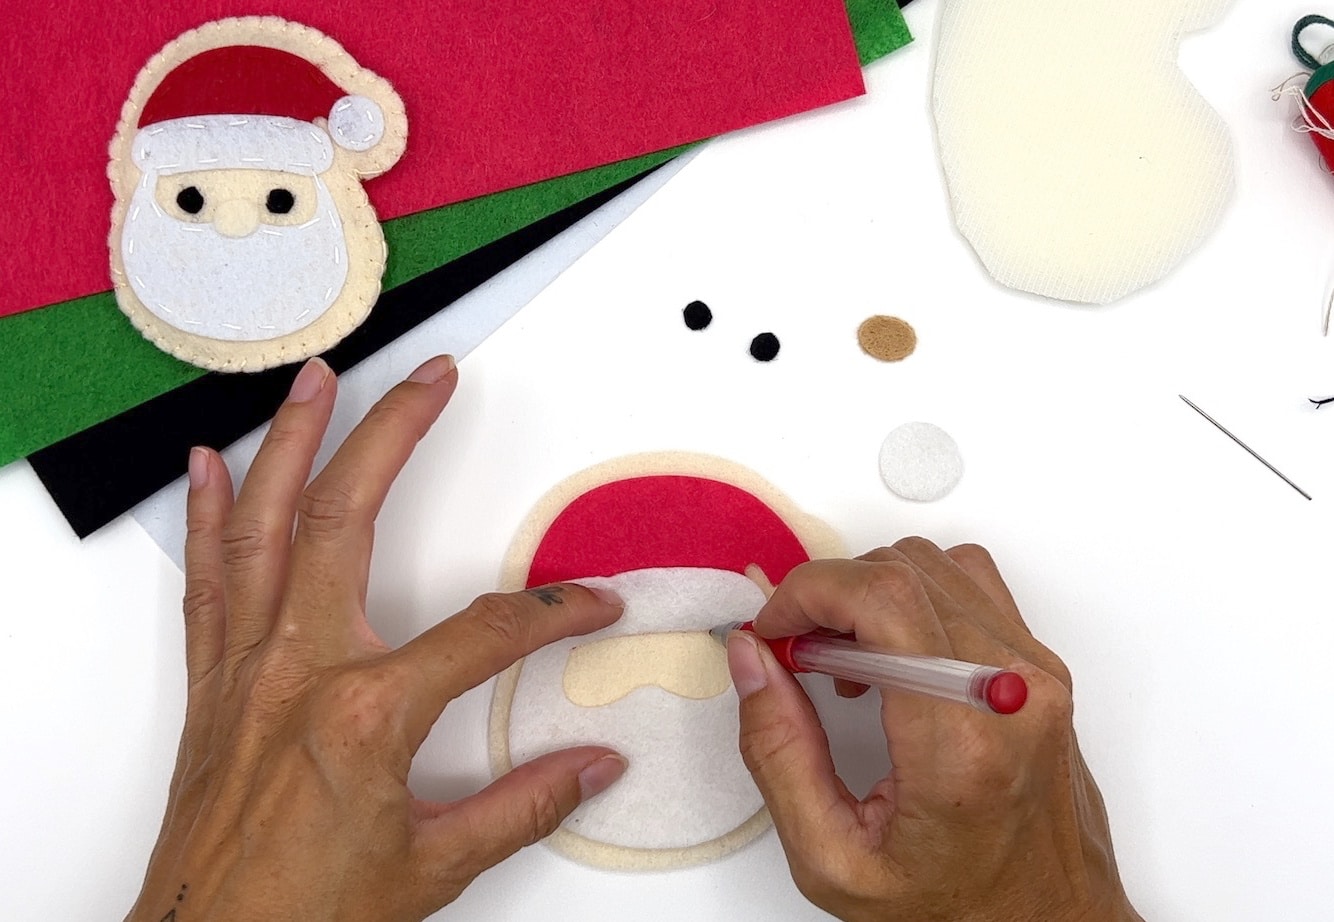
Step 2
Take one cookie template and place the hat, beard, and hat ball on top of the base, as seen in the photo below.
Use a fabric pen to mark this alignment, if you would like.

Step 3
Sew the Santa hat on the cookie pattern where you drew the outline. Use a simple stitch using red thread to sew down the felt piece.
Do not stitch the bottom edge of the hat because it will be under the next piece.

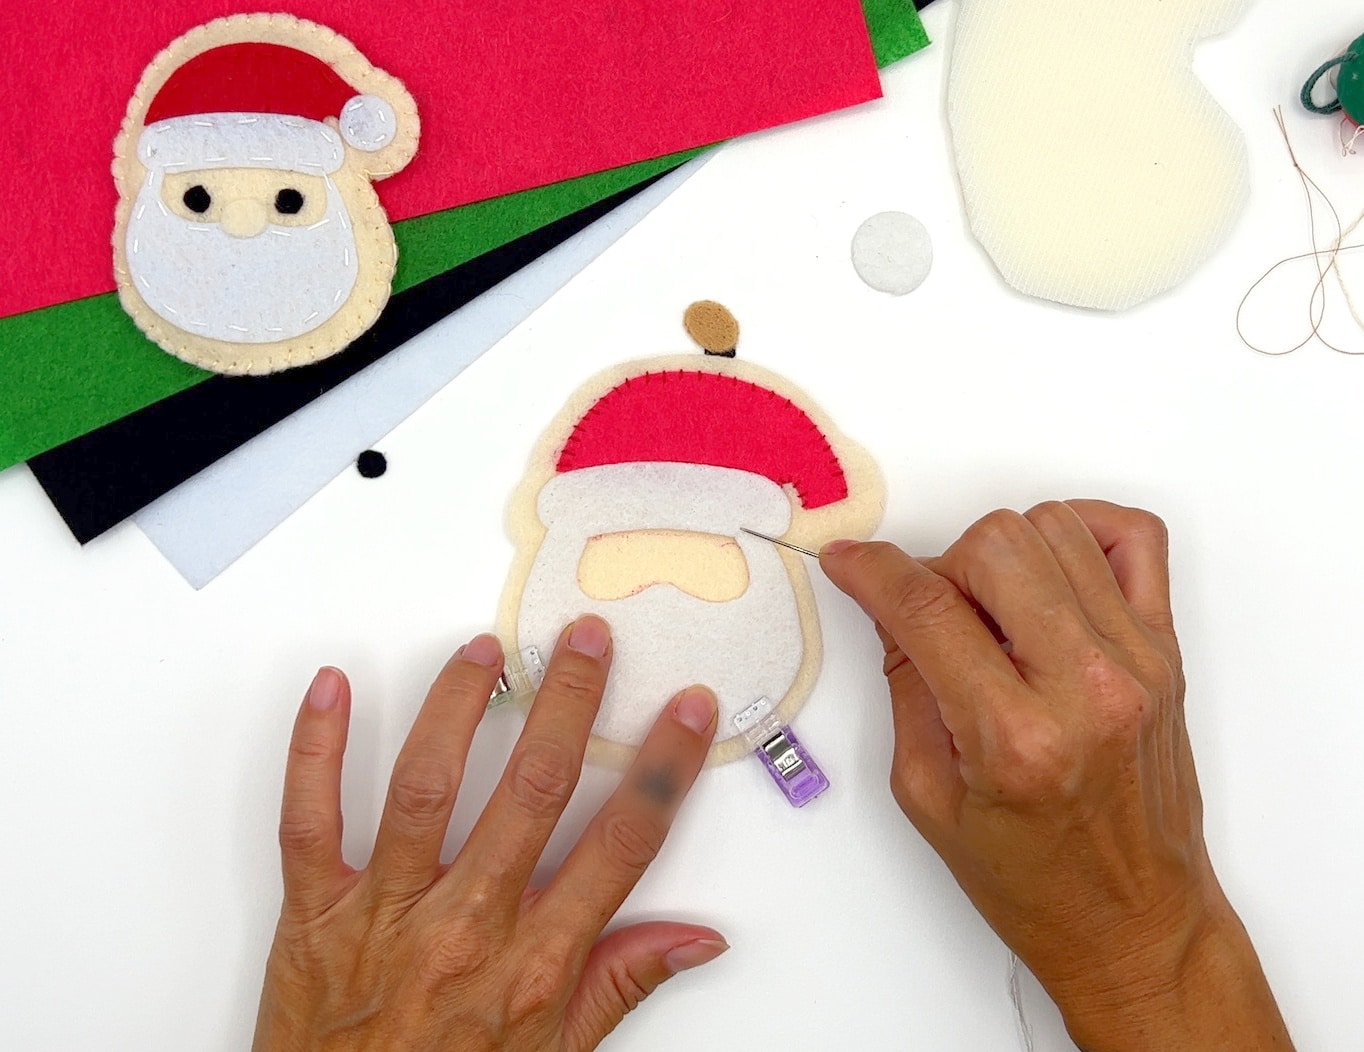
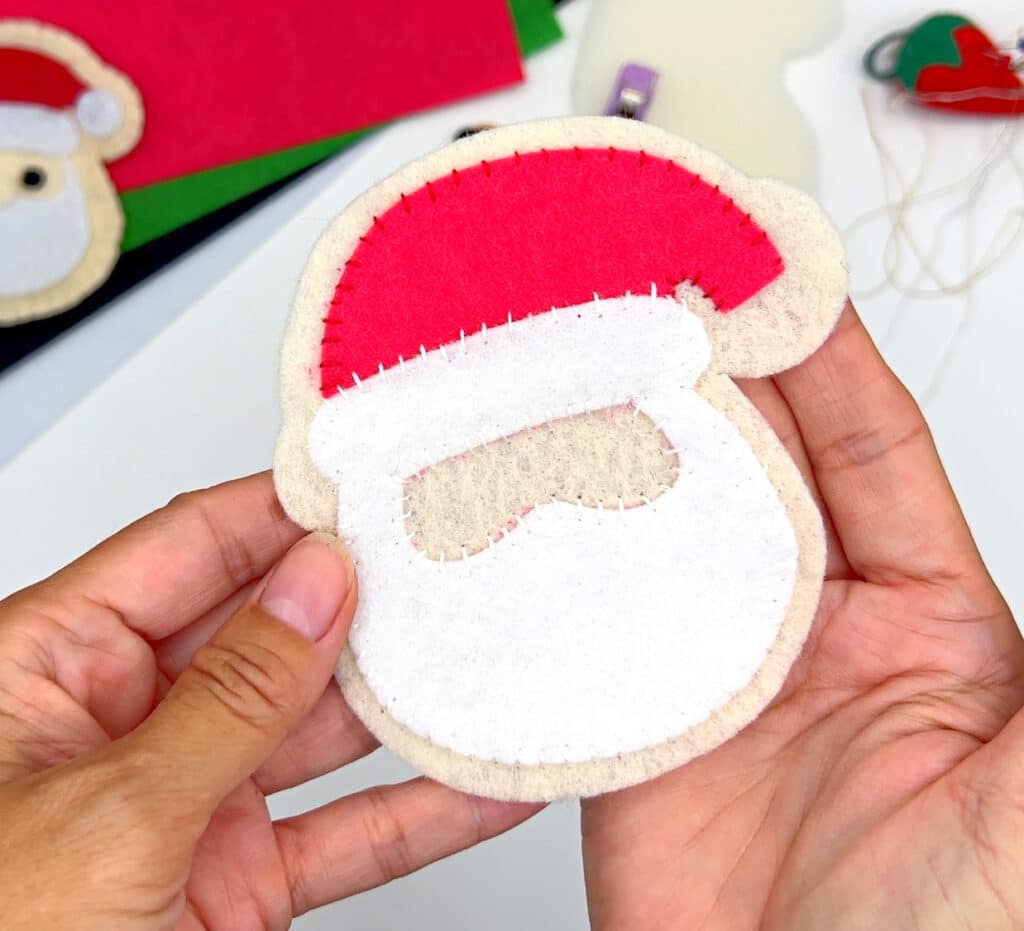
Step 4
Attach the beard, using the marks you made in Step 2 to help you center it on the cookie. Use a simple stitch with white thread.
I recommend starting with the inside edge of the beard to keep it in place more easily.
Don’t forget to add the ball to the end of Santa’s hat!
If you used the erasable fabric pen, you can remove the pen markings with heat now.
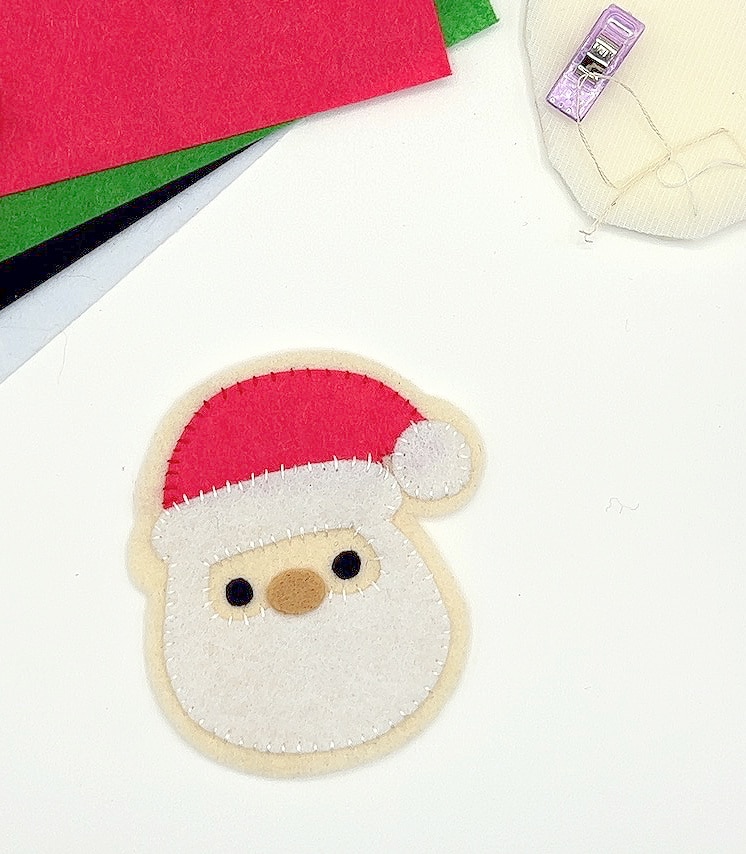
Step 5
Glue the eyes and the nose cut outs to the face.
You could stitch these, too, but you will need different colors of thread and they would only need one or two stitches to secure.
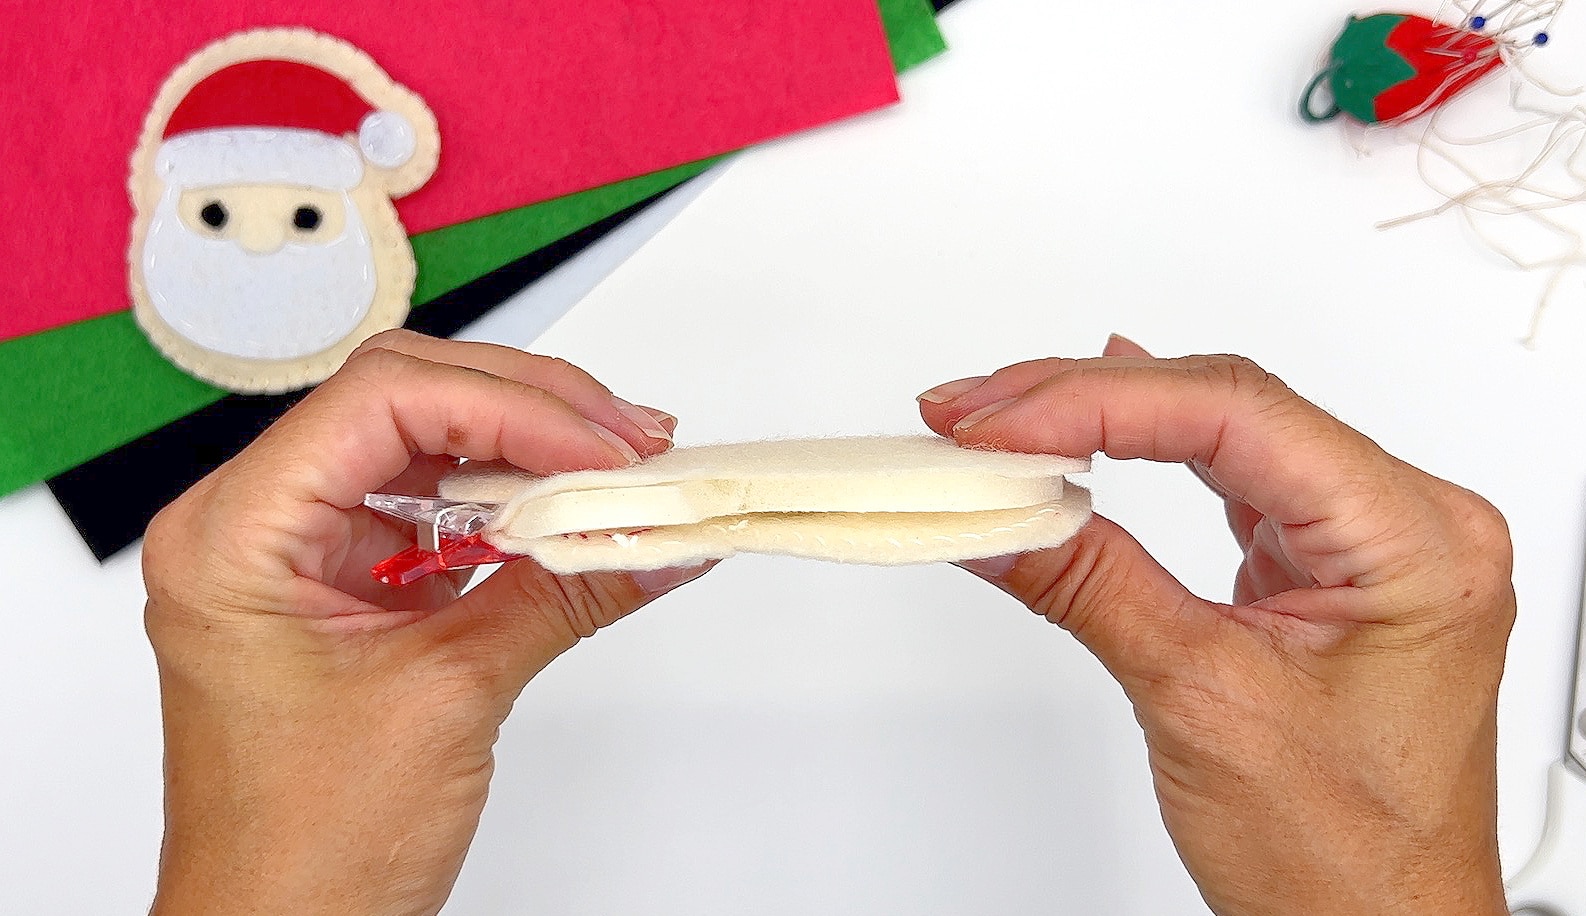
Step 6
If using foam, place the slice of foam in-between the two cookie cut outs.
If using Polyfil stuffing, place the top of the Santa cookie on top of the other cookie base. Stitch about 3/4 of the way around the cookie patterns with a blanket stitch. Do not add stuffing yet.
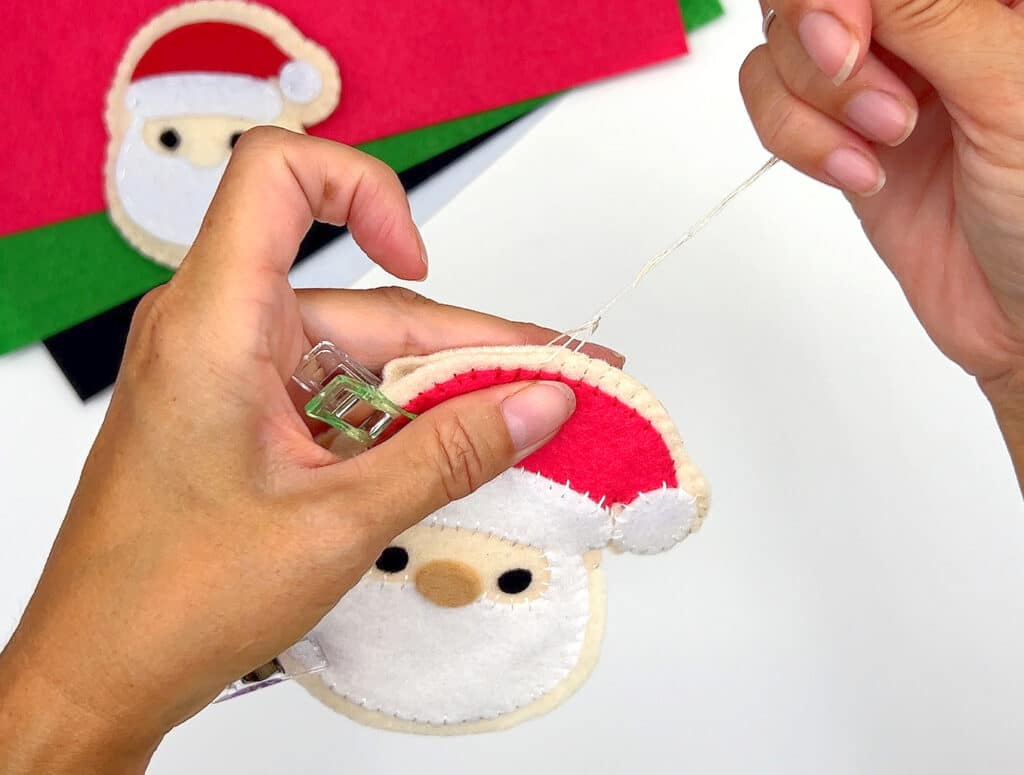
Fold a piece of ribbon into a loop and place between the two cookie cut outs on the top of the ornament.
If using stuffing, add Polyfil inside the cookie until it is as stuffed as you would like.
Whether you used foam or Polyfil, now is the time to use a blanket stitch to sew around the cookie to finish it off.
Pin This Christmas craft to save for later!
If you like our easy Santa Cookie Ornament DIY, be sure to see these DIY Christmas ornaments next: