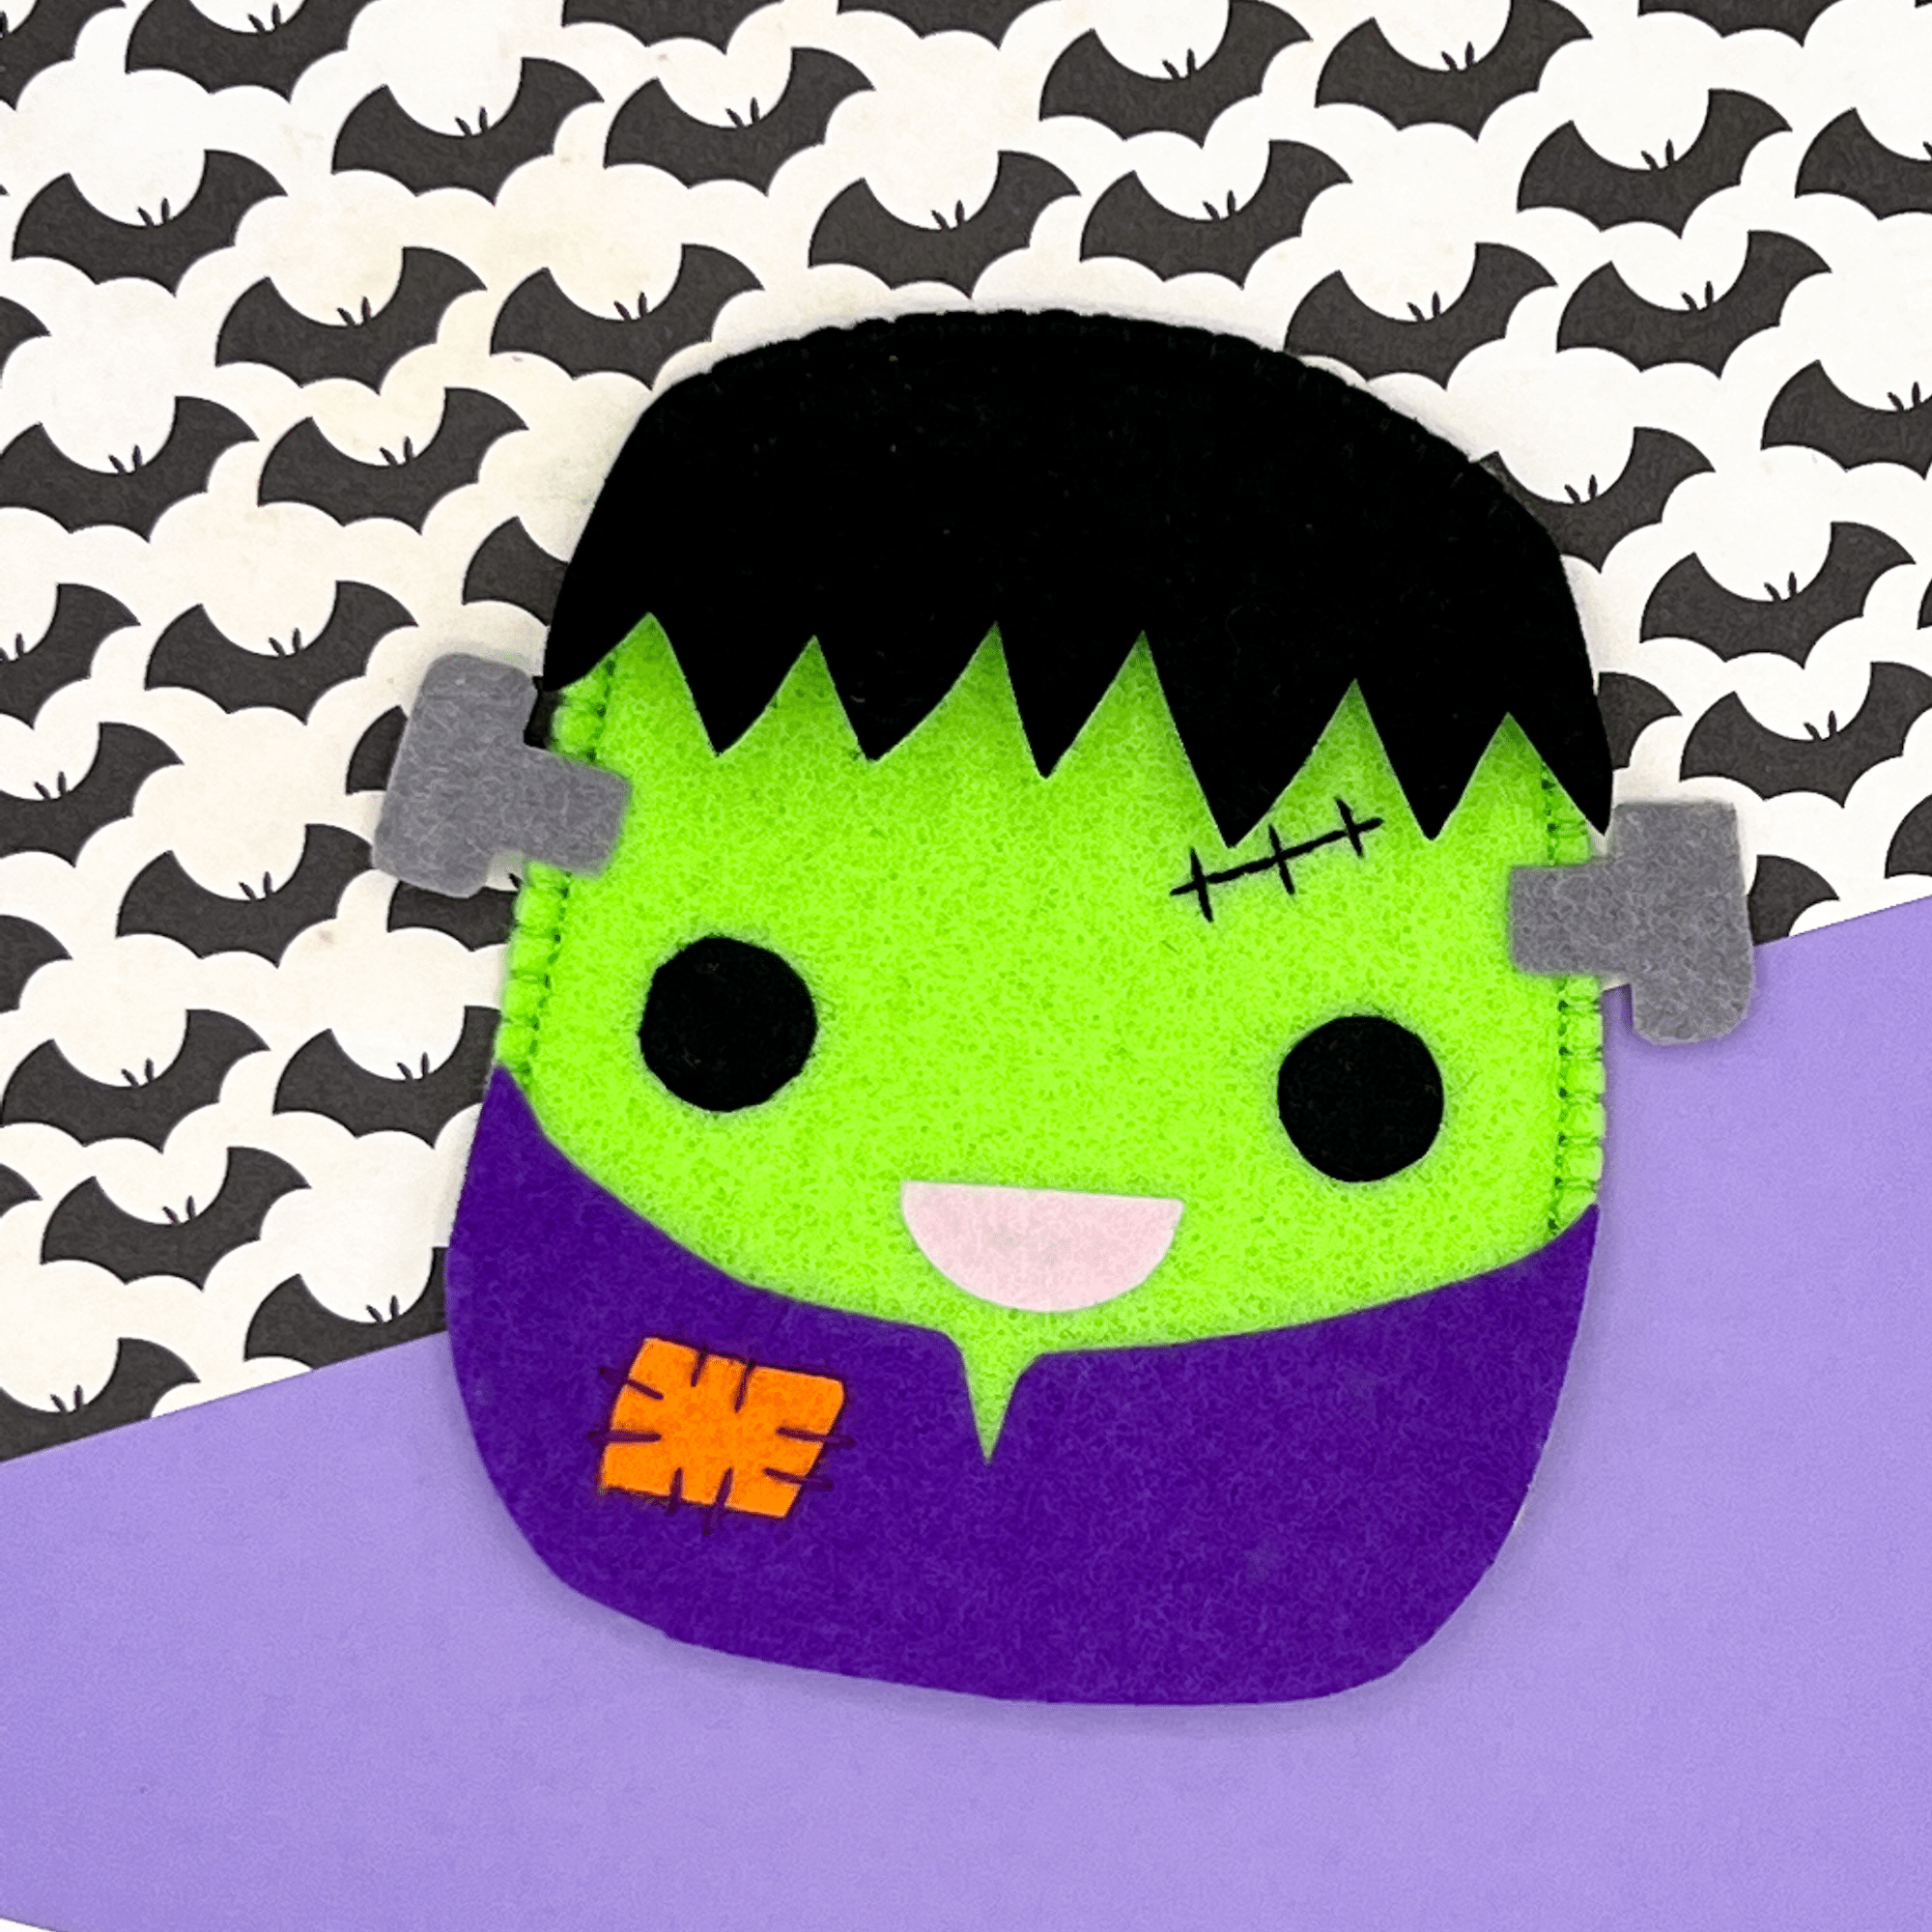
How to Sew a Frankenstein Candy Pouch
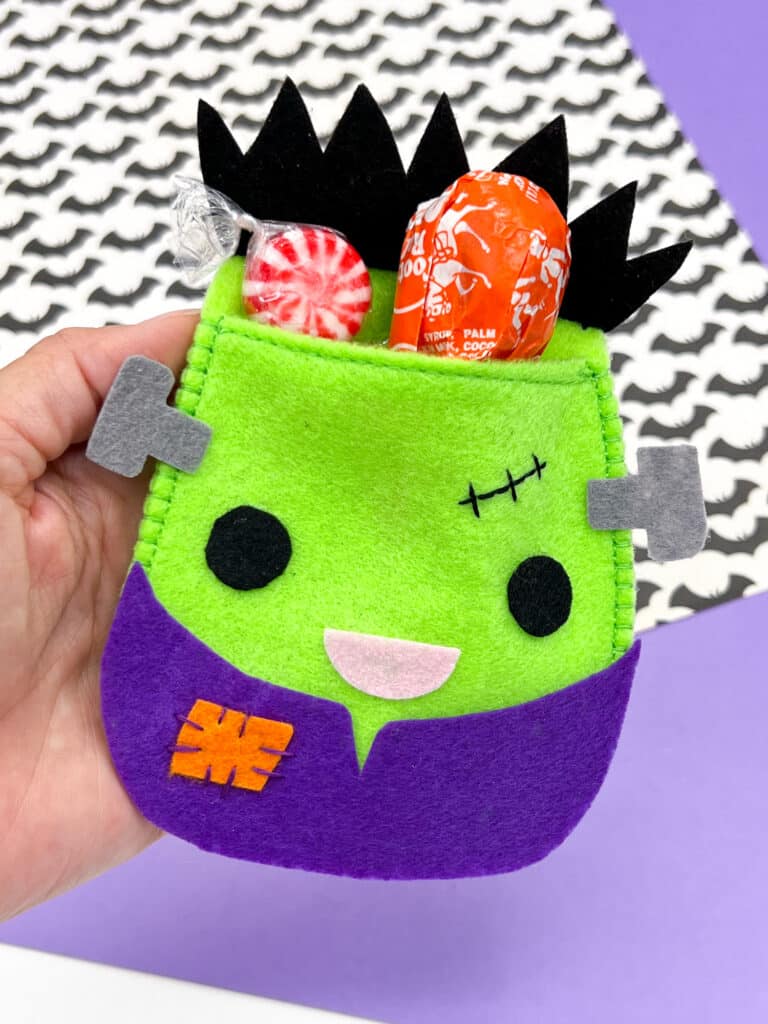
These Frankenstein candy pouches are a cute way to give Halloween candy this year! Or they make great Halloween party favors!
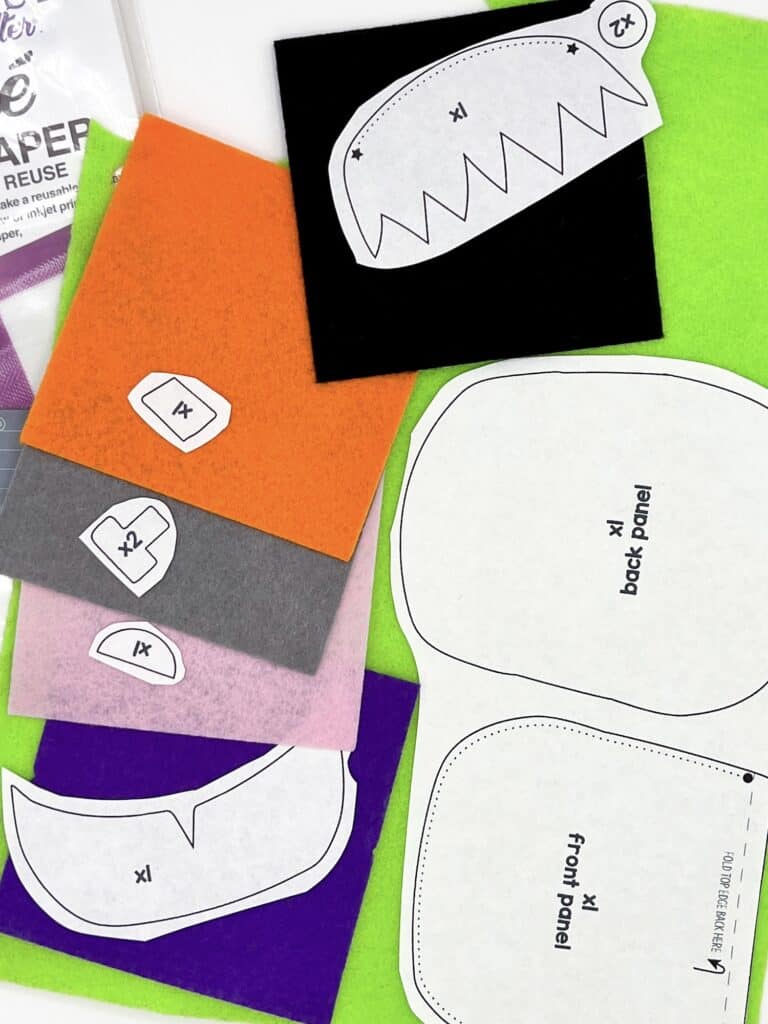
Use felt pieces and our free pattern to hand-sew these pouches. Once you have the pattern pieces cut out, you can make several of these all at once!

This Halloween DIY project uses felt scraps and small pattern pieces, so you can make several of these with a few pieces of felt.
These Halloween candy bags are great to make for selling at craft fairs, too!
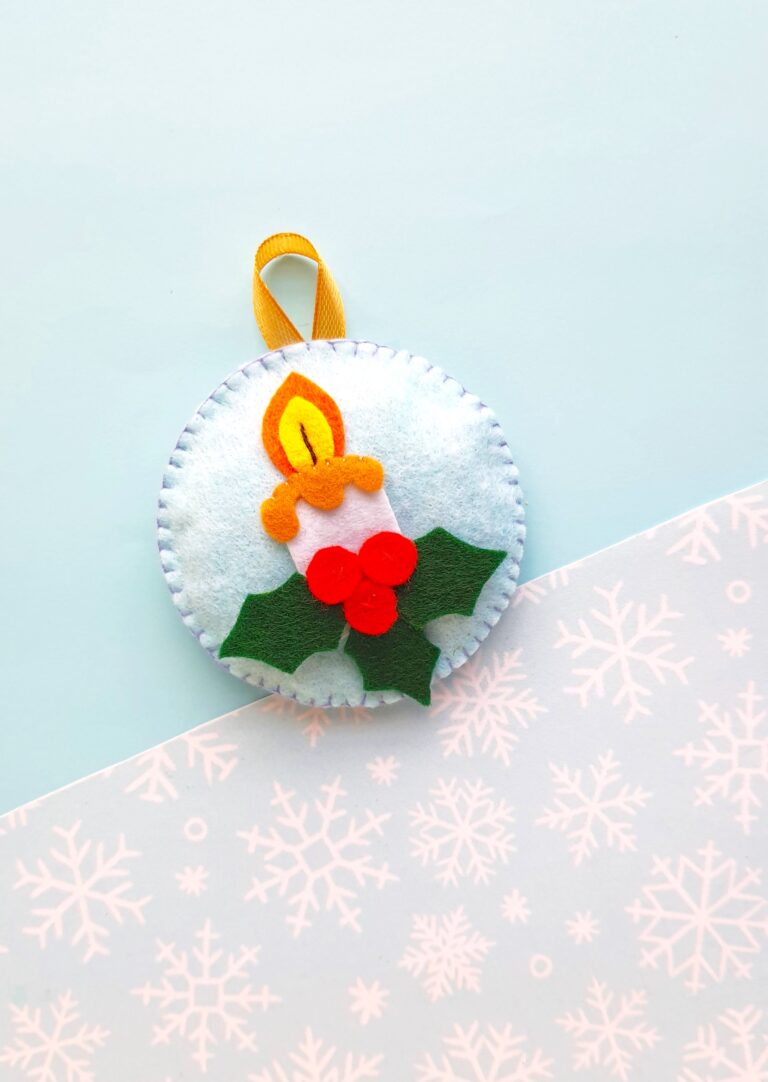
If you like Frankenstein, then be sure to see our easy to sew Frankenstein plushie, too!
How to Sew a Frankenstein Candy Pouch
Supplies
- Free Frankenstein Candy Bag Template
- Felt in various colors
- Glue, either hot glue or craft glue
- Thread and needle
- Scissors
Directions
Step 1
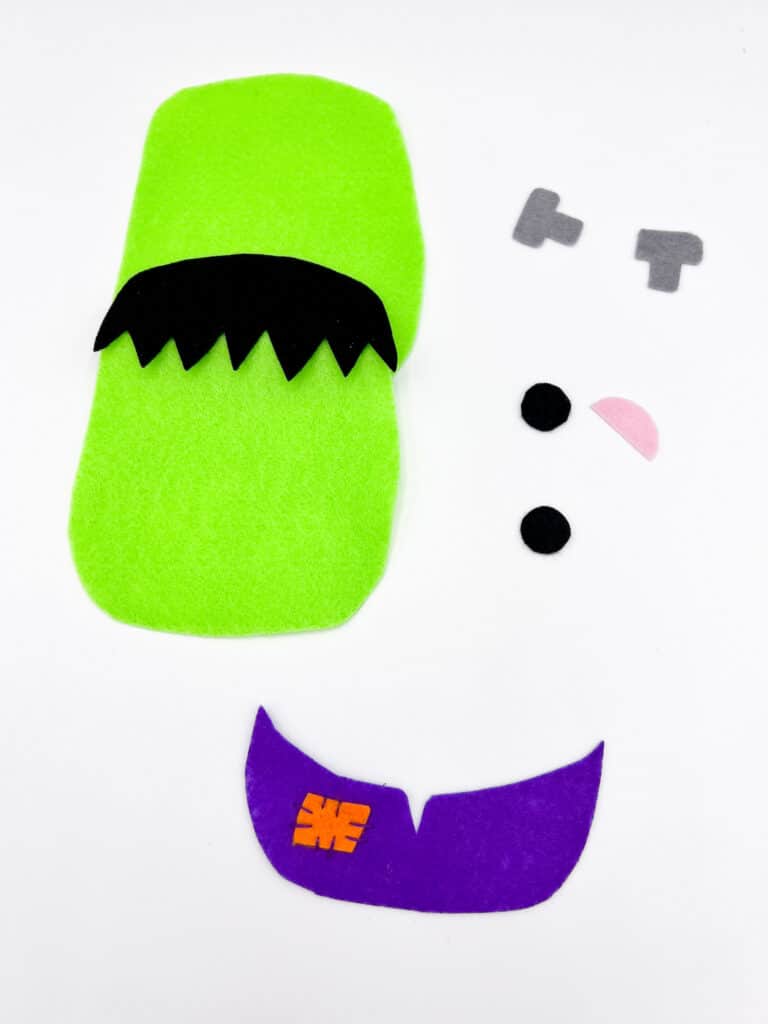
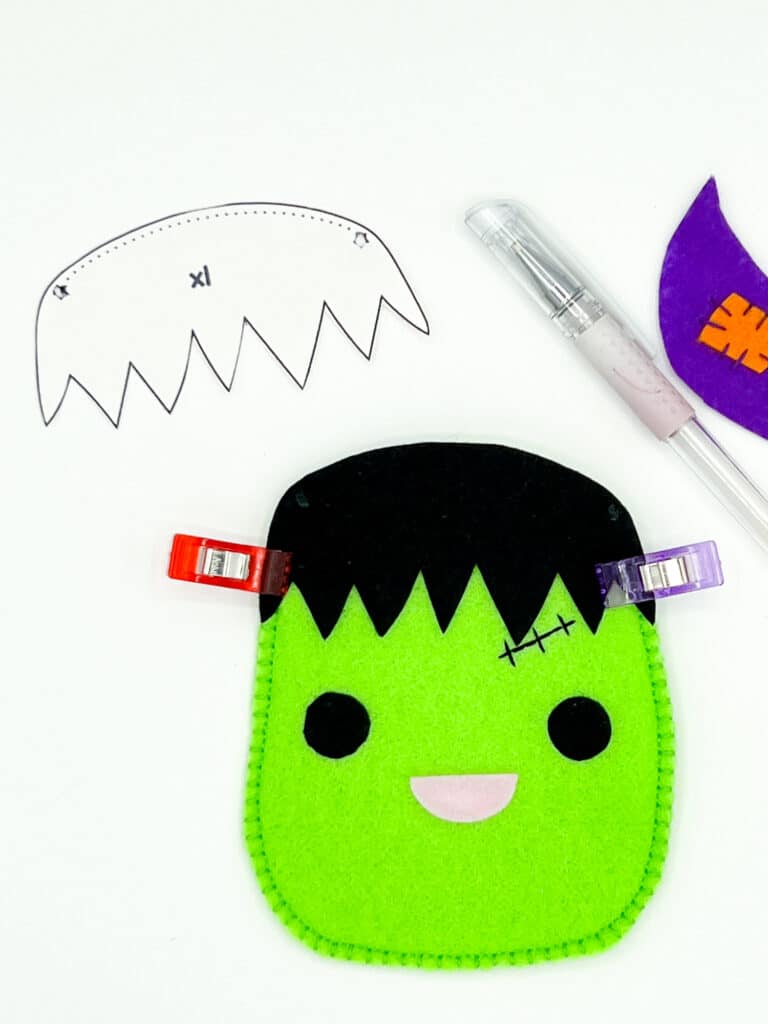
Print out the pattern and cut out the felt pattern pieces.
Step 2
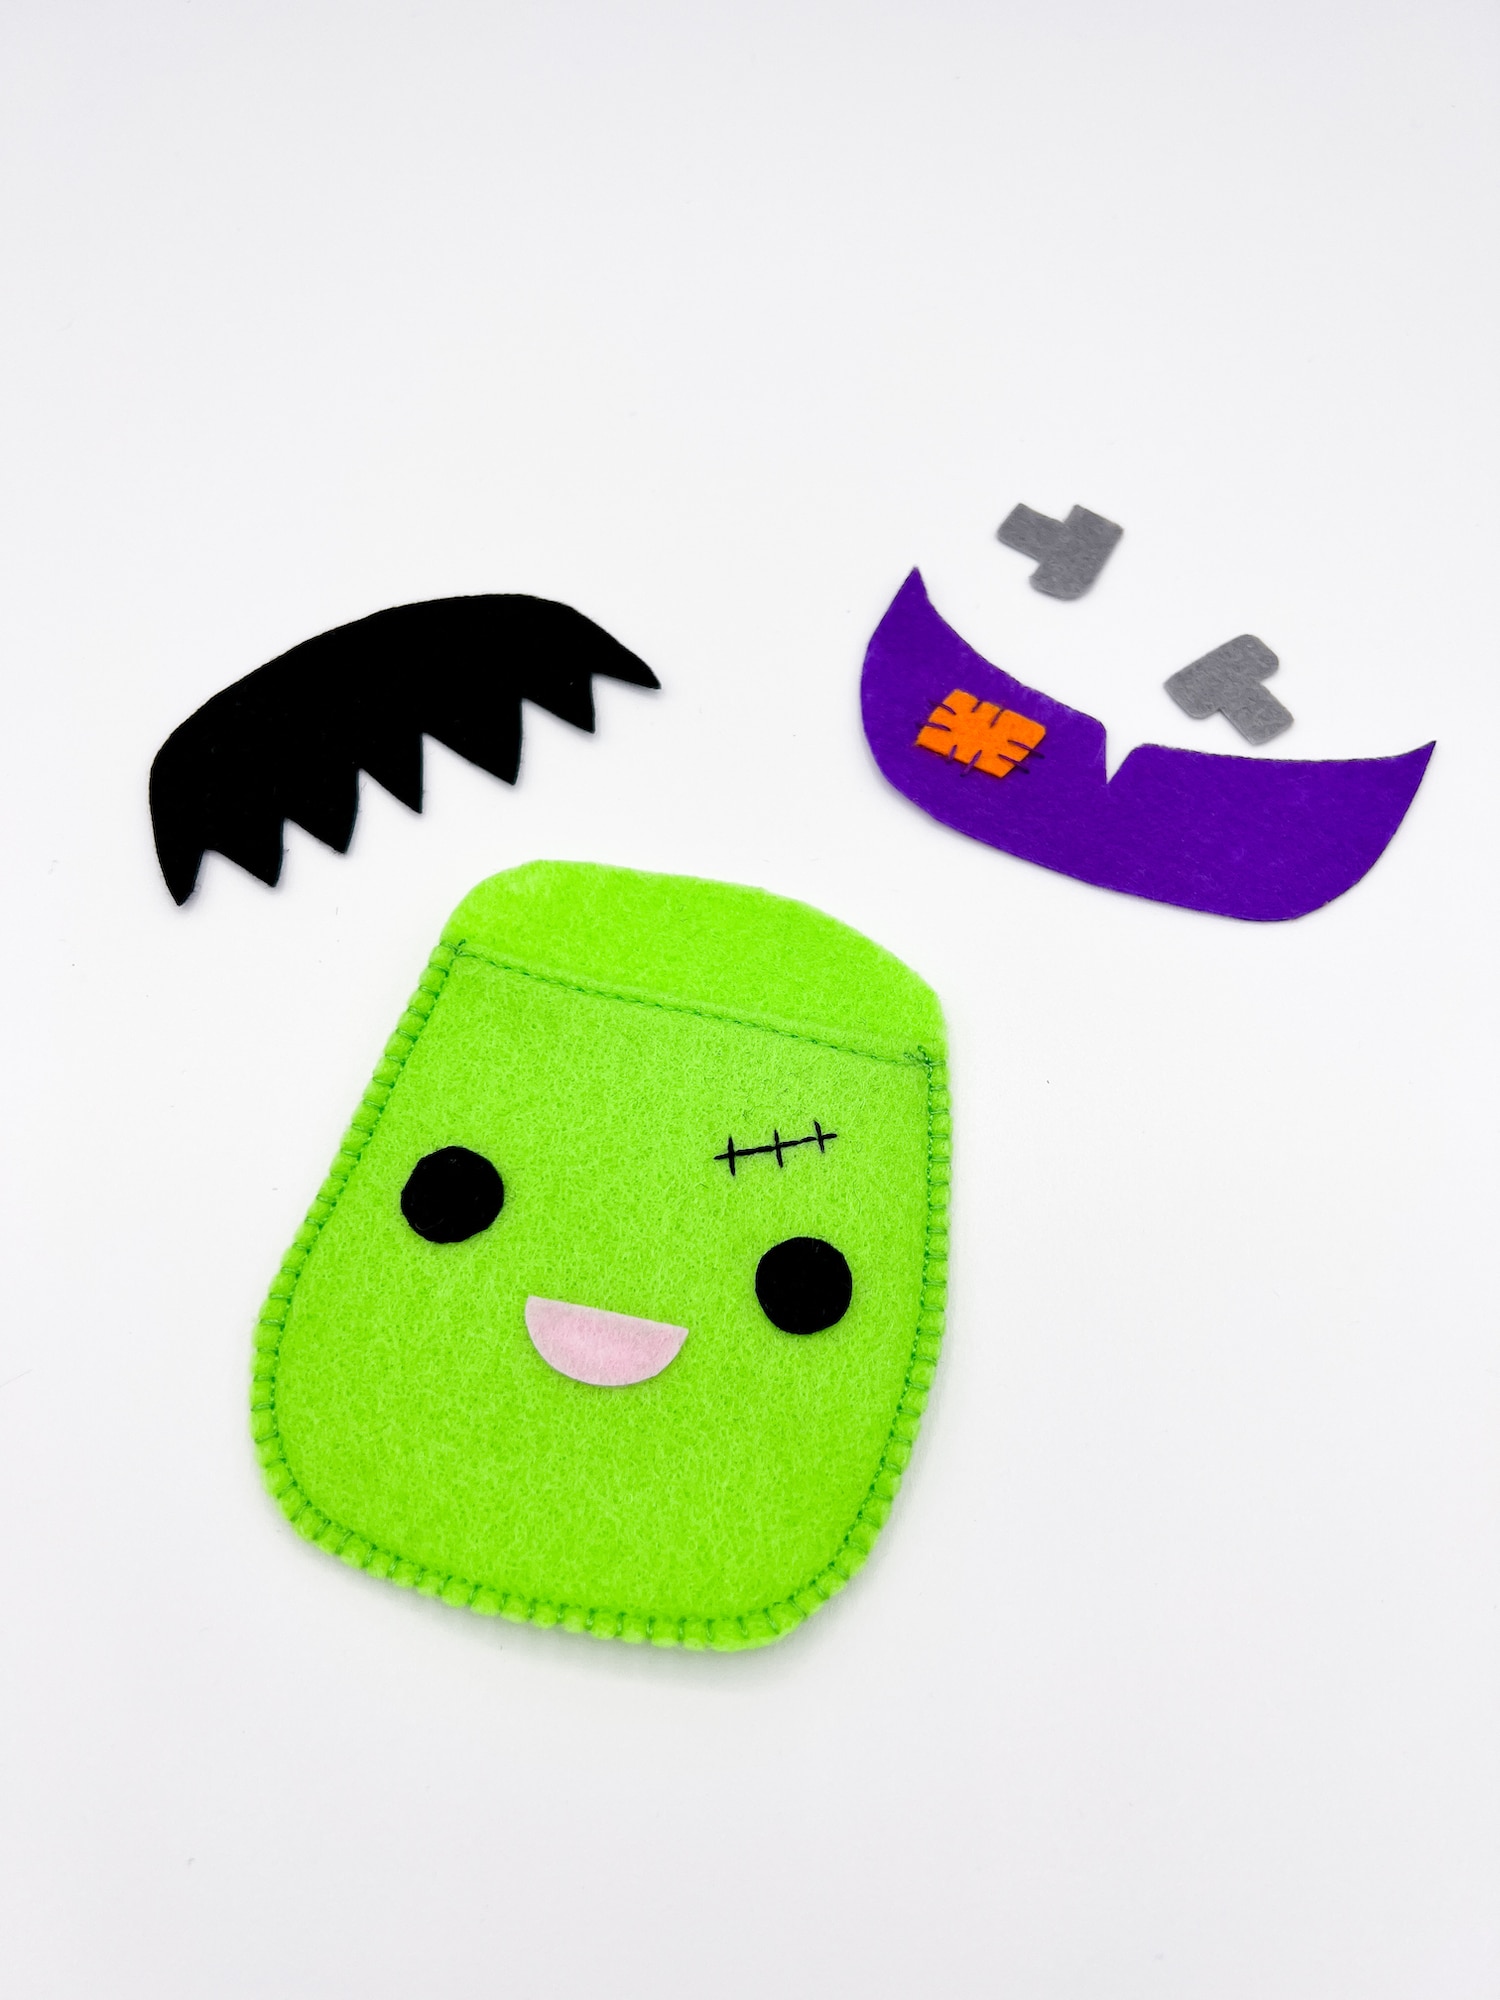
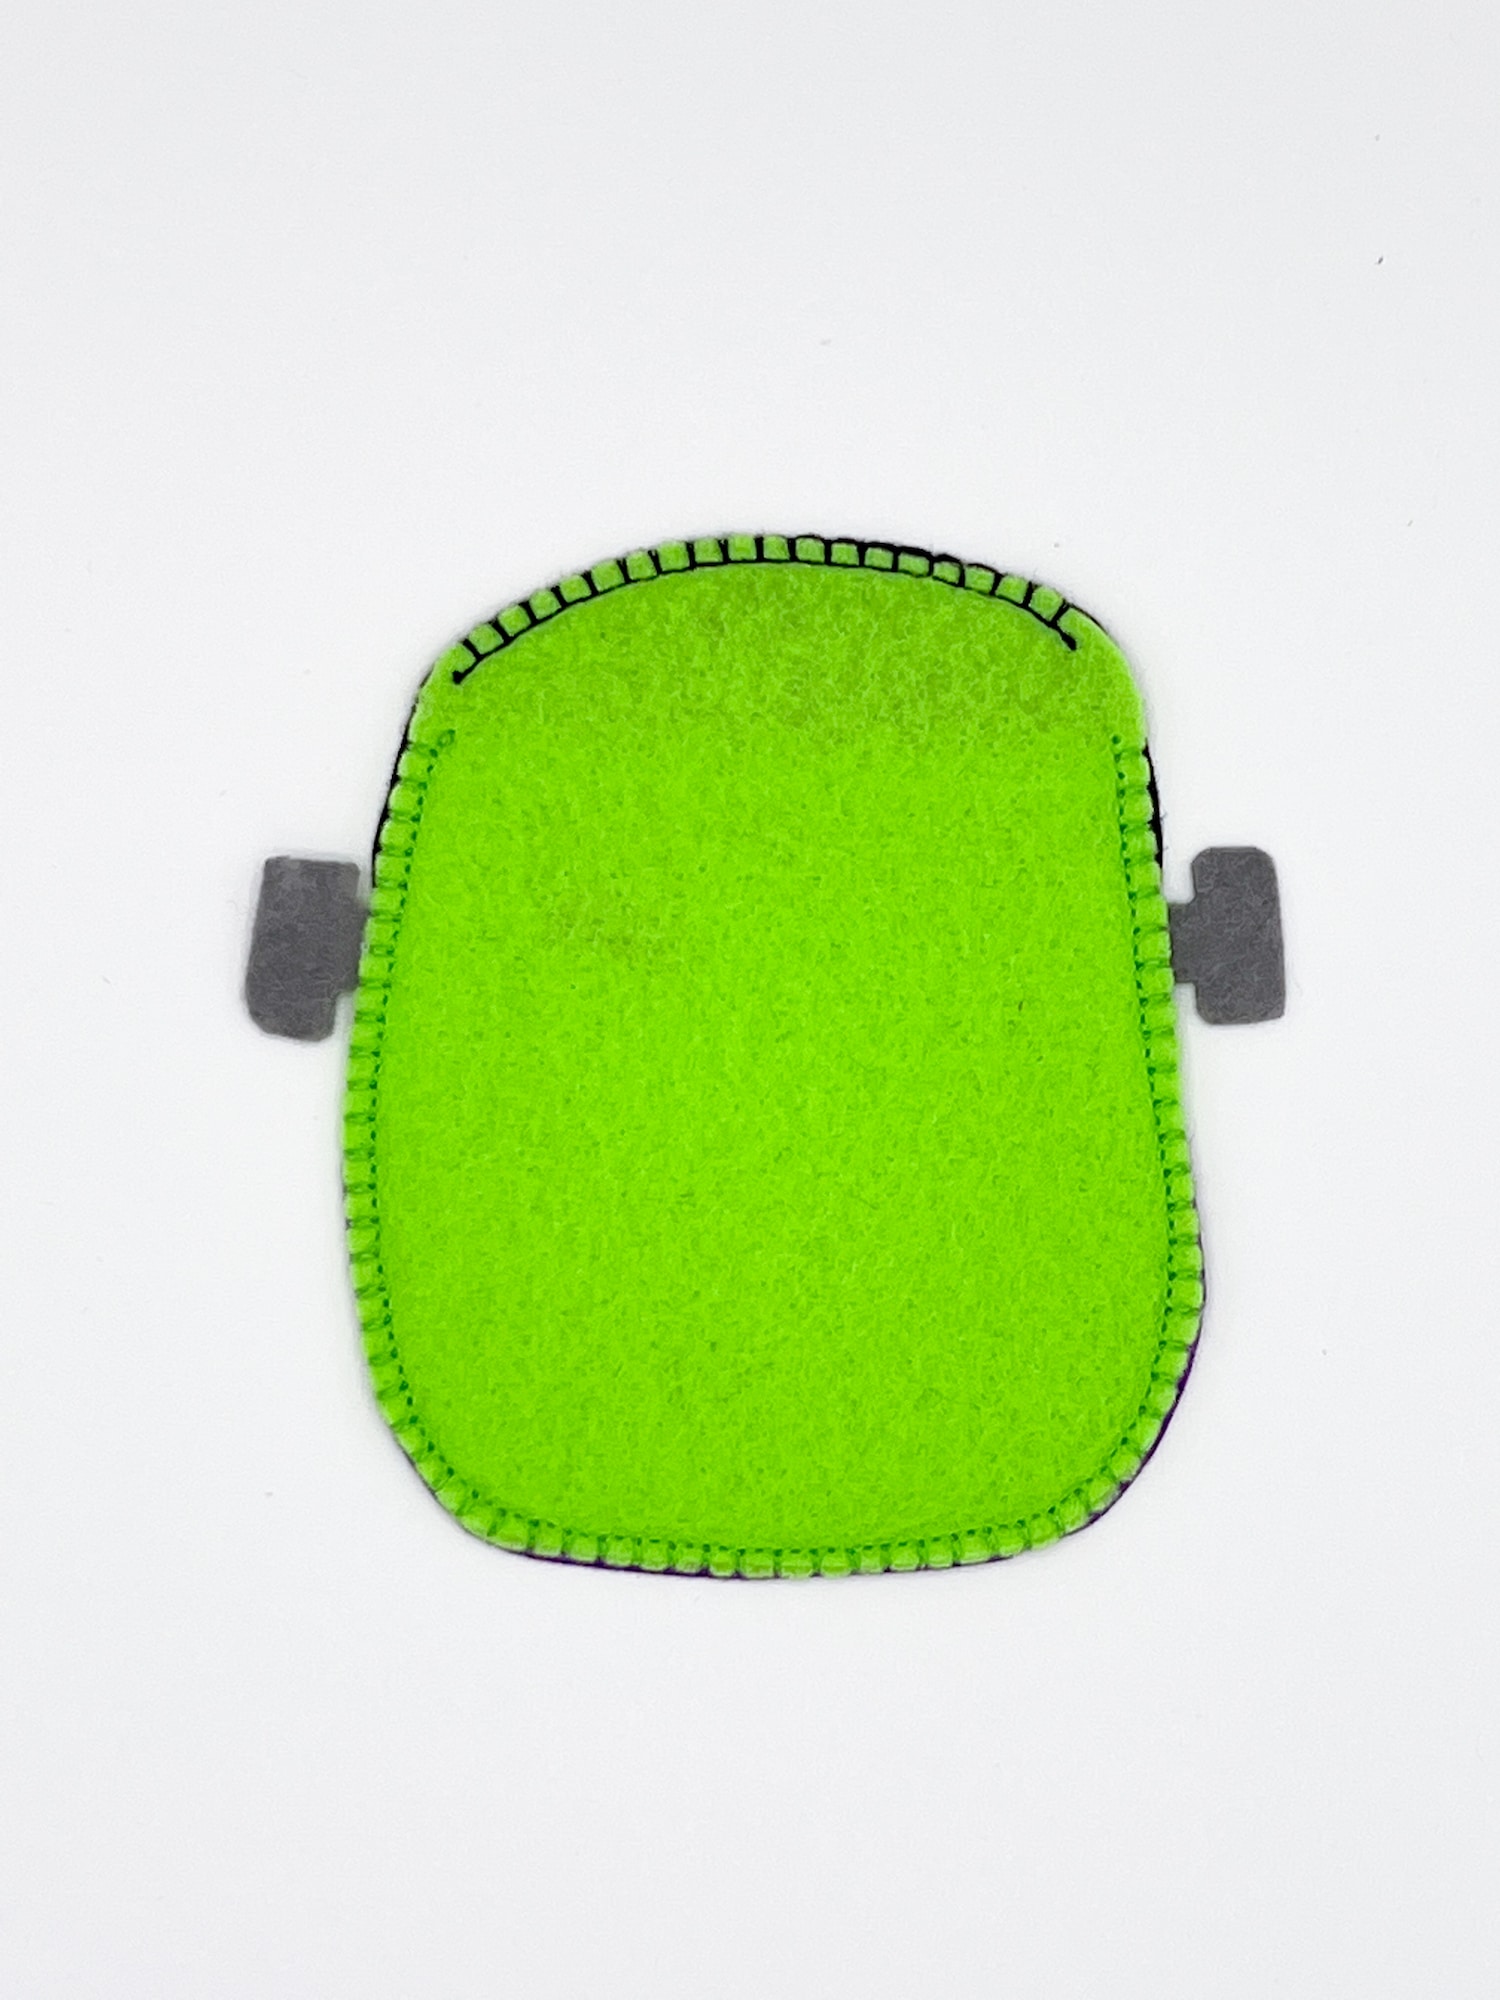
Using one green front panel, fold back the top edge, then topstitch it into place.
The side showing the folded lip will now be the WRONG side of this piece and will be hidden inside, facing the back panel piece when you put all of the patterns together.
Step 3
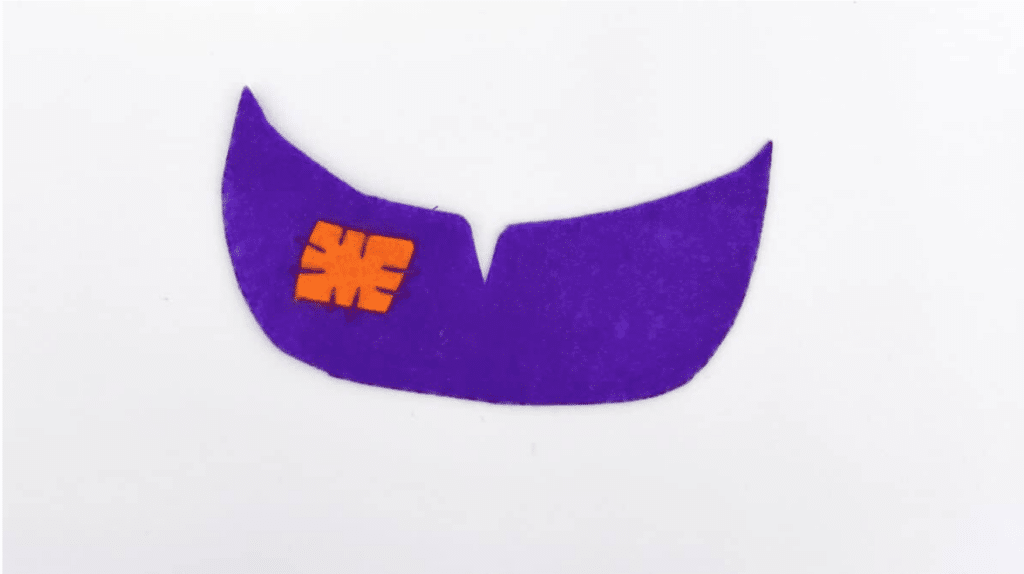
Attach the small orange patch to the front of the purple shirt with decorative stitching around the edges.
Step 4
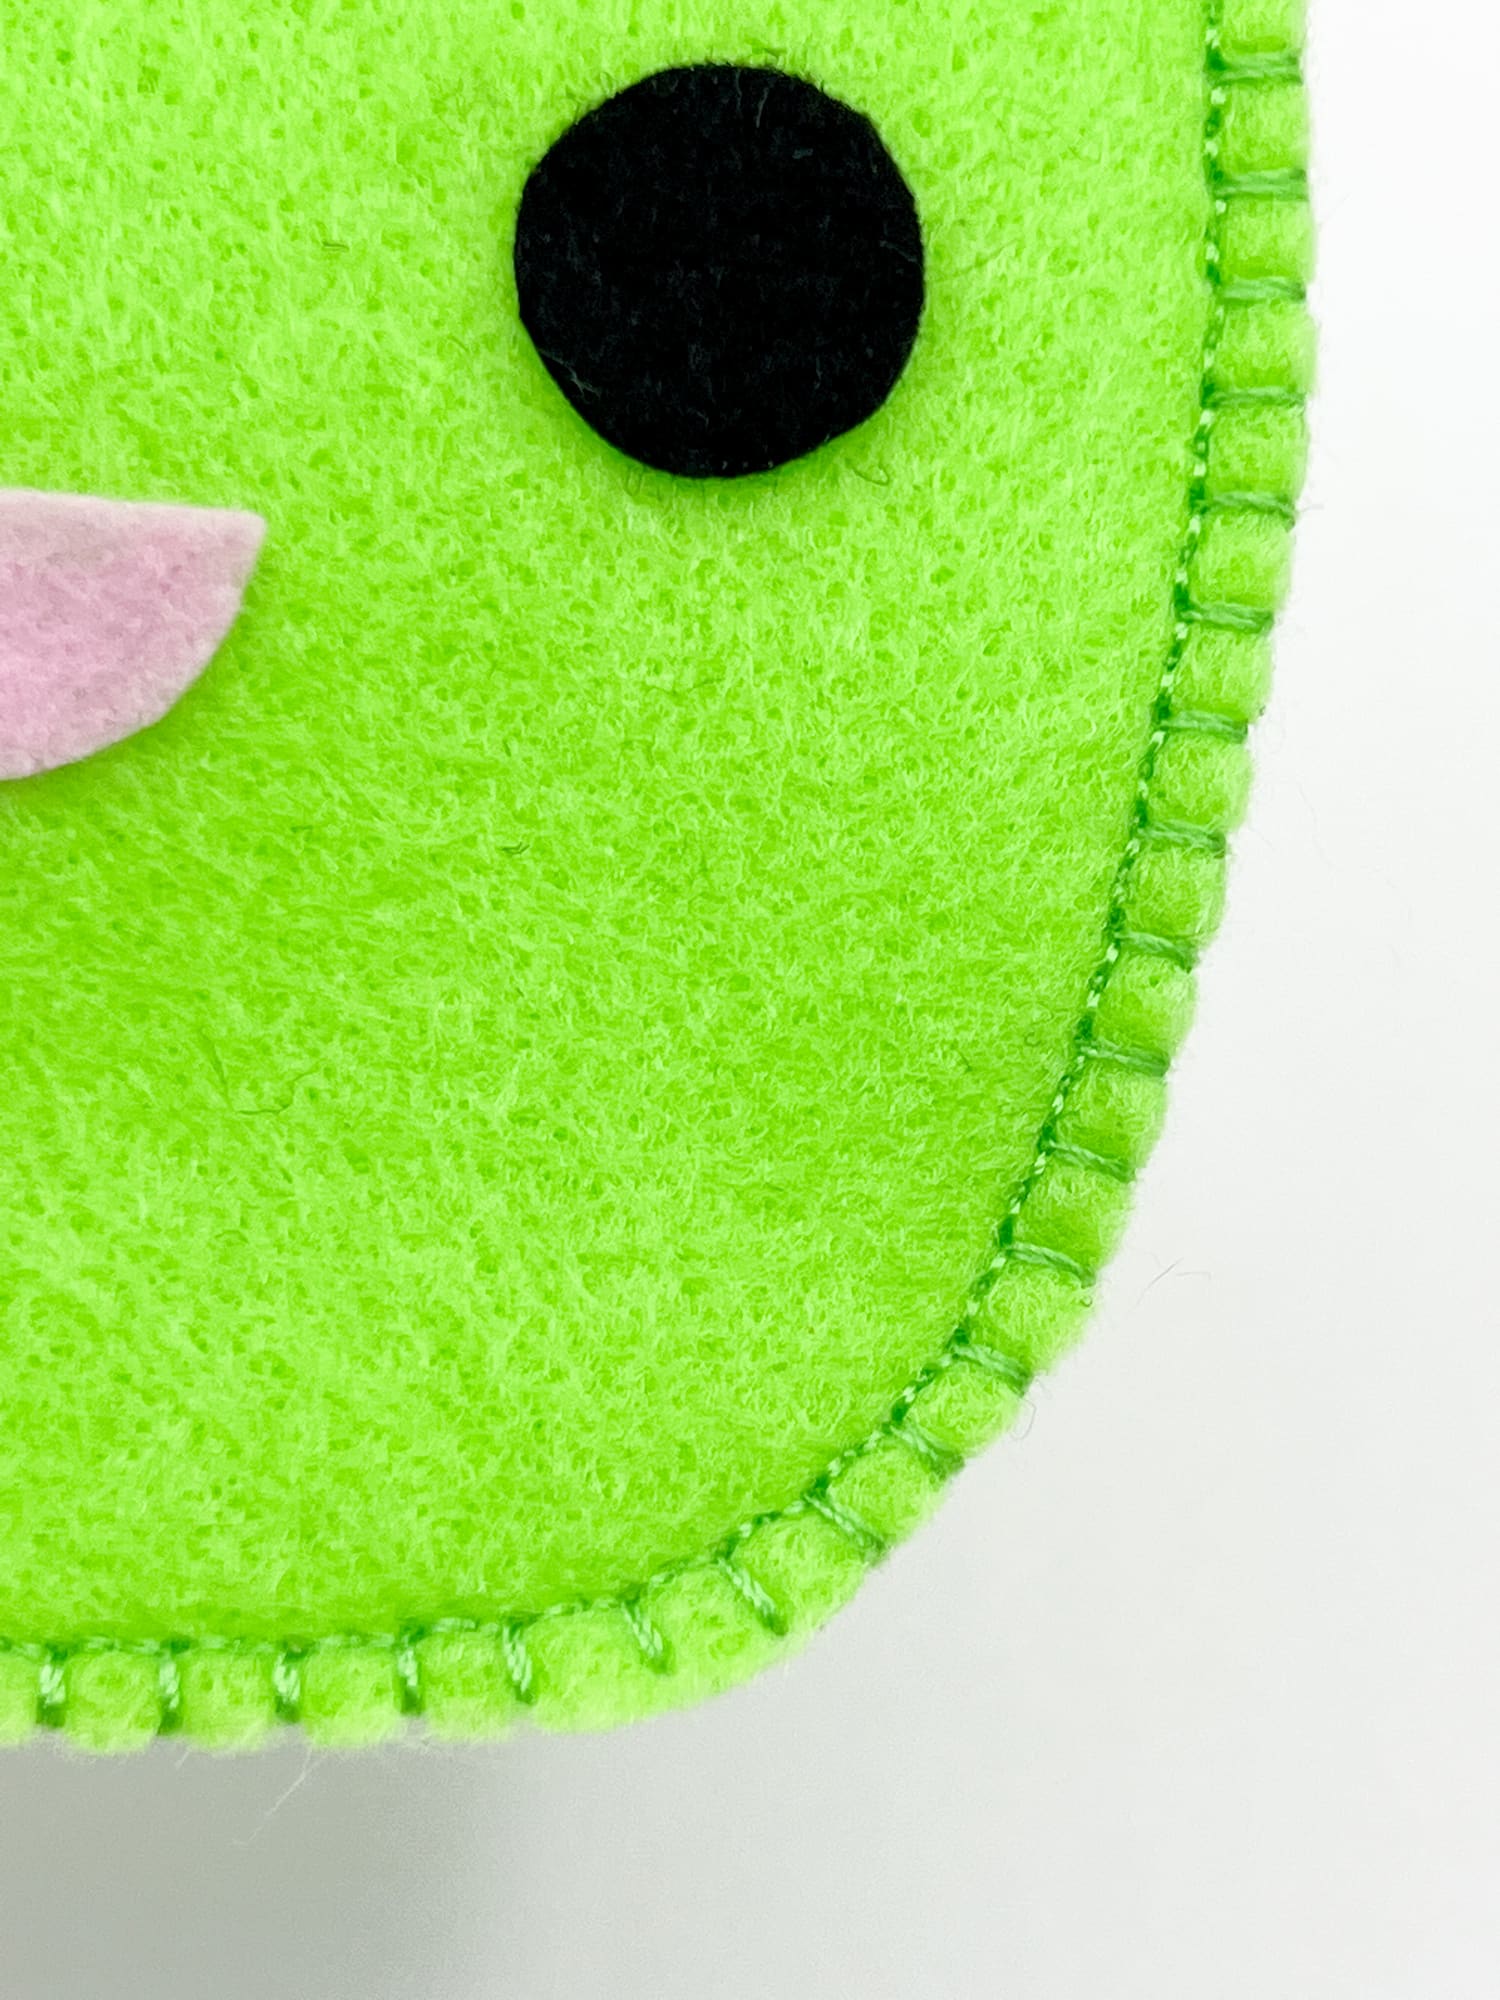
Attach the eyes and mouth to the front panel. It is fine to glue these on if you’d like. Otherwise, use thread in the same color of the eyes and mouth to sew them.
Sew some stitches above the eye using simple straight stitches.
Step 5
Lay the front panel piece onto the back panel. Keep in mind that you want the folded over piece to face the inside of the bag, not the outside.
Make sure the edges of the green pattern pieces line up. Sew along the sides in a big U shape.
On the pattern piece, there are two circles with a dotted line in between. This is where you sew. Keep the top open to form the pouch.
We used a blanket stitch for a decorative edging, but you can use whatever stitch you prefer.
Step 6
Place the hair pattern piece on top of the back green panel. Sew it only to the top edge, as seen in the dotted line on the pattern piece between the two stars.
You can hold the pattern pieces together with little clips if it helps you out.
Step 7
Place the bottom edge of the purple shirt on top of the front panel underneath the face and attach with glue.
Next, glue (or stitch) the bolts to the head on the front of the face. Allow to dry.

This Frankenstein Candy Pouch is fun to sew for Halloween.
It is just one in a series of felt Halloween crafts that we share free patterns for. Be sure you also see these tutorials: